Image Credit: IzziBGran / GamifiedLife, LLC
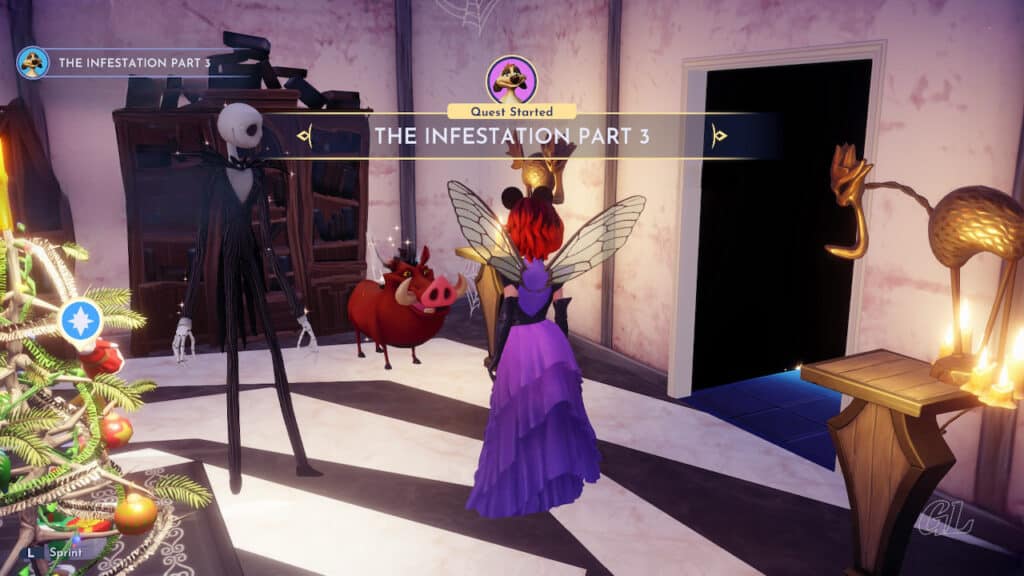
The Infestation Part 3
There is an infestation of Night Mites in Disney Dreamlight Valley. You have gotten rid of the Night Mites in the Valley for the time being, but to ensure that they do not return, you need to cut the bugs off at their Source! Operation Saving the Valley from the Infestation Part 3 is about to begin!!
Updated: 11/05/2024
Progress Through:
Pumbaa Quest – The Infestation Part 2
Level Up Friendships:
Pumbaa Level 10
Progress Further with:
Timon
Hidden Requirement:
???
Location:
Dreamlight Valley
Resources you will use during this quest.
- none
Ingredients you will use during this quest.
- none
The Infestation Source
Based on Pumbaa and Timon’s noses, Dreamlight Valley is currently free of Night Mites. But it won’t remain that way if you don’t get rid of the source of the infestation.
Timon is confident he’s figured out just where that source is.
You are about to return to The Dark Castle to set operation Saving the Valley from the Infestation Part 3 in motion!
Quest Task: Check in with Timon for the next steps in battling the infestation.
Quest Task: Meet with Timon and Pumbaa in the Plaza.
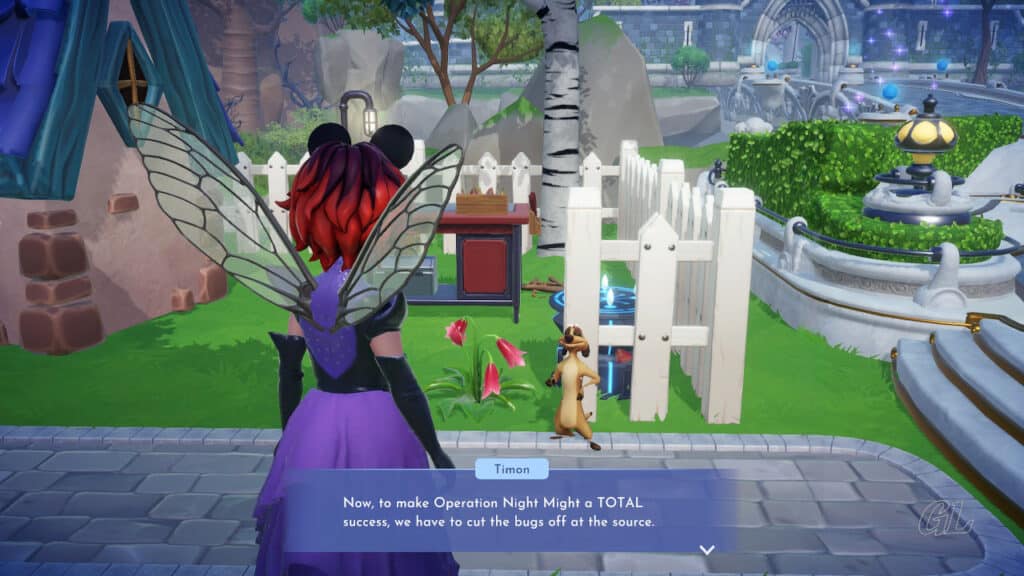
Image Credit: IzziBGran / GamifiedLife, LLC
The Dark Castle
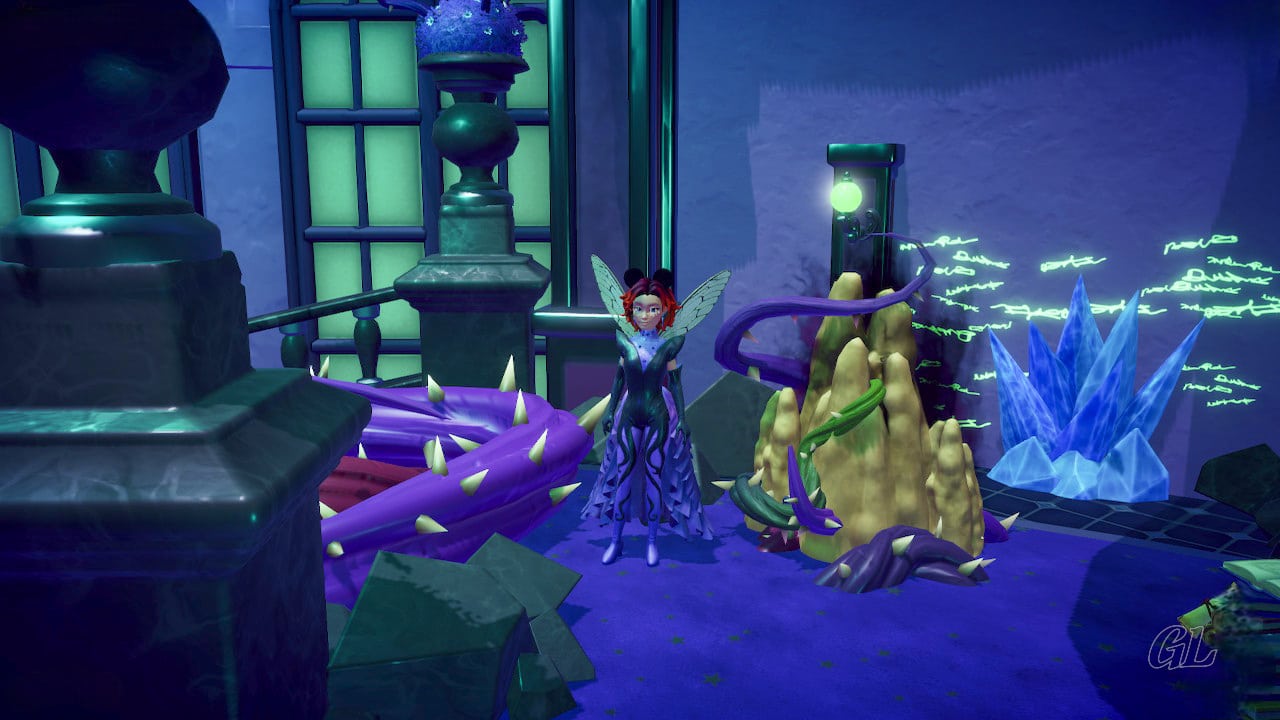
Head to the Dark Castle by entering the portal located near the well in the center of Dreamlight Valley’s Plaza.
Timon joins you in the Dark Plaza, on the other side of the portal. His nose confirms what he already suspected. The Night Mite Queen and her nest are in the Dark Castle.
Quest Task: Follow Timon toward the Dark Castle.
Quest Task: Talk to Timon in the Dark Plaza.
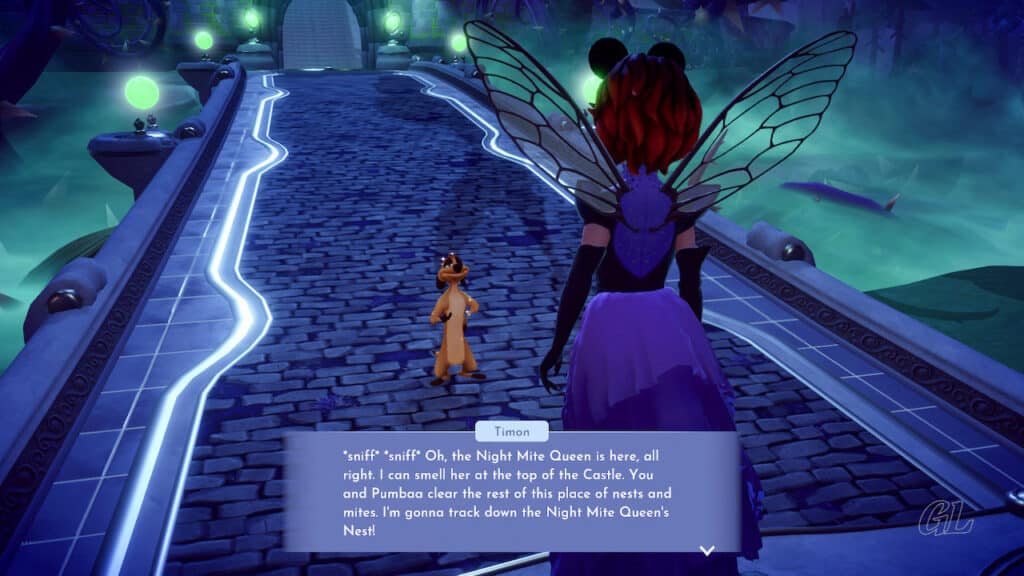
Image Credit: IzziBGran / GamifiedLife, LLC
The Infestation Part 3 Plan
Head into the Dark Castle.
Once again, it’s divide and conquer.
You and Pumbaa are focusing on getting rid of all the Night Mite Nests and catching any of the Night Mites that are running loose. Timon is going to search the Dark Castle for the Night Mite Queen’s Nest. That is surely the source of the whole infestation.
Quest Task: Enter the Dark Castle.
Quest Task: Clear the Dark Castle’s Mite infestation.
- Remove every Night Mite Nest you find – 5
- Chase down all the loose Night Mites – 10
- Regroup with Timon at the top of the Dark Castle
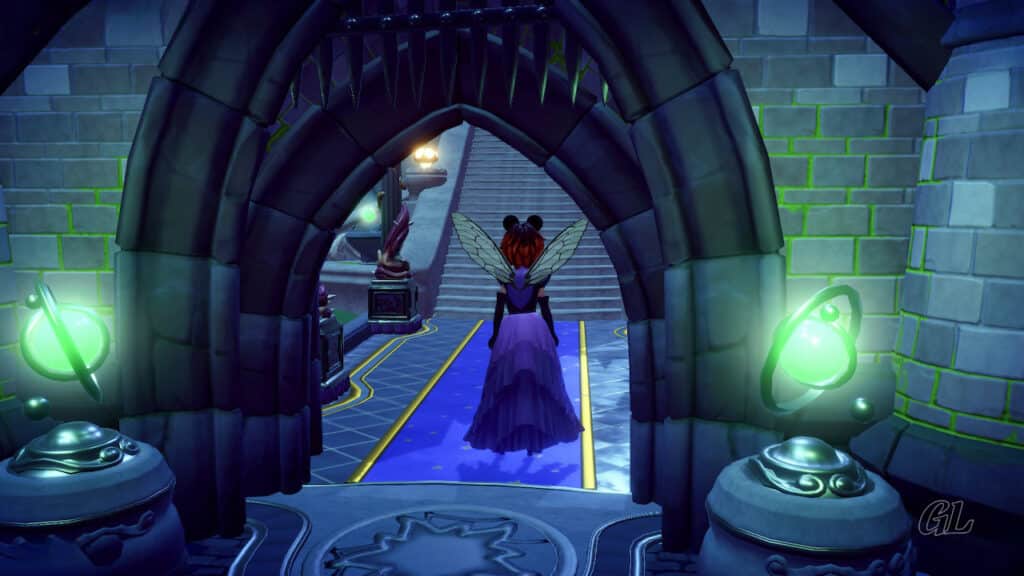
Image Credit: IzziBGran / GamifiedLife, LLC
Inside the Dark Castle
Since you’ve been through the Dark Castle once before, during Merlin’s Quest aptly named The Dark Castle, finding your way around this time is much easier.
The Night Mites inside the Dark Castle follow pretty much the same pattern as the ones did in Dreamlight Valley. When you find each nest, you’ll find 2 loose Night Mites running back and forth nearby. As before, they tend to run over the same path and end up returning to the nest. Lay in wait and you can easily catch them.
There are a few exceptions to this. Some of the Night Mites get pretty far from their nest. However, even those are easy to spot if you follow the detailed explanation that follows.
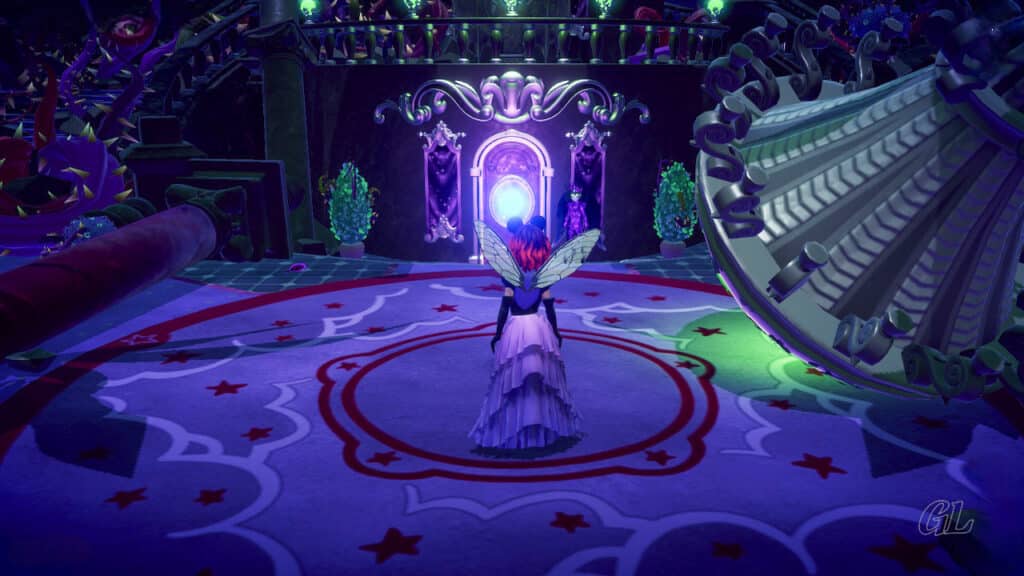
Image Credit: IzziBGran / GamifiedLife, LLC
The First Floor
The lobby of the Dark Castle is the location of the first Night Might Nest. It is just ahead, at the top of the short flight of stairs that leads down to a door.
Grab the two (2) Night Mites that are running nearby and remove the Nest.
When you’re done, head to the door and pass on through.
The First Nest
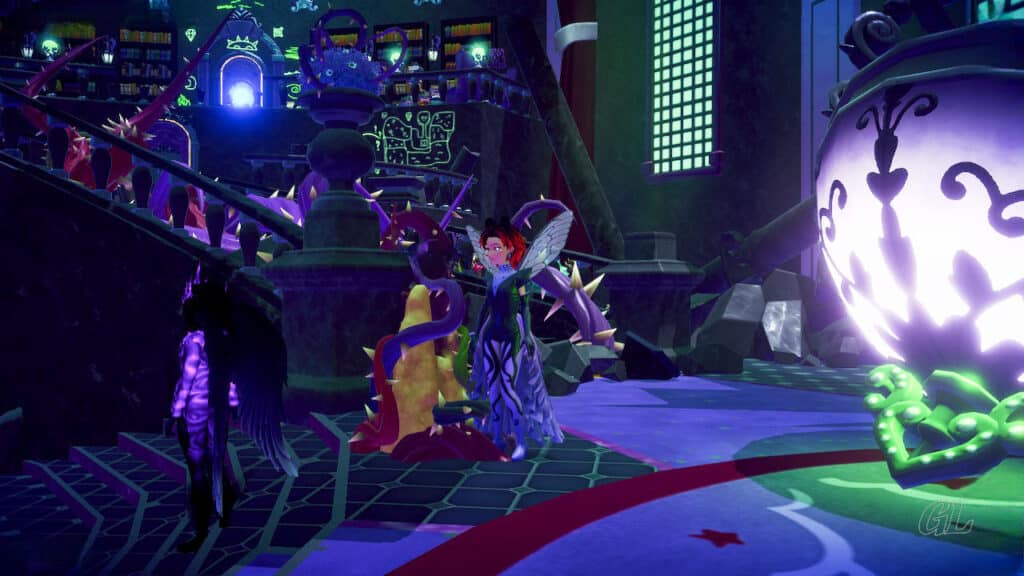
Image Credit: IzziBGran / GamifiedLife, LLC
Door Leading Upstairs
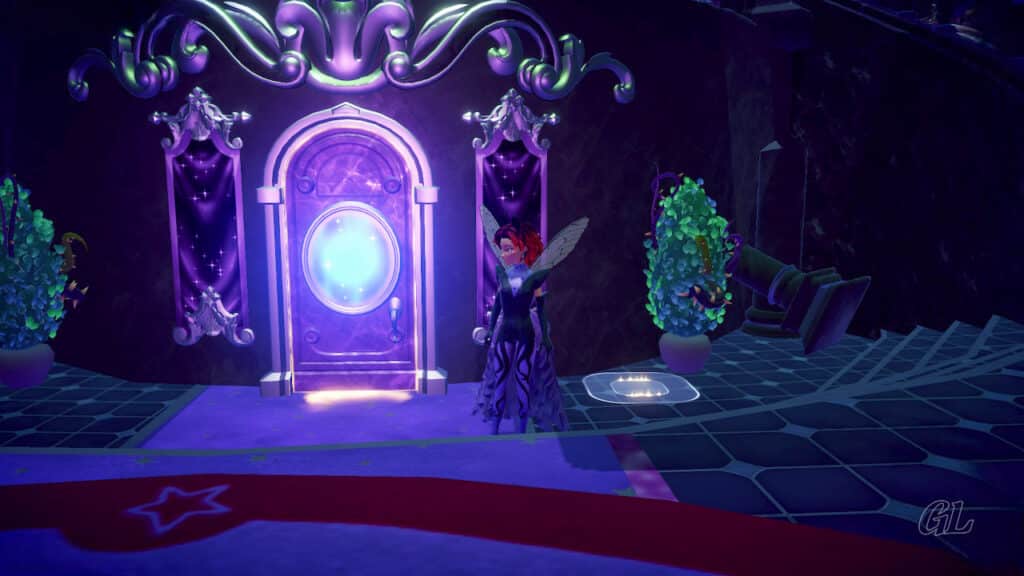
Image Credit: IzziBGran / GamifiedLife, LLC
To the Second Floor
Just on the other side of the door is the staircase to the second floor.
Here you’ll find a loose Night Mite that doesn’t like to follow the rules. It is running back and forth just as you enter the area. Grab it before you ascend the stairs to the second-floor landing.
As soon as you reach the second floor, you’ll see another nest just ahead and a Night Mite running back and forth to it. Grab the Night Mite and rid the Dark Castle of yet another Night Mite Nest.
You can see more Night Mites and a Nest from where you are, but you can’t reach them yet. They are on the second floor’s center balcony. You’ll need to go up to the third floor and come back down through a different entrance to reach that area.
So, you might as well proceed. Head along the landing to your left until you see Dorine, the face in the door. She isn’t hungry this time, so without a word she lets you pass through.
The Other Side of the Door
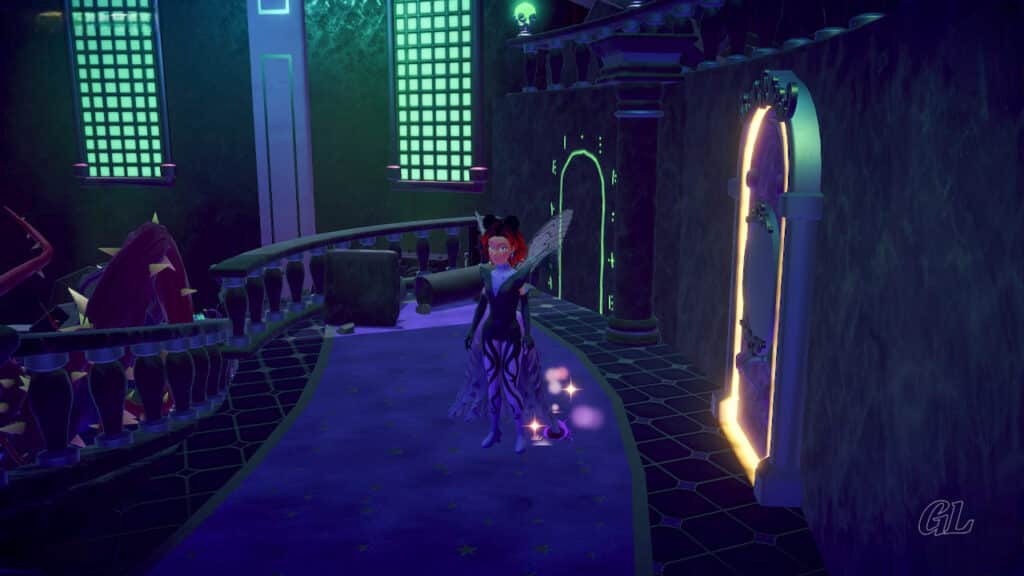
Image Credit: IzziBGran / GamifiedLife, LLC
The Second Nest
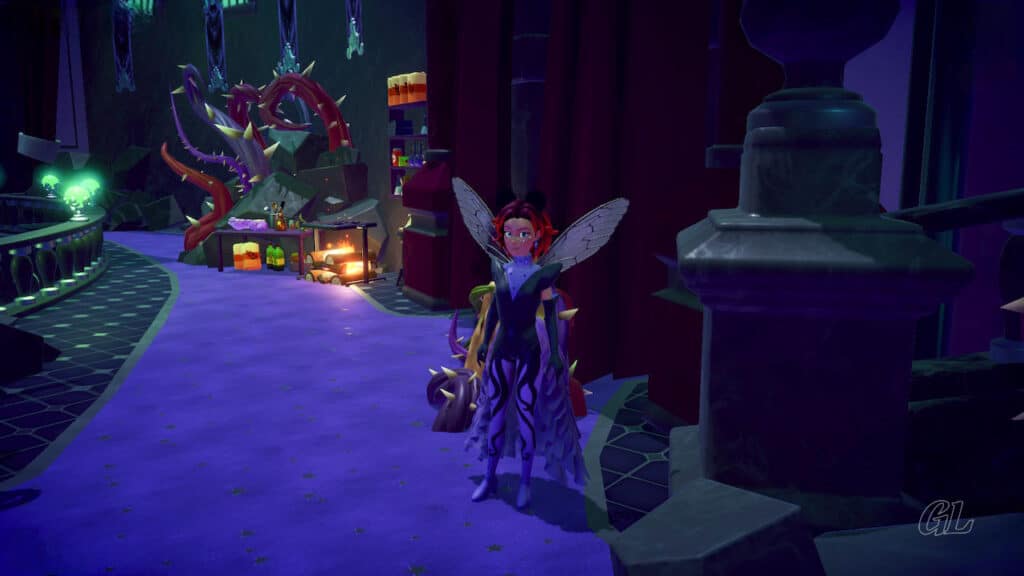
Image Credit: IzziBGran / GamifiedLife, LLC
Dorine
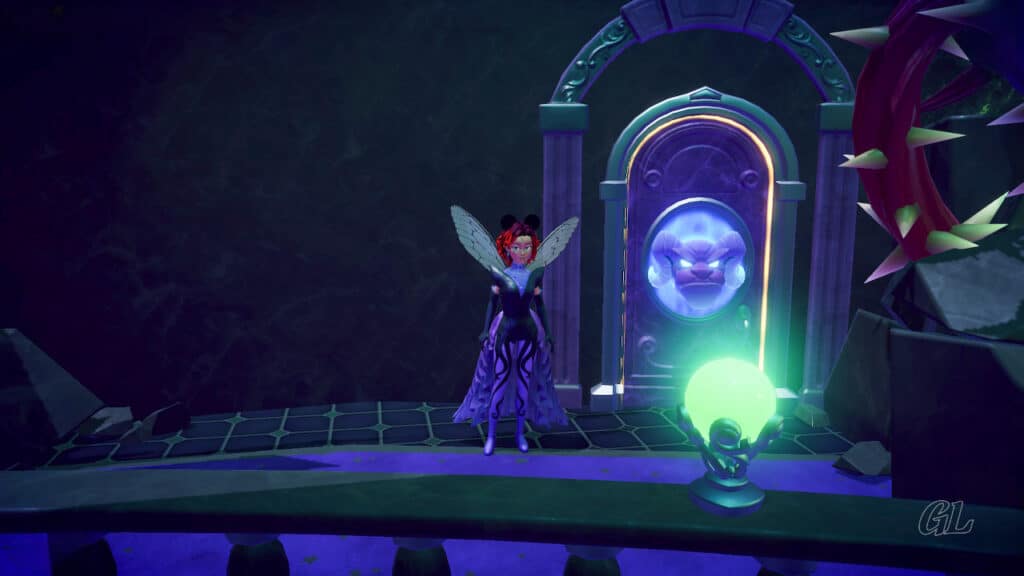
Image Credit: IzziBGran / GamifiedLife, LLC
Third-Floor Hallway
As soon as you reach Dorine’s other side, a Night Mite is visible. It’s running around almost at your feet and heads up the stairs which are just ahead. These are the stairs that lead to the third floor.
When you reach the third-floor hallway, the next nest will come into view. Another Night Mite is running back and forth near it.
Remove the Night Mite Nest and catch the Night Mite. You should now have gotten rid of 3 Nests and captured 6 Night Mites.
The Other side of Dorine
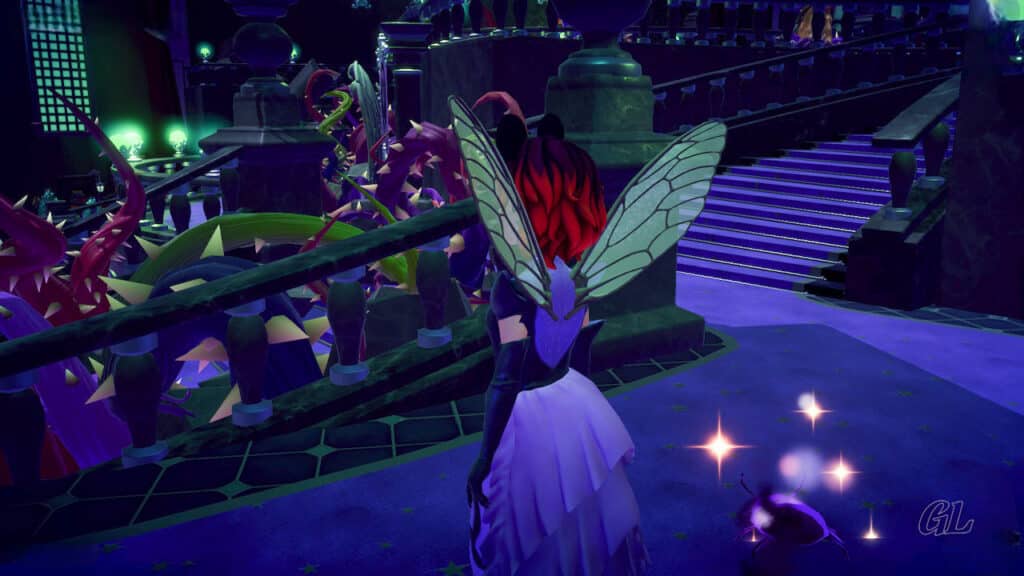
Image Credit: IzziBGran / GamifiedLife, LLC
The Third Nest
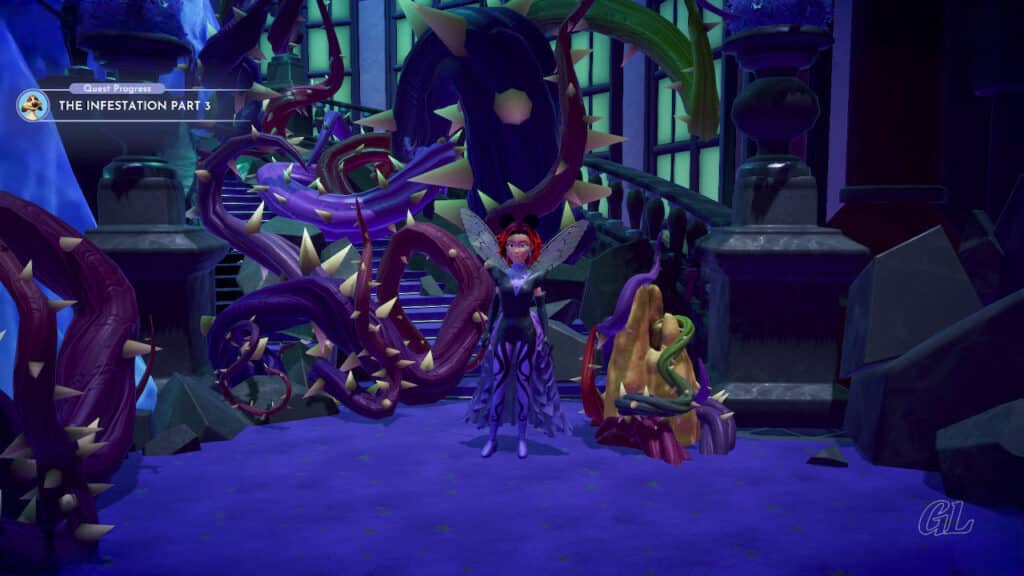
Image Credit: IzziBGran / GamifiedLife, LLC
Third-Floor Balcony
Head over to the door with the lite symbols surrounding it. This doorway will lead onto the large third floor balcony, which contains a dried-up fountain or well.
Circle the well to find the next Night Mite Nest. It’s close to the railing overlooking the second floor. Two Night Mites are running loose around the well, so be sure to keep a lookout for them so you can grab them as they pass.
When you look down at the center balcony of the second floor, you can see the last 2 Night Mites and the fifth Night Mite Nest. Turn around and face the two doors along the wall. You’re heading through the left one next.
The Fourth Nest
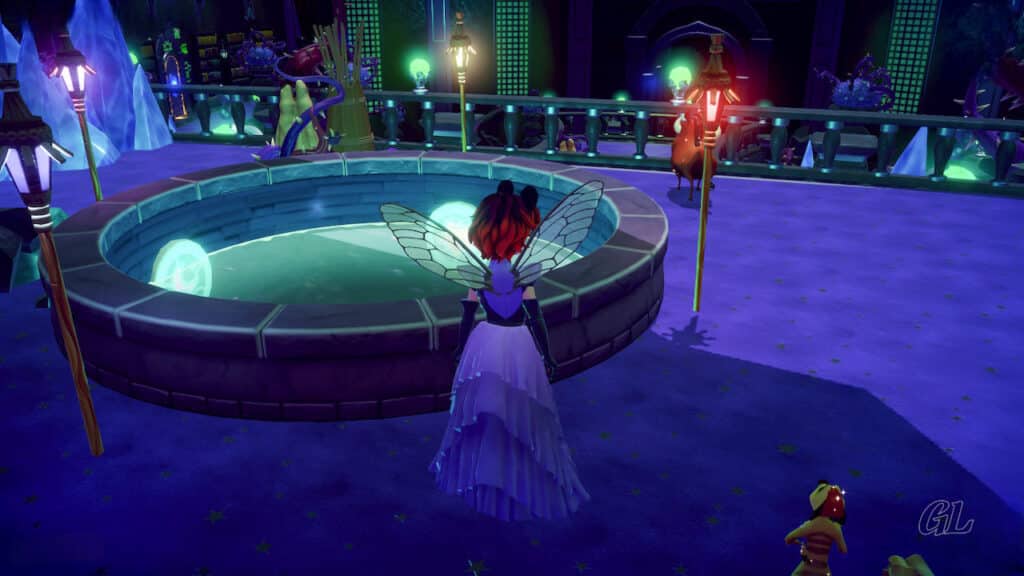
Image Credit: IzziBGran / GamifiedLife, LLC
The Next Door
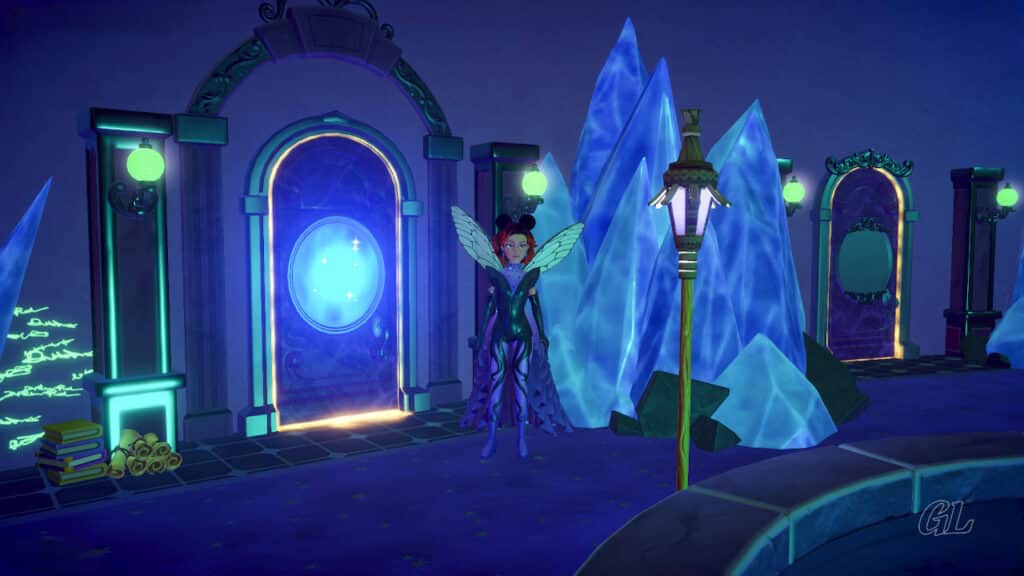
Image Credit: IzziBGran / GamifiedLife, LLC
Second-Floor Balcony
Passing through the left door takes you to the Center Balcony on the second floor. Grab the 2 Night Mites and dissolve the Night Might Nest.
So far, so good. You’ve taken care of this portion of The Infestation Part 3 plan.
Head back through the door to return to the third floor. You need to check in with Timon. Hopefully he was able to find the Mite Queen’s Nest.
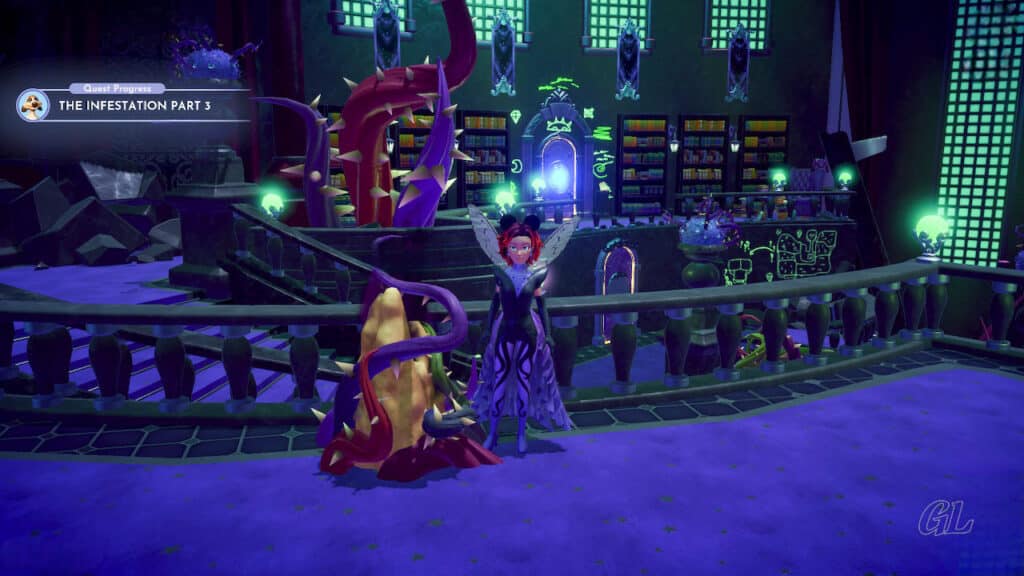
Image Credit: IzziBGran / GamifiedLife, LLC
Return to the Third Floor
Timon did indeed find the Mite Queen’s Nest, but there are strange rocks surrounding it.
This presents another problem. Your pickaxe isn’t strong enough to break these weird rocks!
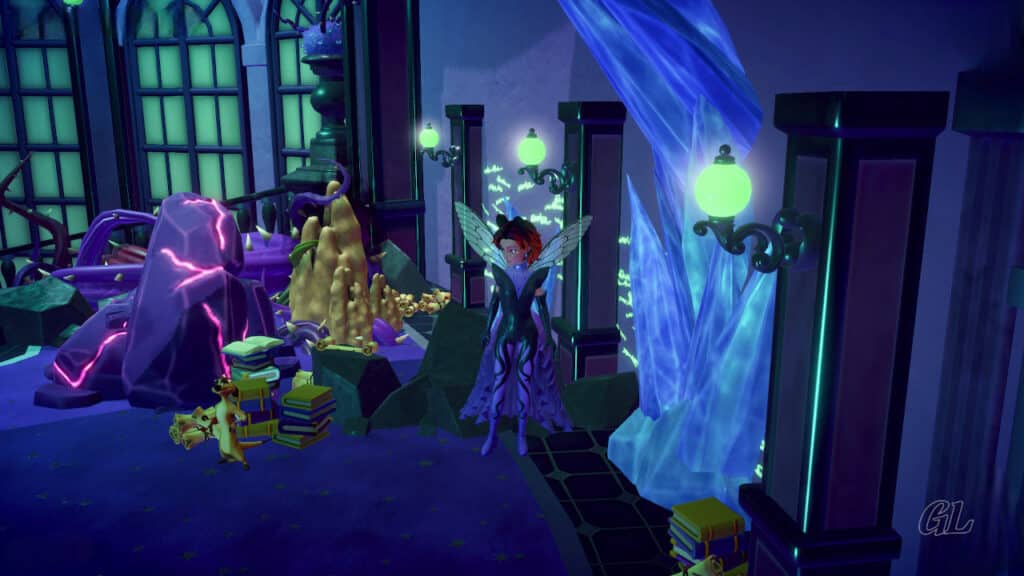
Image Credit: IzziBGran / GamifiedLife, LLC
Pumbaa’s Solution
Pumbaa, however, has sniffed out an answer to the problem. He found a Dark Pickaxe Upgrade item in a barrel nearby.
Go over to the barrel containing the sticks and pull out the Dark Pickaxe Upgrade item. Be sure to apply go into your Inventory and “use” it.
Quest Task: Talk to Pumbaa upstairs in the Dark Castle.
Quest Task: Collect and activate the Dark Pickaxe Upgrade from the chest in the Dark Castle.
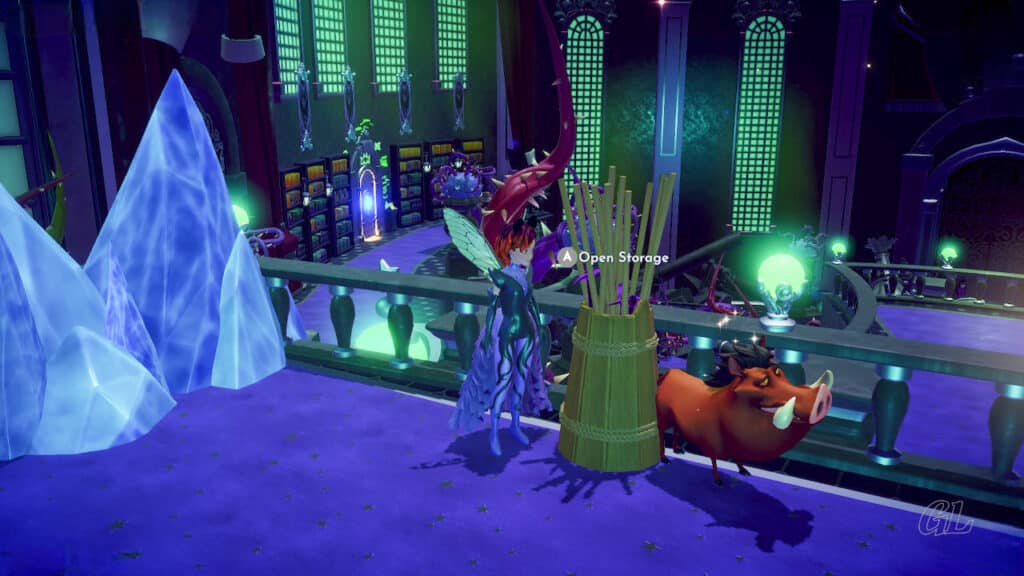
Image Credit: IzziBGran / GamifiedLife, LLC
Night Mite Queen Nest
Ta-da!
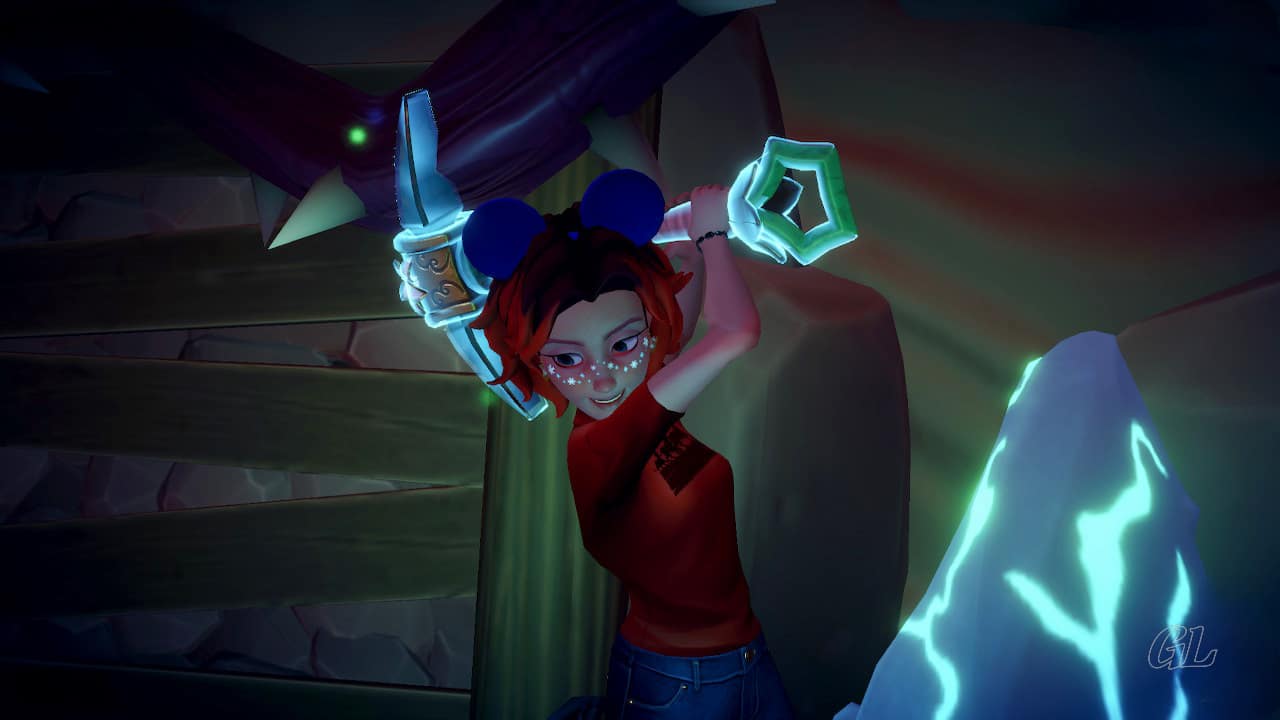
Your Royal Pickaxe is now strong enough to break the strange dark-infused rocks! Take a swing and turn them to dust!!
Quest Task: Reach the Night Mite Queen’s Nest by breaking the strange rocks in the Dark Castle.
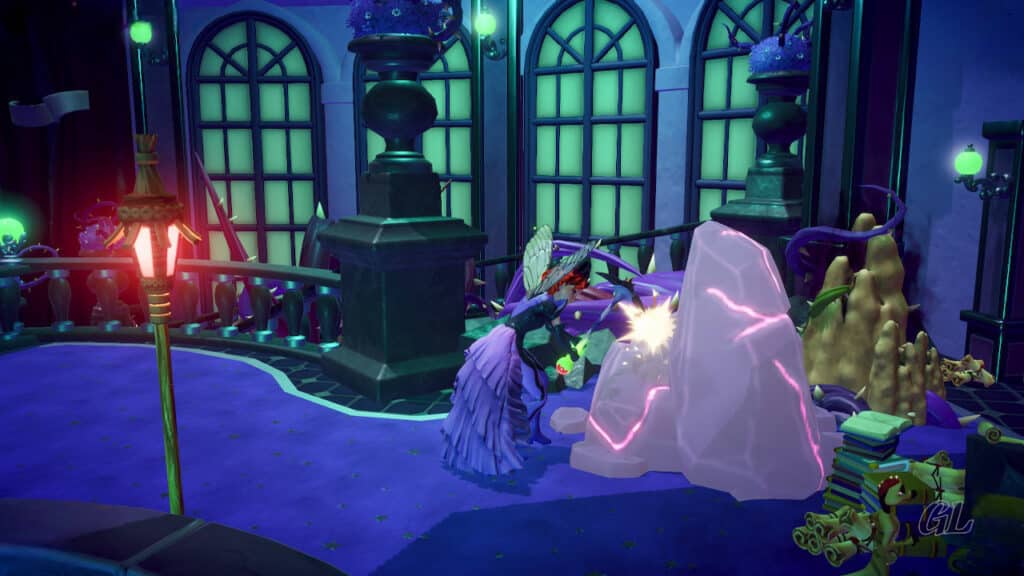
Image Credit: IzziBGran / GamifiedLife, LLC
Capture the Queen
With the nest no longer protected by the rocks, the Night Mite Queen and her minions take off running. Chase them around the well until you catch them. There will be 3 small Night Mites plus the Night Mite Queen to find.
Quest Task: Catch the remaining night Mites – 3.
Quest Task: Catch the Night Mite Queen.

Image Credit: IzziBGran / GamifiedLife, LLC
Destroy the Queen’s Nest
If you haven’t already done so, return to the corner and get rid of the Night Mite Queen’s Nest.
Hurray!!
Timon confirms that The Infestation Part 3 plan, to eliminate the source of the Night Mite problem, is successfully completed.
Quest Task: Remove the Night Mite Queen’s Nest – 1.
Quest Task: The Dark Castle is cleared of Night Mites!
- Return to Timon
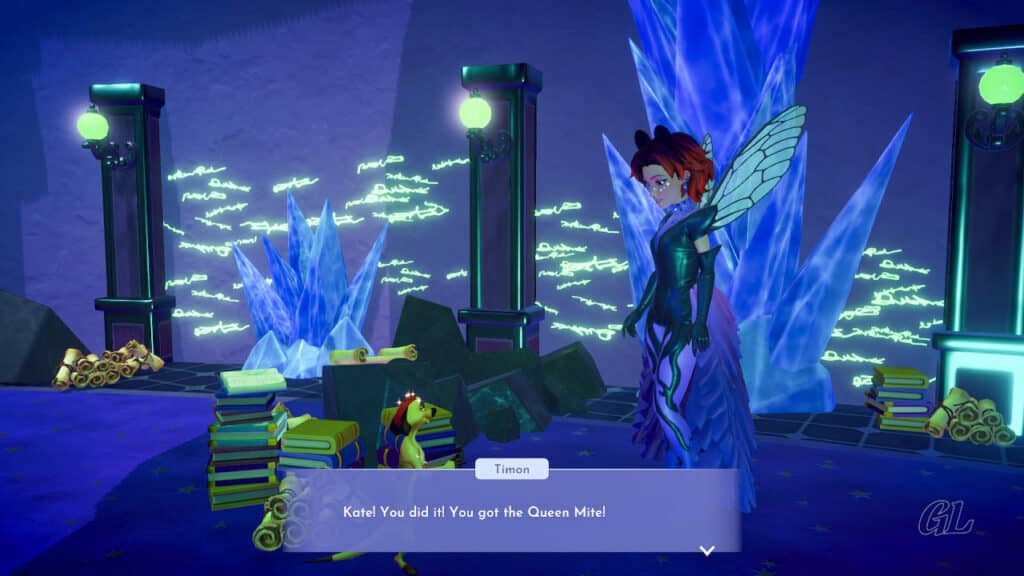
Image Credit: IzziBGran / GamifiedLife, LLC
Return to Dreamlight Valley
Now all that’s left to do, according to Timon, is feast on all the Night Mites that you’ve collected. That is, of course, if Merlin has found a way to make them safe to eat.
Head back to Dreamlight Valley through the portal in the Dark Plaza and find out.
As you pass through the portal and arrive in Dreamlight Valley’s Plaza, Merlin’s quest, The Infestation Finale, begins. You’ll need to complete that quest before this one can come to a close.
Quest Task: Return to Dreamlight Valley through the portal.
Quest Task: Complete “The Infestation Finale” with Merlin.
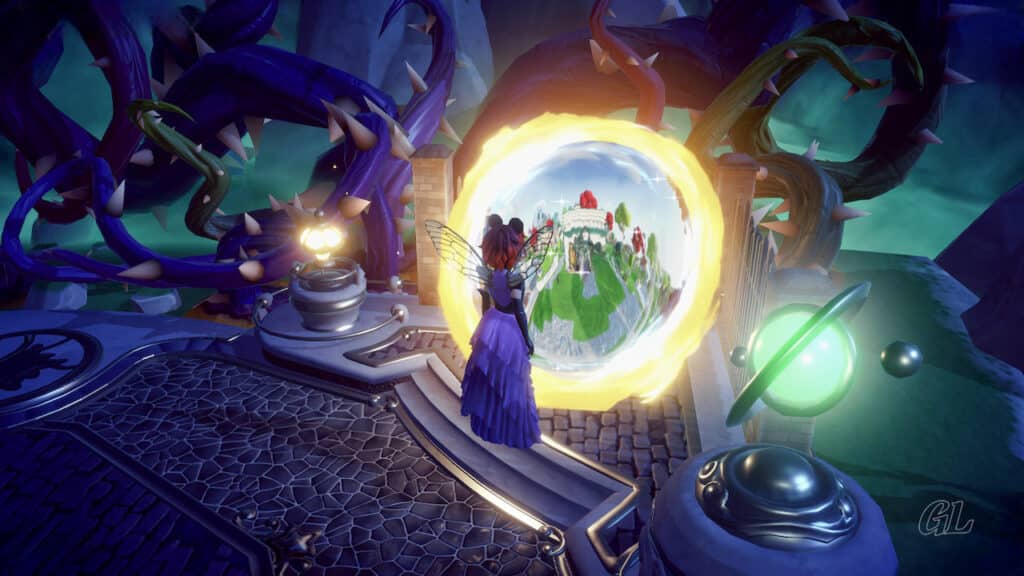
Image Credit: IzziBGran / GamifiedLife, LLC
A Well-Deserved Nap
It doesn’t take long to complete The Infestation Finale.
The Valley is once again safe from Night Mites and Timon is happily full after a great Night Mite Feast.
Coming to Dreamlight Valley has been quite the adventure! But now it’s time for a well-deserved nap!!
Quest Task: Talk to Timon.
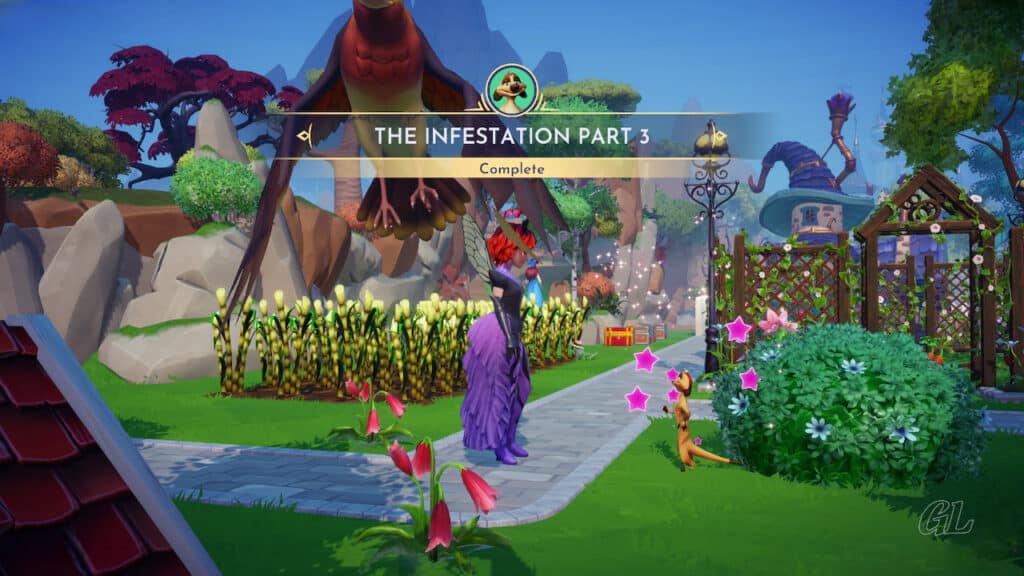
Image Credit: IzziBGran / GamifiedLife, LLC
The Adventure Continues
The adventure continues in Quest: The Infestation Finale.
The Infestation Quests
Clearing the Night Mite Infestation requires the completion of quests from Merlin, Timon and Pumbaa. Here is the complete list, in the order they are started.
It all begins when you pick up the Night Mite in the Plaza.
- A Creepy Crawly Mystery – Merlin Quest
- The Infestation Part 1 – Timon Level 9 Quest
- The Infestation Part 2 – Pumbaa Level 10 Quest
- The Infestation Part 3 – Timon Level 10 Quest
- The Infestation Finale – Merlin Quest
ProTip: You need to complete The Infestation Finale before you can close out the final task in The Infestation Part 2 and The Infestation Part 3.
In This Article
Disney Dreamlight Valley Guides
- Storybook Vale Critters Guide
- Navigating Storybook Vale
- Goofy's Storybook Vale Stalls
- All Storybook Vale Recipes
- All Blocked Chests in SV Trials
- Wild Woods Fairy Tale Trial
- Teapot Falls Fairy Tale Trial
- Fallen Fortress Fairy Tale Trial
- Elysian Fields Mythic Trial
- Fiery Plains Mythic Trial
- Statue's Shadow Mythic Trial
- Maleficent's Castle
- Mount Olympus
-
- Ariel
- Beast
- Belle
- Daisy
- Donald
- EVE
- Fairy Godmother
- Gaston
- Goofy
- Jack Skellington
- Jafar
- Kristoff
- Maui
- Merlin
- Mickey Mouse
- Mike Wazowski
- Minnie Mouse
- Mirabel
- Moana
- Mother Gothel
- Mulan
- Mushu
- Olaf
- Oswald
- Prince Eric
- Pumbaa
- Rapunzel
- Remy
- Scar
- Scrooge McDuck
- Simba
- Stitch
- Sulley
- The Forgotten
- Tiana
- Timon
- Ursula & Vanessa
- Vanellope
- WALL-E
About the Author: IzziBGran
Get the latest news & updates
