Image Credit: IzziBGran / GamifiedLife, LLC
The Mistress of All Evil
You’ve completed the Fairy Tale Trials in Everafter and removed the Inkies from the entrance to The Beanstalk Marshes. Maleficent’s Castle Entrance is up ahead. It’s time to meet the Mistress of all Evil!
Complete Flynn Quests:
The Wolf of the Wilds
The Knights of the Round Table
Teapot Falls
Quest Trigger:
Remove the Inkies to Beanstalk Marshes-Everafter
Location:
The Storybook Vale
Resources you will use during this quest.
- none
Ingredients you will use during this quest.
- none
Maleficent’s Castle Entrance
It takes 10,000 Storybook Magic to remove the Inkies from the Beanstalk Marshes. Still, the cost was necessary. You can now reach the entrance to Maleficent’s Castle. The Mistress of All Evil is sure to be inside. But will she listen to your plea to save Storybook Vale from the Neverafter? Only time will tell.
Quest Task: Explore the Beanstalk Marshes around Maleficent’s castle.
Quest Task: Explore Everafter and complete the three Fairy Tale Trials to reach Maleficent’s castle.
- The Wolf of the wilds
- Teapot Falls
- Knights of the Round Table

Image Credit: IzziBGran / GamifiedLife, LLC
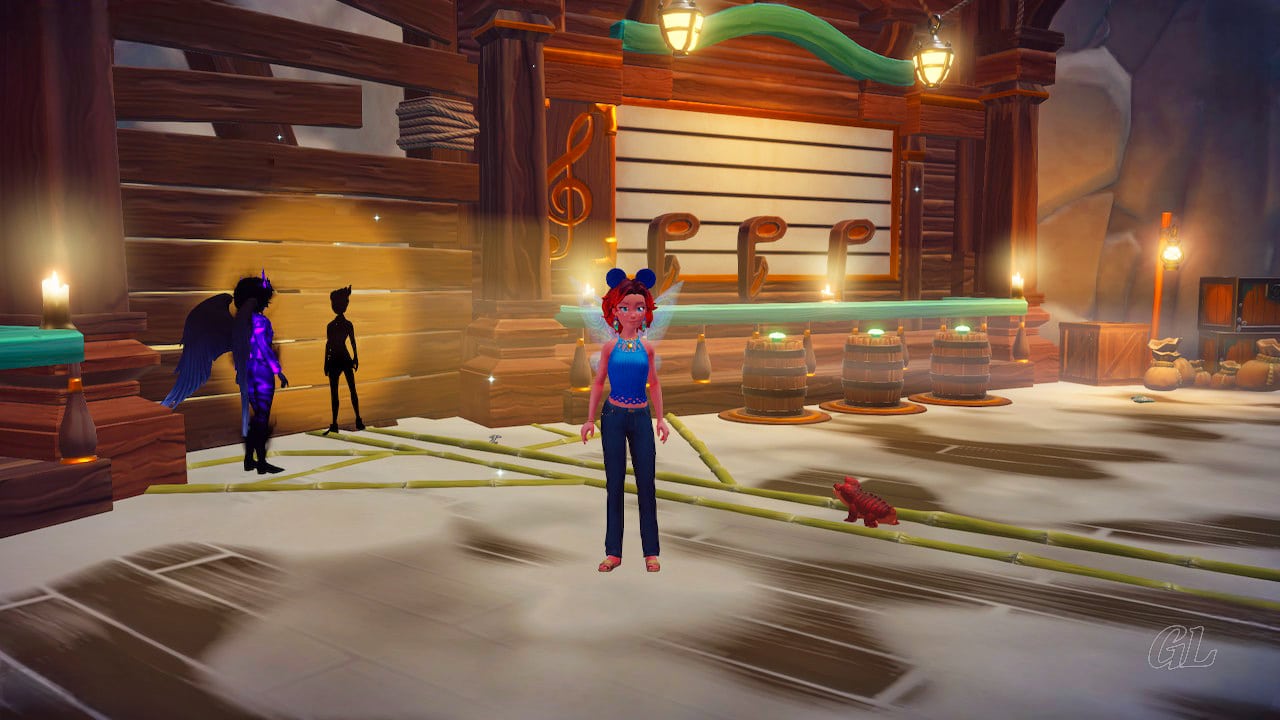
Inside the Castle
Step inside Maleficent’s castle.
The Mistress of All Evil appears to be waiting for you. She is just standing there, in the center of the room.
Gather all your courage and move further into the room, working your way through the Inkies. The time to talk to Maleficient, the Mistress of All Evil, has arrived.
Quest Task: Enter Maleficent’s castle.
Quest Task: Talk to Maleficent inside her castle.

Image Credit: IzziBGran / GamifiedLife, LLC
Conditions For Conversation
Maleficent, the Mistress of all Evil, is willing to listen to you. Well maybe… but only if you help her first.
Some of Maleficent’s pets have gotten loose and caused havoc in her castle. They have grown very powerful. So much so, her magic can’t contain them. For now, she’s trapped them inside her throne room.
But, before she has you deal with them, she wants help straightening up her castle. You need to find some of her furniture and put it back in its’ proper place.
Quest Task: Find Maleficent’s missing Spinning Wheel and Throne in her castle, then place them back in the main room.

Image Credit: IzziBGran / GamifiedLife, LLC
The Main Chamber
Finding Maleficent’s furniture doesn’t sound too bad. It’s just a Spinning Wheel and her Throne.
Besides, it will be interesting to see some of the other parts of her castle while you’re searching.
Looking around this Main Chamber, it’s easy to see where the missing furniture needs to go. Immediately in front of Maleficent is a slightly raised dais. The shadows of the missing furniture remain on the walls. There is an empty pedestal standing in front of the dais with a set of instructions to its’ left.
On each side of the room, near the entrance, are short flights of stairs. They lead to raised landings with hallways. At this point, it’s unclear where the hallways will lead. Something you’ll just have to check out.

Image Credit: IzziBGran / GamifiedLife, LLC
Side Doors
Follow the carpet runner further into the Main Chamber. Closer to the center of the room, two carpet runners cross. The new carpet runner leads to a set of doors, one on each side of the room.
Both doors are tightly closed. The one on the right has a broken Wheel Lever next to it. On the left, a floor puzzle, made up of 2 squares, appears to control the door.
Take note of the Bat in the corner of one of the squares. It indicates the top of the puzzle. That will be important in unraveling the clues to the Mistress of all Evil’s many locks.
Pro Tip: On the left side of the main chamber, at the base of the entry steps, is a chest surrounded by Glowing Mushrooms. You’ll gain the ability to remove the Glowing Mushrooms during Flynn’s quest An Old-Fashioned Heist. If you don’t have that ability now, remember this location and return later.
Broken Wheel Lever

Image Credit: IzziBGran / GamifiedLife, LLC
Floor Puzzle

Image Credit: IzziBGran / GamifiedLife, LLC
The Right Stairs
Might as well start on the right side of the room. Head up the stairs. Tucked around the corner on the left is a treasure chest. Since nothing is blocking the way, grab the contents.
To the right of the stairs, on the wall, is the solution to the floor puzzle. But Beware! Look at the location of the bat in the corner of one of the squares. The Solution on the wall is upside down!
Return to the Main Chamber.
Treasure

Image Credit: IzziBGran / GamifiedLife, LLC
Floor Puzzle Solution

Image Credit: IzziBGran / GamifiedLife, LLC
A 2-Square Floor Puzzle
Head to the 2 squares in front of the closed door in the Main Chamber. With your Royal Shovel, dig in each square until the symbol displayed in it matches the clue you found on the wall. When it does, the door in front of the floor puzzle slides into the floor.
Solution
- Top – Dragon
- Bottom – Tower

Image Credit: IzziBGran / GamifiedLife, LLC
The Side Chamber
Head through the now open doorway. The hallway leads to a short flight of stairs before it opens into a side chamber. This Chamber contains a large 3 x 3 floor puzzle. On the far wall, directly across from the entrance to the chamber, is a large curtain.
First things first. Grab the treasure from the treasure chest in the lower left corner of the room. Then take a look around the room for clues to the floor puzzle.
This floor puzzle is a little trickier. Many of the clues are hidden in the room. Most are turned in a strange direction, so look closely when you find them.

Image Credit: IzziBGran / GamifiedLife, LLC
Finding the Clues
Go back to where you entered this Side Chamber. Look to the upper left corner of the room. There is a clue on the wall, however this clue is turned on its’ side.
Another clue is on the opposite wall behind the bookcases. Interact with the bookcases to move them aside so you can see the complete picture.
Standing in the middle of the room, look back at the entrance. The last clue is on the left side of the wall as you face the entrance.
Combine all the clues and start digging in the squares.
Solution
Top Row:
- Left – Tower
- Middle – “?”
- Right – Dragon
Middle Row:
- Left – Dragon
- Middle – Tower
- Right – Tower
Bottom Row:
- Left – Dragon
- Middle – “?”
- Right – Dragon
When you have dug up the correct symbols on all of the squares, the curtain will slide open. Behind the curtain is a chest containing Maleficent’s Throne.
Pro Tip: There is no need to continue to hunt for clues to the top and bottom middle squares. Those two squares remain as is, with the “?” facing up.
Left Corner

Image Credit: IzziBGran / GamifiedLife, LLC
Behind the books

Image Credit: IzziBGran / GamifiedLife, LLC
Left of Entrance

Image Credit: IzziBGran / GamifiedLife, LLC
Finding The Wheel
Head back to the Main Chamber and position yourself at the entrance facing the dais. (This makes it easier to provide directions).
Proceed up the stairs on your left. You will find the broken off wheel for the Wheel Lever almost hidden among the Inkies. Remove the Inkies and retrieve the wheel.

Image Credit: IzziBGran / GamifiedLife, LLC
The Right Corridor
Repair the Vertical Wheel Lever next to the door on the right side of the room and swing your Royal Net.
The door slides into the floor allowing you access to the corridor beyond. The next room you enter is scattered with bookcases.
Interesting.
The Mistress of all Evil does seem to like her puzzles.

Image Credit: IzziBGran / GamifiedLife, LLC
Taking Stock
Take a look around the bookcase room to assess the puzzles that lie within.
You can just make out a doorway blocked by a bookcase on both sides of the room. On one side, the blocked doorway is on the entry level. On the opposite side of the room, it’s just up a short flight of stairs.
In front of you is a raised alcove, slightly above a balcony. It contains a Horizontal Wheel Lever. But there is no apparent way to reach it. At least not just now.

Image Credit: IzziBGran / GamifiedLife, LLC
Move the bookcase
Head to the left side of the room you just entered and up the short stairs. Interact with the bookcase.
The bookcase slides aside, providing you entry to a small room containing a wardrobe with a combination lock.
There are no symbols or clues to the combination on the wall of this room, so head back to the door.

Image Credit: IzziBGran / GamifiedLife, LLC
Clue for III
Exit the small room. Before descending the stairs to the main floor, follow the balcony to the right. A treasure chest awaits you there.
Be sure to look up before you move away. On the wall next to the treasure chest is the symbol for box III in the combination lock.

Image Credit: IzziBGran / GamifiedLife, LLC
The Horizontal Wheel Lever
Go to the other side of the balcony and head through the doorway that leads into another corridor on this level. That short corridor takes you up a flight of stairs to the Horizontal Wheel Lever that you saw when you entered the room.
So that’s how you reach it!
Before you swing your Royal Net at the Wheel, look out into the bookcase room. On a pillar directly in front of you is Clue IV.
Now, swing your Royal Net and see what happens.

Image Credit: IzziBGran / GamifiedLife, LLC
More Clues
A chandelier hanging between two of the bookcases in the room lowers to the floor. On the top of the chandelier is another clue for the combination lock.
The Mistress of all Evil is quite tricky. But you’re good at this. Only one more clue to find.

Image Credit: IzziBGran / GamifiedLife, LLC
Behind Bookcase Number 2
You already examined the doorway behind the bookcase on the right of the room, as you entered. But do you remember the doorway behind the bookcase on the opposite side of the room?
Check it out.
Interact with this second bookcase and watch is slide out of the way. Directly in front of you is a symbol on the wall. But… there is no number with it indicating which part of the combination this symbol is for.
Hmm.
Move farther into the small room and look high and low. On an adjacent wall is the number you are looking for. As you might have expected, this is the symbol for II on the combination lock.
Slide the Bookcase

Image Credit: IzziBGran / GamifiedLife, LLC
Clue II

Image Credit: IzziBGran / GamifiedLife, LLC
Enter the Combination
Return to the wardrobe with the combination lock and interact with each box until the correct symbol is displayed.
Solution
- I – Tower
- II – Dragon
- III – Lion Head
- IV – Starburst
When you enter the last code, the Spinning Wheel pops out of the wardrobe.
Not this is progress!

Image Credit: IzziBGran / GamifiedLife, LLC
Placing the Furniture
Return to the main chamber and Maleficent.
Interact with the pedestal in front of the dais. Your Backpack Inventory will open. Transfer the Throne and the Spinning Wheel to the pedestal.
Quest Task: Place all of Maleficent’s furniture back where it belongs
- Press ‘x’ (switch), then navigate to the Furniture section to pick up and move the furniture to the correct place. Maleficent’s:
- Throne
- Candelabra
- Fire
- Spinning Wheel

Image Credit: IzziBGran / GamifiedLife, LLC
Arranging the Furniture
Now all the furniture is, at least, back on the dais.
But there is still one more step.
Use your Furniture Menu to move the items, lined up near the back of the dais, to their proper positions. The shadows on the wall will guide you.
Pro Tip: The Fire is already in the proper place. Be sure to align the other pieces with the shadows on the side walls as well as the back walls by moving the forward on the dais.

Image Credit: IzziBGran / GamifiedLife, LLC
The Portal Opens
As the last piece of furniture slides into place, the Portal to Maleficent’s Throne Room pops into view.
This is your last step, hopefully. Pass through the portal to Maleficent’s Throne Room and catch her “pets”, which turn out to be dark Frog Snippets!
Quest Task: Pass through the portal to Maleficent’s throne room.
Quest Task: Catch Maleficent’s Pets – 1.
Pro Tip: There is a treasure chest tucked into an alcove in Maleficent’s Throne Room. It is surrounded by small fires. You’ll gain the ability to remove the fires during Hades Quest A Moth to a Flame. If you aren’t able to do that now, remember this location and come back.
The Portal

Image Credit: IzziBGran / GamifiedLife, LLC
Hidden Treasure

Image Credit: IzziBGran / GamifiedLife, LLC
Maleficent’s Conditions
With all of Maleficent’s “pets” tucked safely in your backpack, head back to Maleficent. It’s time for your chat.
As you expected, it is not going to be easy to get Maleficent and Hades to stop feuding. Maleficent will agree, only if Hades begs for her forgiveness. Since that isn’t likely to happen at present, you still have your work cut out for you.
What’s next?!
Quest Task: Catch Maleficent’s Pets – 3.
Quest Task: Talk to Maleficent.
Pro Tip: If Maleficent disappears before you can talk to her, try this. Leave the castle, complete A Moth to a Flame Quest and return to Maleficent’s throne room. This worked for us.

Image Credit: IzziBGran / GamifiedLife, LLC
The Adventures Continue


The adventure continues in A Long Awaited Invitation.
In This Article
- The Mistress of All Evil
- Maleficent’s Castle Entrance
- Inside the Castle
- Conditions For Conversation
- The Main Chamber
- Side Doors
- The Right Stairs
- A 2-Square Floor Puzzle
- The Side Chamber
- Finding the Clues
- Finding The Wheel
- The Right Corridor
- Taking Stock
- Move the bookcase
- Clue for III
- The Horizontal Wheel Lever
- More Clues
- Behind Bookcase Number 2
- Enter the Combination
- Placing the Furniture
- Arranging the Furniture
- The Portal Opens
- Maleficent’s Conditions
- The Adventures Continue
Disney Dreamlight Valley Guides
- Storybook Vale Critters Guide
- Navigating Storybook Vale
- Goofy's Storybook Vale Stalls
- All Storybook Vale Recipes
- All Blocked Chests in SV Trials
- Wild Woods Fairy Tale Trial
- Teapot Falls Fairy Tale Trial
- Fallen Fortress Fairy Tale Trial
- Elysian Fields Mythic Trial
- Fiery Plains Mythic Trial
- Statue's Shadow Mythic Trial
- Maleficent's Castle
- Mount Olympus
-
- Ariel
- Beast
- Belle
- Daisy
- Donald
- EVE
- Fairy Godmother
- Gaston
- Goofy
- Jack Skellington
- Jafar
- Kristoff
- Maui
- Merlin
- Mickey Mouse
- Mike Wazowski
- Minnie Mouse
- Mirabel
- Moana
- Mother Gothel
- Mulan
- Mushu
- Olaf
- Oswald
- Prince Eric
- Pumbaa
- Rapunzel
- Remy
- Scar
- Scrooge McDuck
- Simba
- Stitch
- Sulley
- The Forgotten
- Tiana
- Timon
- Ursula & Vanessa
- Vanellope
- WALL-E
About the Author: IzziBGran
Get the latest news & updates