Image Credit: IzziBGran / GamifiedLife, LLC
Not Enough Storage!
Welcome to Disney Dreamlight Valley. If you’re beginning Disney Dreamlight Valley and Need More Storage, this article is for you! It’s a common state of affairs. There are so many things to pick up and only a few spots in your backpack to put them. What to do, what to do? We can help with this minor “cheat”, I mean Tip!
While veteran players might not find as much value in what we have to tell you next, those of you who are brand new to the game, however likely will. So, stay with us. This could help lower your frustration and make the beginning of the game even more enjoyable.
Complete:
Merlin Quest: Welcome to Dreamlight Valley
Resources you will use during this quest.
- Softwood – 25
- Stone – 25
Ingredients you will use during this quest.
- none
The Game Begins
Disney Dreamlight Valley begins with your arrival in, well, Dreamlight Valley. Merlin is there to get you acclimated to your new surroundings and in short order, you are left alone to explore.
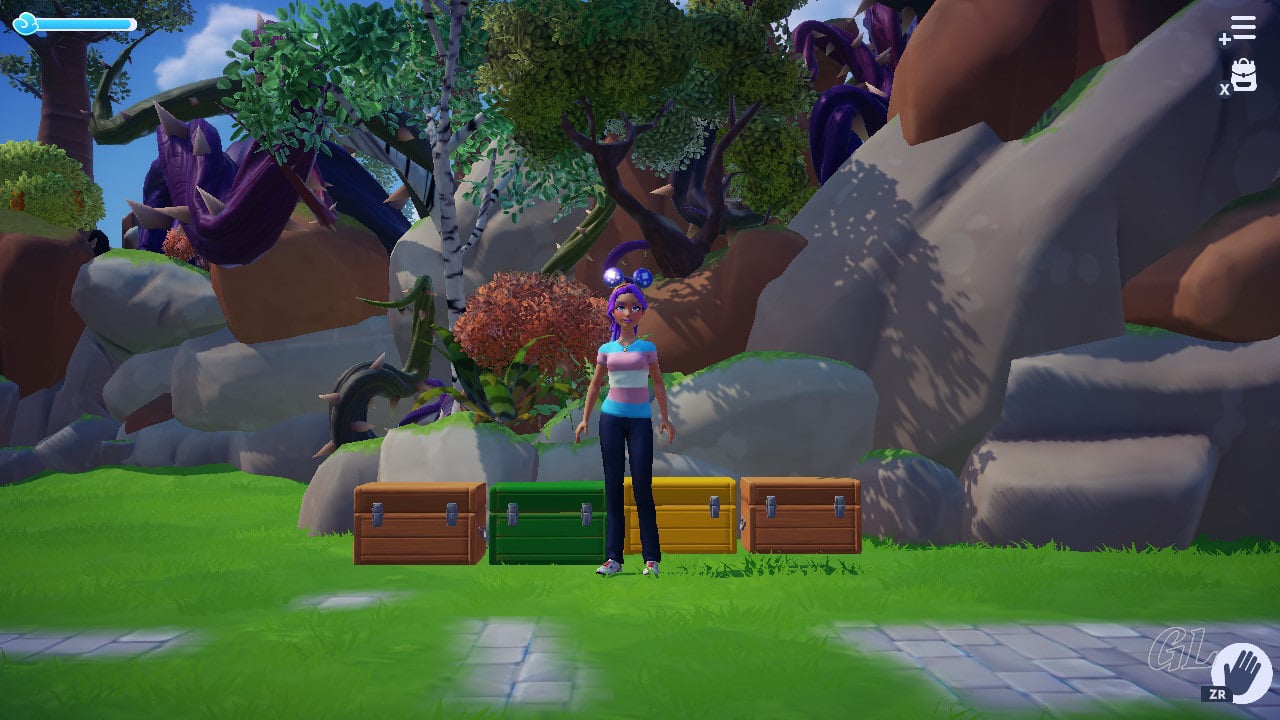
As you move about Dreamlight Valley’s Plaza, you’ll start to pick up items that will end up in your “backpack”, otherwise known as your inventory or storage. At the start of the game, your inventory capacity is really quite limited.
- Backpack: 3 rows of 7 items each (a 21-slot backpack)
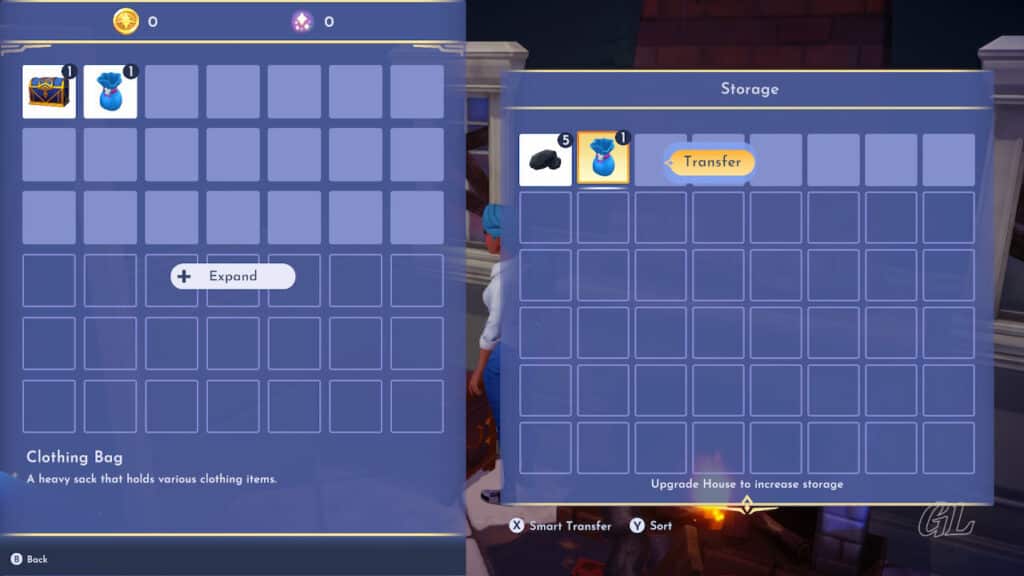
- House Chest: 1 row containing 8 slots.
It’s noteworthy that most, but not all, resources you pick up will “stack” in a slot, some up to 50, others to 99.
Once your inventory slots fill up, and this happens all too soon for most, you won’t be able to pick up anything new. Now What!
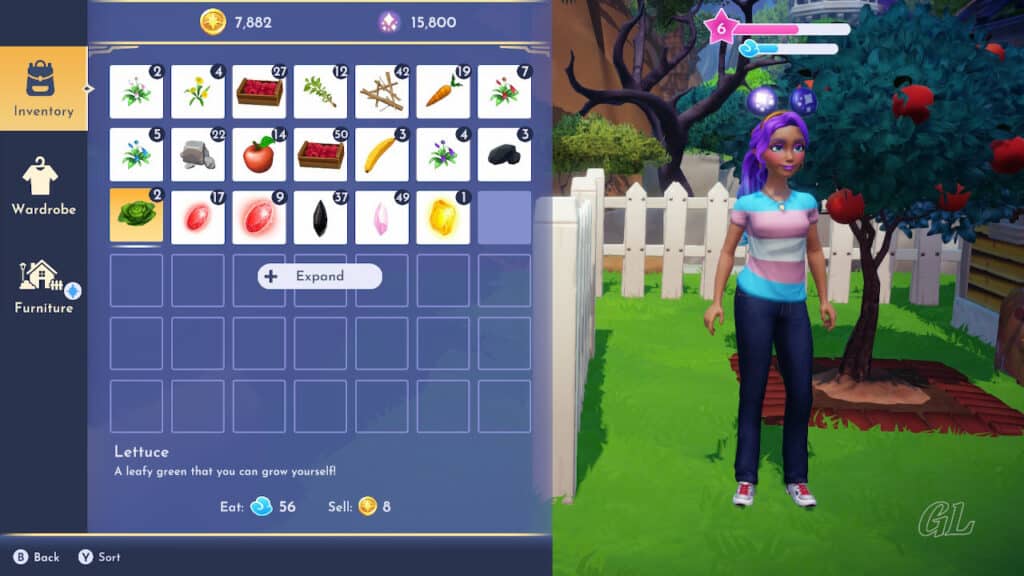
Image Credit: IzziBGran / GamifiedLife, LLC
Clearing Inventory Space
If you find yourself in a bind and need to pick up something new for a quest, there are a few options available to clear a spot.
- Eat fruit or meal items.
- “Use” or “Open” any bag or chest items you’ve picked up.
- Select an item and “Drop” it.
Using items puts them in clothing, cooking, or furniture collections and removes them from your backpack or house chest.
Dropping an item will literally drop the item close to where you’re standing. If the item you selected was stacking, all of the item that was stacked in that slot will be dropped. In other words, if you had 10 apples in a single slot, you will drop all 10 apples, freeing up the slot. Do not fear. The dropped items will stay where they land and can be picked up again later, and in full, when you have inventory space available.
It’s noteworthy that once the storyline progresses a little further, you’ll be able to sell some of your items. This will also help clear space but may not be an option just yet.
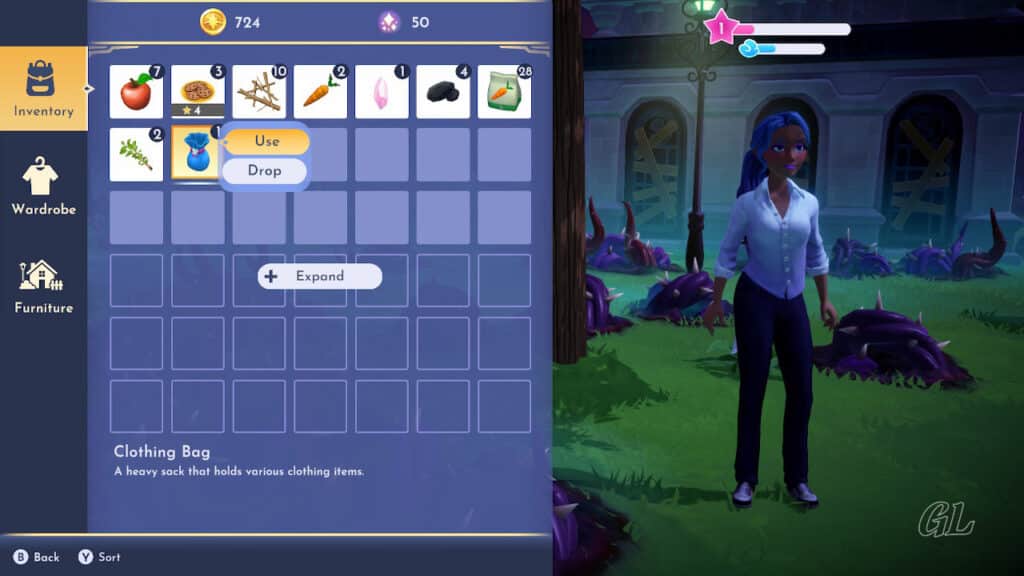
Image Credit: IzziBGran / GamifiedLife, LLC
More Space Please!
In time, as the storyline progresses, you will learn how to craft and place furniture, such as storage chests. You’ll also start to earn Star Coins, one of the game’s currencies, and can “buy” upgrades to your current storage options. But that can take a little time and I guarantee you’ll fill up your existing inventory before you get there.
So, what do you do? If you don’t mind learning some skills a little before the storyline provides them, keep on reading.
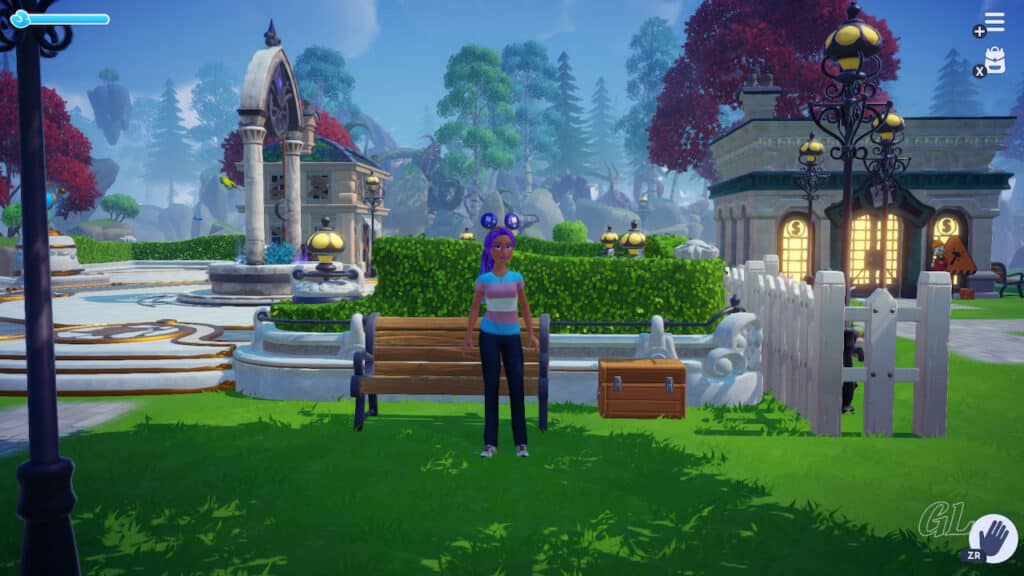
Image Credit: IzziBGran / GamifiedLife, LLC
To Craft a Storage Chest
The quickest way to get more inventory space is to craft a storage chest or 3. It’s one of the first crafting recipes that you automatically get as you pick up the resources needed to make the chest.
The recipe requires:
- Softwood – 25
- Stone – 25
Softwood is found lying around trees and bushes all over the Valley.
Stone is obtained by removing stone piles (large and small), something you can do as soon as you progress far enough through Merlin’s Quest: The Royal Tools to pull the Royal Pickaxe from the Stone.
Pro Tip: You automatically accumulate crafting recipes, as you gather “new” resources that are used in the recipes. It pays to check back at a crafting station periodically for fun variations of the chest, as well as other things to craft.
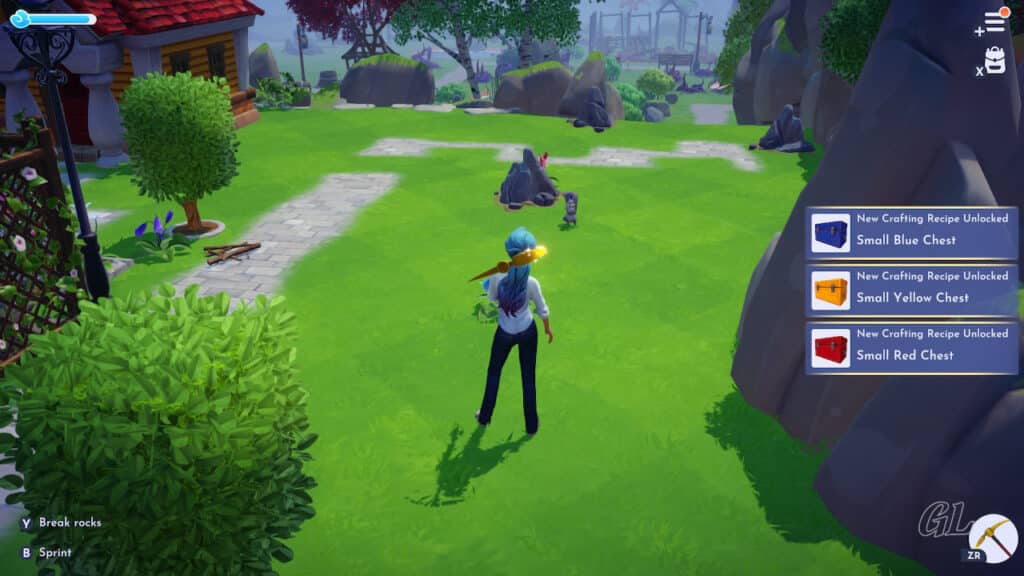
Image Credit: IzziBGran / GamifiedLife, LLC
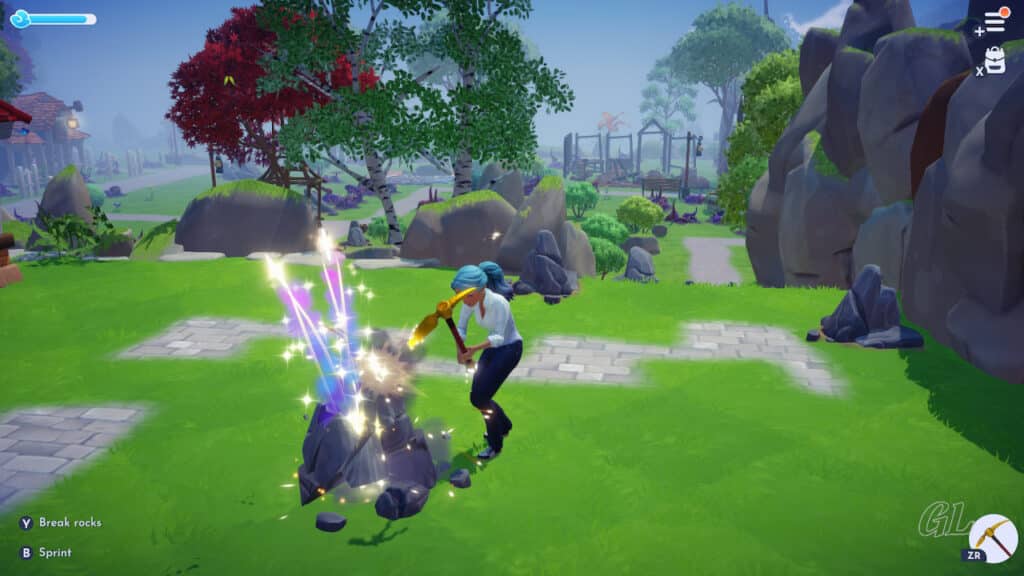
Image Credit: IzziBGran / GamifiedLife, LLC
Borrow a Crafting Station
If you have 25 Softwood, 25 Stone, and a Royal Pickaxe you have what you need to find a crafting station and make a small storage chest.
The first crafting station that becomes available to you is located on the North side of Goofy’s house in the Peaceful Meadow.
Use your Pickaxe to open the path into the Meadow. When the path opens, clear the Night Thorns until you reach Goofy’s House and his red crafting station. You can’t miss it. Goofy’s house is located directly south of the main staircase leading into that area. It’s the house with a Goofy Hat on top of the roof.
You’re ready to craft a storage chest!
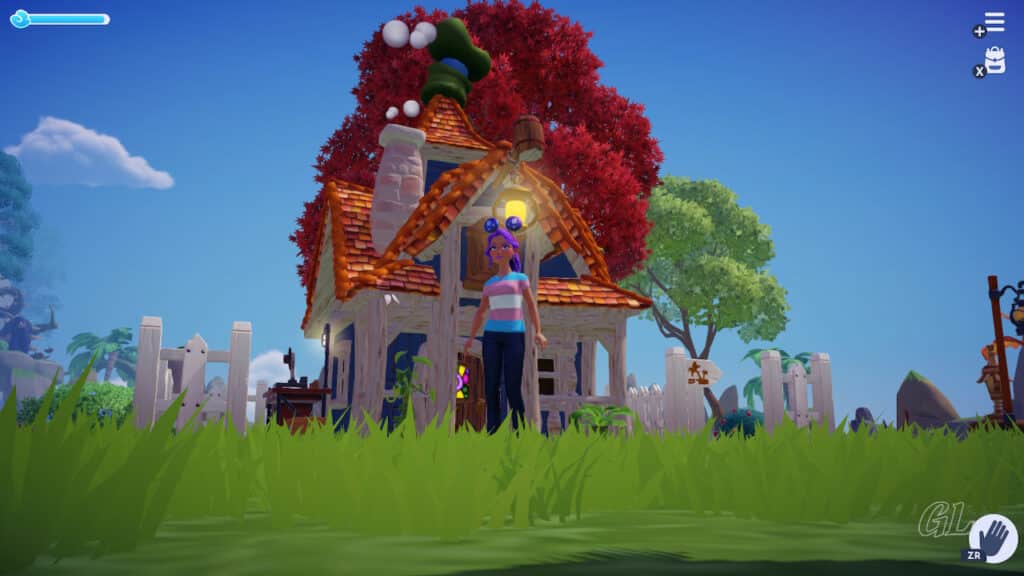
Image Credit: IzziBGran / GamifiedLife, LLC
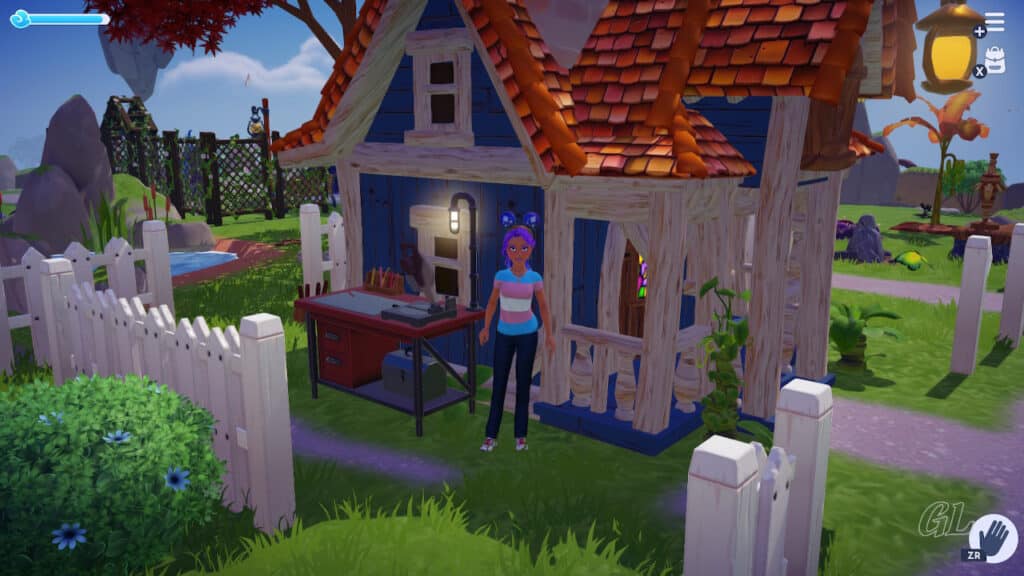
Image Credit: IzziBGran / GamifiedLife, LLC
Crafting 101
Crafting is pretty straight forward. Approach the crafting station and “use” it.
Your Crafting Recipe Menu will be displayed. There are 5 main categories here: Refined Material, Functional Items, Potion & Enchantment, Furniture, Fencing & Paving.
For now, select “Functional Items”, then highlight and select “Small Chest”. When you select it, (using “A” button on the Switch), it will display a popup menu showing exactly what is needed to make one small chest.
- You have an option of making more than 1, assuming you have accumulated enough of the required ingredients.
Pick your quantity and click “Make”. Sit back and watch yourself go to work!
That’s all that’s to it! However, we need to put it somewhere before we can actually use it.
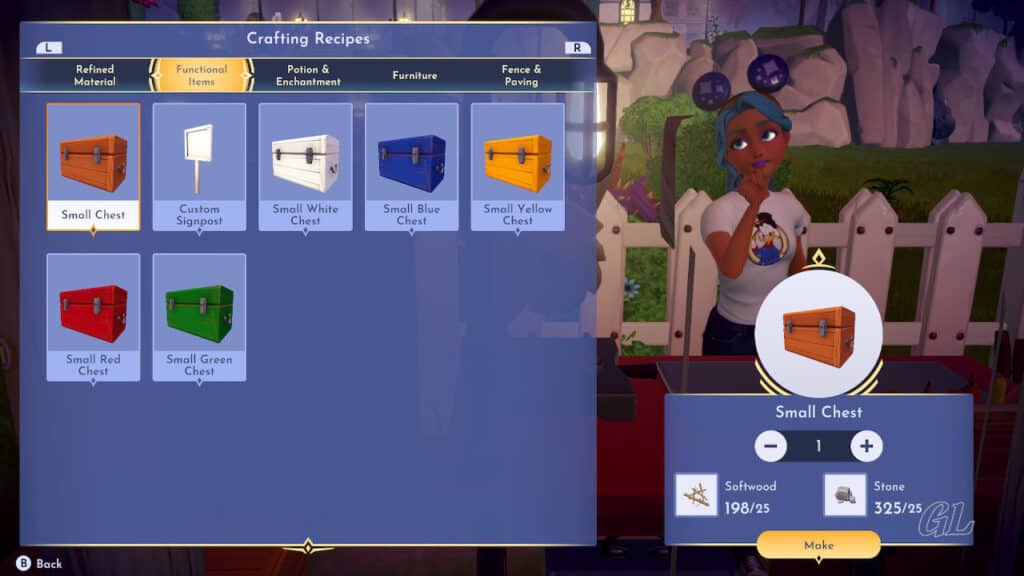
Image Credit: IzziBGran / GamifiedLife, LLC
Placing the Storage Chest
Your Small Chest is considered a piece of furniture. As such, you will need to place it somewhere before it becomes available for you to fill. Storage chests can be placed inside your house or anywhere outside.
To place the Small Chest, open your inventory menu (a.k.a. backpack). You’ll notice there are now 3 options along the left side, Inventory, Wardrobe, and Furniture.
Select Furniture. Next Select Storage.
Highlight and select “Small Chest”. You can now move the small chest to any spot you want, as long as the squares under the chest remain green. Click “A” again to finish placing it.
Back out of the furniture menu and view your handiwork. You have just expanded your inventory capacity by 16 slots!
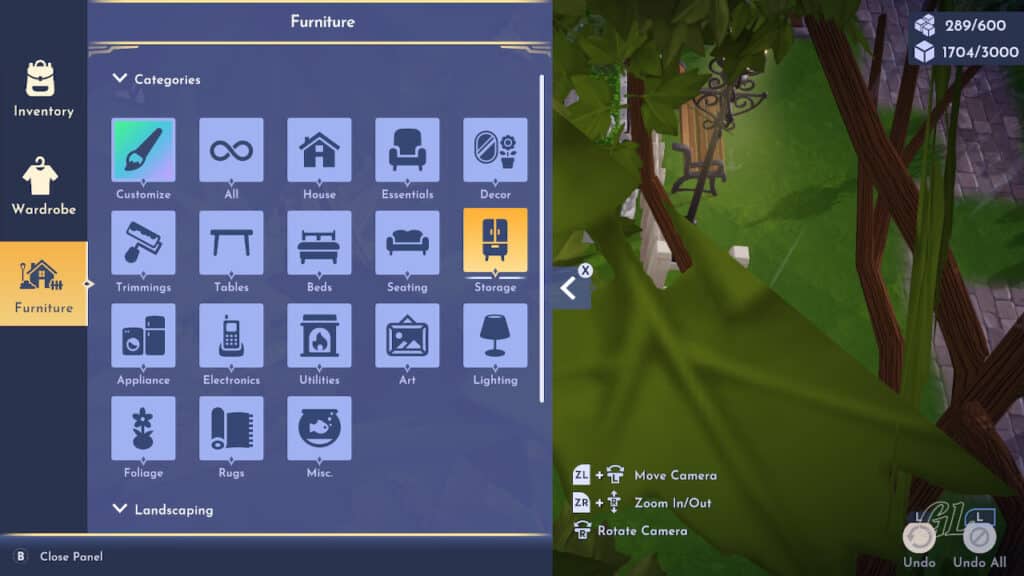
Image Credit: IzziBGran / GamifiedLife, LLC
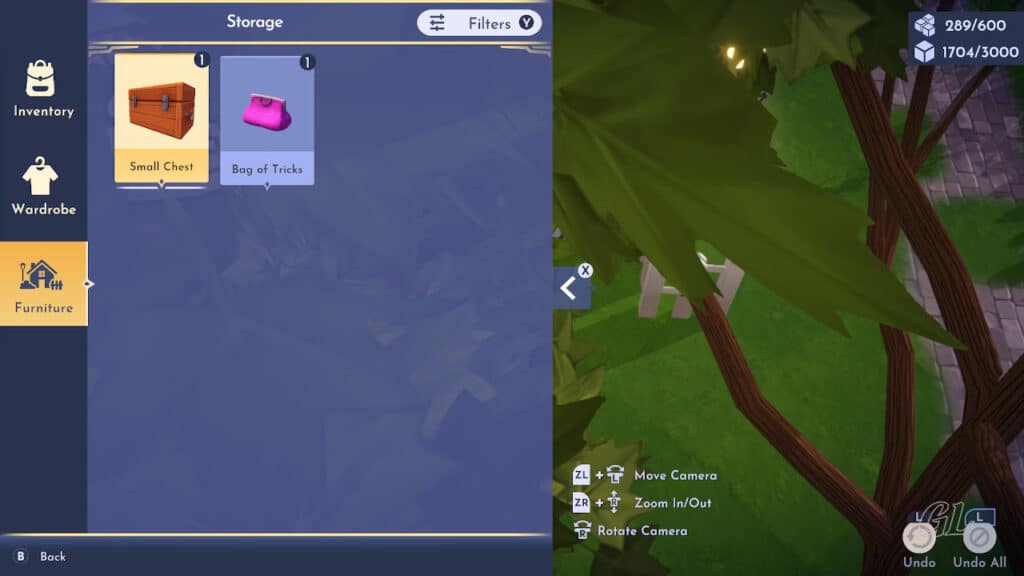
Image Credit: IzziBGran / GamifiedLife, LLC
Green Squares under the Chest = Good Placement
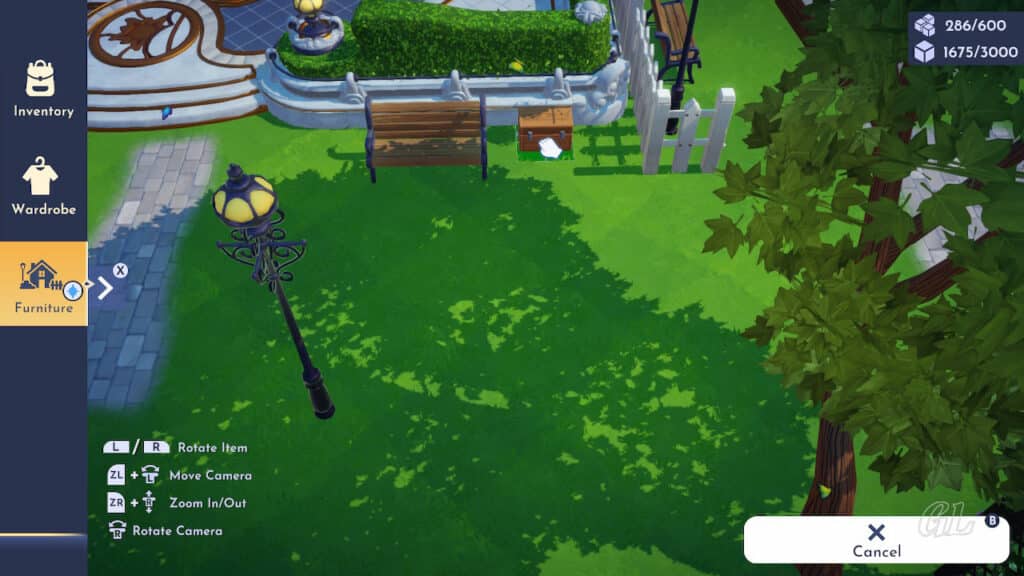
Image Credit: IzziBGran / GamifiedLife, LLC
Something to Look Forward To
As the storyline advances, you’ll be able to make different size chests, expand the number of slots available in your “backpack” inventory, as well as the size of your house storage chest.
To expand the backpack, you need Star Coins. Quite a lot of Star Coins at this stage in your game. To give you an idea, the first backpack upgrade costs 5000 Star Coins and will open one more row for a total of 28-slots.
To proceed: Highlight the icon “+ Expand” and click the select button (“A” on the Switch – not the “+”). The popup will show you the cost of the upgrade. Click “Purchase”.
Your House Storage Chest is slightly different. You will need to invest in upgrading your house, before this inventory can be increased.
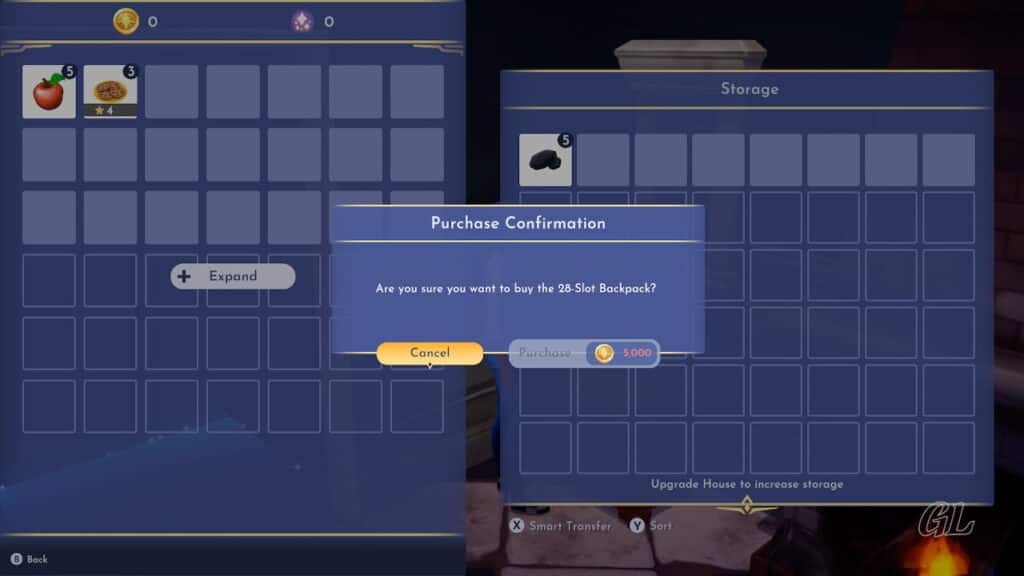
Image Credit: IzziBGran / GamifiedLife, LLC
Happy Gaming
Enjoy the Game! I hope this small Storage cheat, I mean tip, will make the early days even more enjoyable!
For more Early Game Tips, see our guides 15 Early Game Tips for Disney Dreamlight Valley and Home Improvement Guide – Disney Dreamlight Valley.
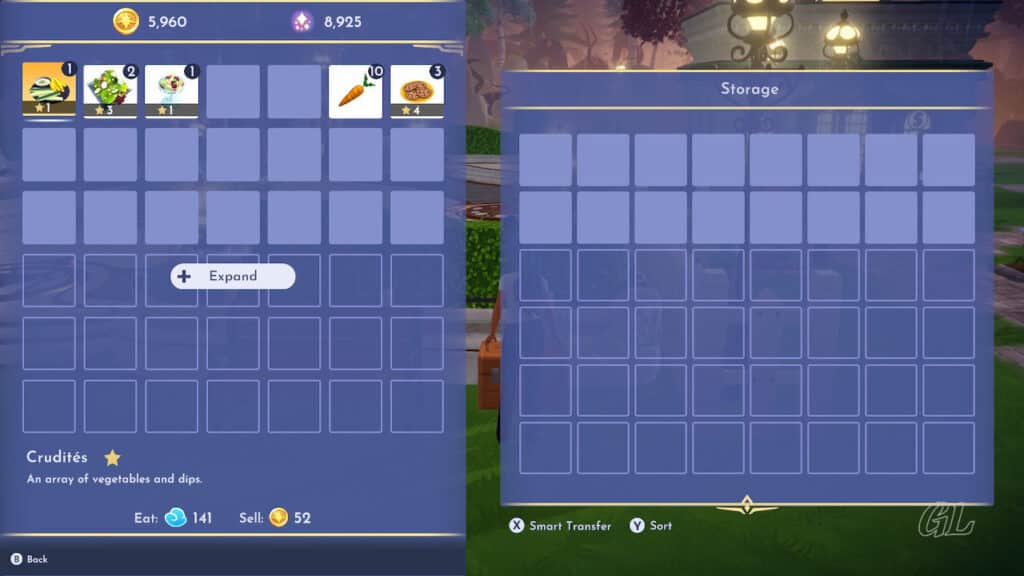
Image Credit: IzziBGran/ GamifiedLife, LLC
In This Article
Disney Dreamlight Valley Guides
- Storybook Vale Critters Guide
- Navigating Storybook Vale
- Goofy's Storybook Vale Stalls
- All Storybook Vale Recipes
- All Blocked Chests in SV Trials
- Wild Woods Fairy Tale Trial
- Teapot Falls Fairy Tale Trial
- Fallen Fortress Fairy Tale Trial
- Elysian Fields Mythic Trial
- Fiery Plains Mythic Trial
- Statue's Shadow Mythic Trial
- Maleficent's Castle
- Mount Olympus
-
- Ariel
- Beast
- Belle
- Daisy
- Donald
- EVE
- Fairy Godmother
- Gaston
- Goofy
- Jack Skellington
- Jafar
- Kristoff
- Maui
- Merlin
- Mickey Mouse
- Mike Wazowski
- Minnie Mouse
- Mirabel
- Moana
- Mother Gothel
- Mulan
- Mushu
- Olaf
- Oswald
- Prince Eric
- Pumbaa
- Rapunzel
- Remy
- Scar
- Scrooge McDuck
- Simba
- Stitch
- Sulley
- The Forgotten
- Tiana
- Timon
- Ursula & Vanessa
- Vanellope
- WALL-E
About the Author: IzziBGran
Get the latest news & updates
