Image Credit: IzziBGran / GamifiedLife, LLC
Guts & Glory
There is a Mythic Trial in the Elysian Fields. This trial is one of Guts & Glory. Glory, that is, if you succeed. Get ready for a puzzle filled adventure.
Updated: 02/07/2025
Complete:
Merida Quest: A Land of Myths and Legends
Quest Trigger:
Open the Portal to The Mythic Trial in The Elysian Fields
Location:
The Storybook Vale
Resources you will use during this quest.
- none
Ingredients you will use during this quest.
- none
The Portal
You were warned not to go alone. And yet, as you step through the portal of the Mythic Trial, no one comes with you, not even the Villager you were spending time with.
There is, however, someone waiting for you inside. It’s Hades! So, this is where he has been hanging out.
Quest Task: Enter the Mythic Trial in the Elysian Fields.
Quest Task: Explore the first Mythic Trial.

Image Credit: IzziBGran / GamifiedLife, LLC
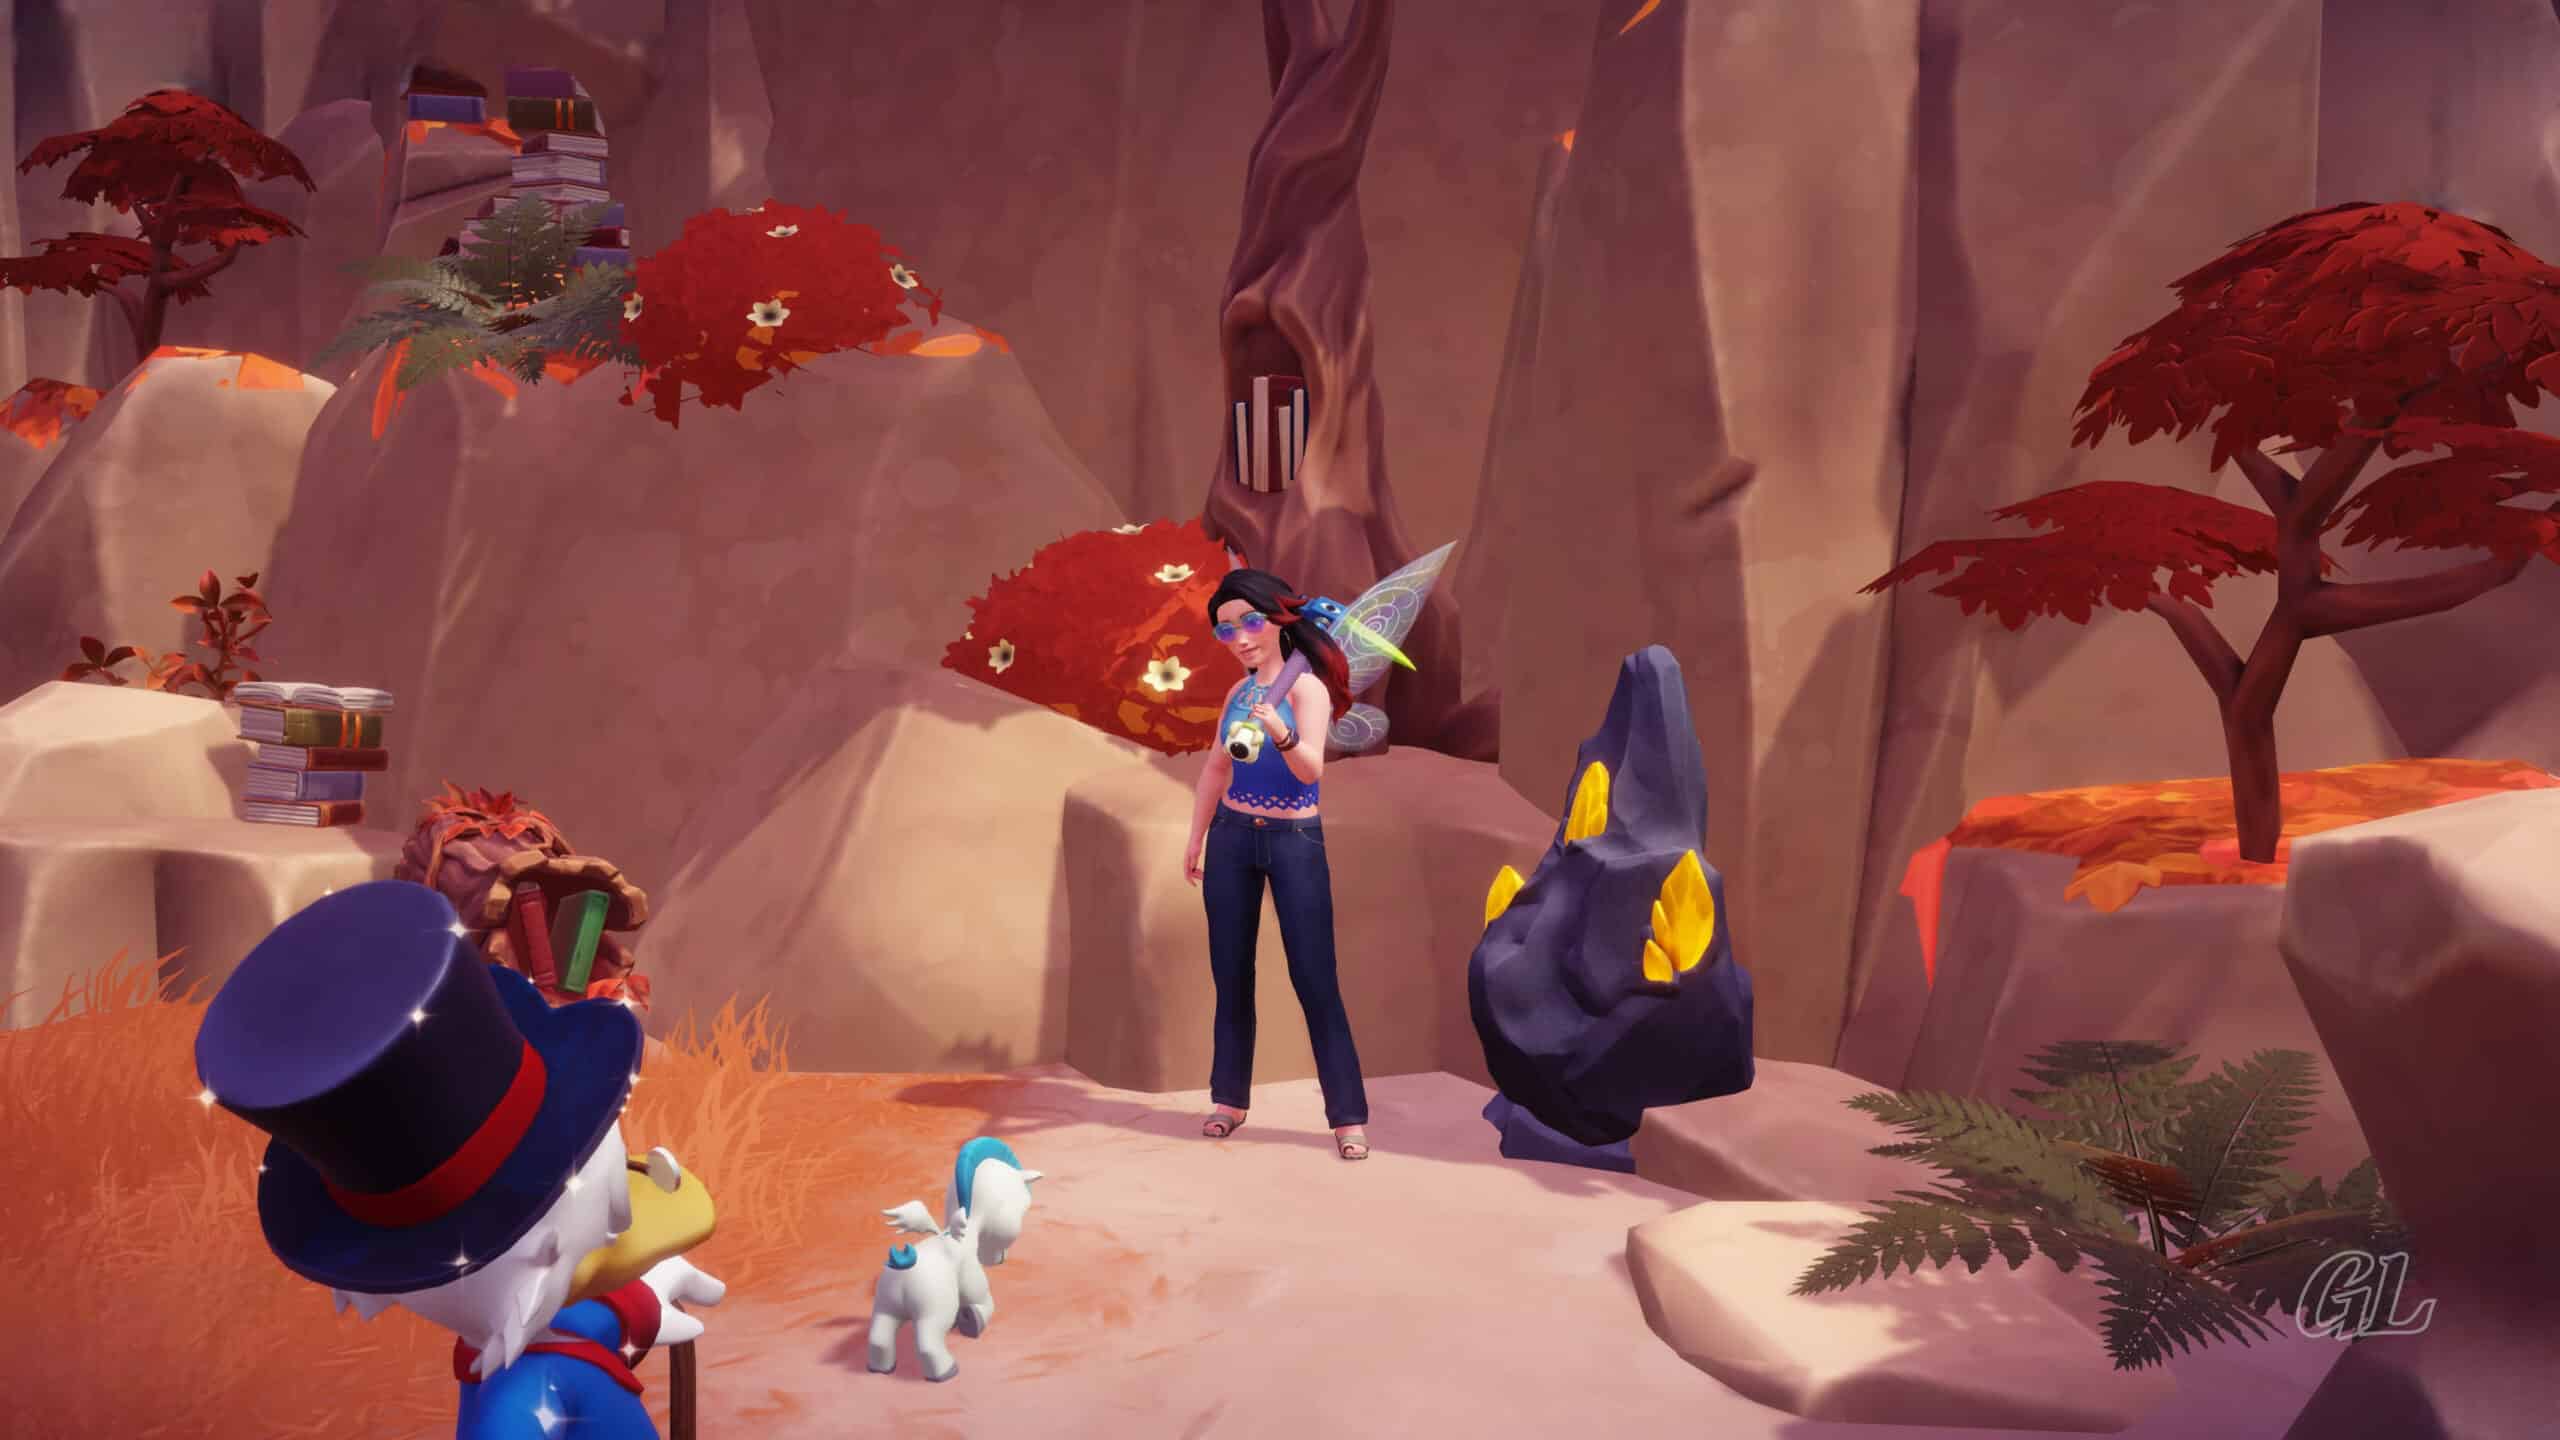
The Maze Ahead
The Mythic Trial is a vast area with a maze of winding walkways, stairs and bridges that cross above and below each other. Some of the paths simply end with a big drop. You can see why this Mythic Trial is all about Guts & Glory!
Still, you’ve got this. Forge ahead!

Image Credit: IzziBGran / GamifiedLife, LLC
Hades Request
Once introductions are out of the way, Hades has something he wants you to do. It’s an odd request, but this is a trial of guts & glory, so why not.
Hades is trying to move a cart of decorative vases to a yet unknown location in this Mythic Trial. Your job, it seems, is to find a way to help him.
The first step is pretty easy. There are various discs setup in the area. When they are aligned, they shoot a light beam from one disc to another, creating a track for the cart of vases to move along.
If nothing is blocking the path, all you need to do is interact with the cart. It sails along the light beam to the next disc, where it stops, waiting for you to interact with it again.

Image Credit: IzziBGran / GamifiedLife, LLC
The Cart of Vases
Might as well get started. Nothing is blocking the way just now, so start by pushing the cart of vases to the next disc.
As soon as the cart moves, Hades heads off, leading the way around the maze in the direction he wants the cart to move.
Quest Task: Push Hades cart.
Quest Task: Follow Hades.

Image Credit: IzziBGran / GamifiedLife, LLC
A Blocked Path
The cart, however, is not as cooperative. It has gotten stuck on the next disc, and that disc is not in a location that you can reach.
Hades appears to have a solution. He is standing next to a Horizontal Wheel Lever that appears to control a rotating bridge. Swing your Royal Net at the wheel and the bridge rotates 1/4 turn, aligning with the cart.
Cross the bridge and give the cart a push by once again interacting with it.
Return to the Horizontal Wheel Lever. You need to rotate the bridge again, twice, to reach the next section of the Guts & Glory Mythic Trial.
Quest Task: Find a way to rotate the bridge.
Quest Task: Cross the bridge.
Pro Tip: Before leaving the platform with the Horizontal Wheel Lever, take note of the chest blocked by green fire on a balcony nearby. With a swing of the Royal Net you can move the bridge so that it aligns with the balcony. Unfortunately, you won’t have the means to remove the green fire until the quest A Moth to a Flame, so remember this location and come back later.
Hades Instructions

Image Credit: IzziBGran / GamifiedLife, LLC
Return for the Chest

Image Credit: IzziBGran / GamifiedLife, LLC
A Raised Bridge
When the bridge is aligned to the next section of the Trial, Hades runs on ahead. Follow him.
Head up the stairs on your left and follow the path around until you come to a Lever next to a raised bridge. Flip the Lever to lower the bridge. Cross to the middle of the bridge to reach the cart of vases.
There is still one more step you need to take before you can push the cart along the light beam. A gate blocks the path to the next disc.
Continue across the bridge to the next balcony. Remove the rock piles with your pickaxe to reach the Vertical Wheel Lever. It just takes a swing of your Royal Net on the Vertical Wheel Lever and the gates blocking the light beam swing open.
Return to the center of the bridge. You can now interact with the cart of vases and move it along the light beam to the next disc.
Quest Task: Find a way to open the gates and push the cart through.
Quest Task: Follow Hades.
Lower the Bridge

Image Credit: IzziBGran / GamifiedLife, LLC
Remove Rocks

Image Credit: IzziBGran / GamifiedLife, LLC
Trigger the Wheel Lever

Image Credit: IzziBGran / GamifiedLife, LLC
Send the Vases on Their Way

Image Credit: IzziBGran / GamifiedLife, LLC
The Open Gates
Head back across the remainder of the bridge to where you left Hades.
He has moved on through the gates to the right of the stairs, which are now open as well. Follow him.
Passing through the gates, take note of the treasure chest ahead of you. This one is not blocked by anything, so help yourself.

Image Credit: IzziBGran / GamifiedLife, LLC
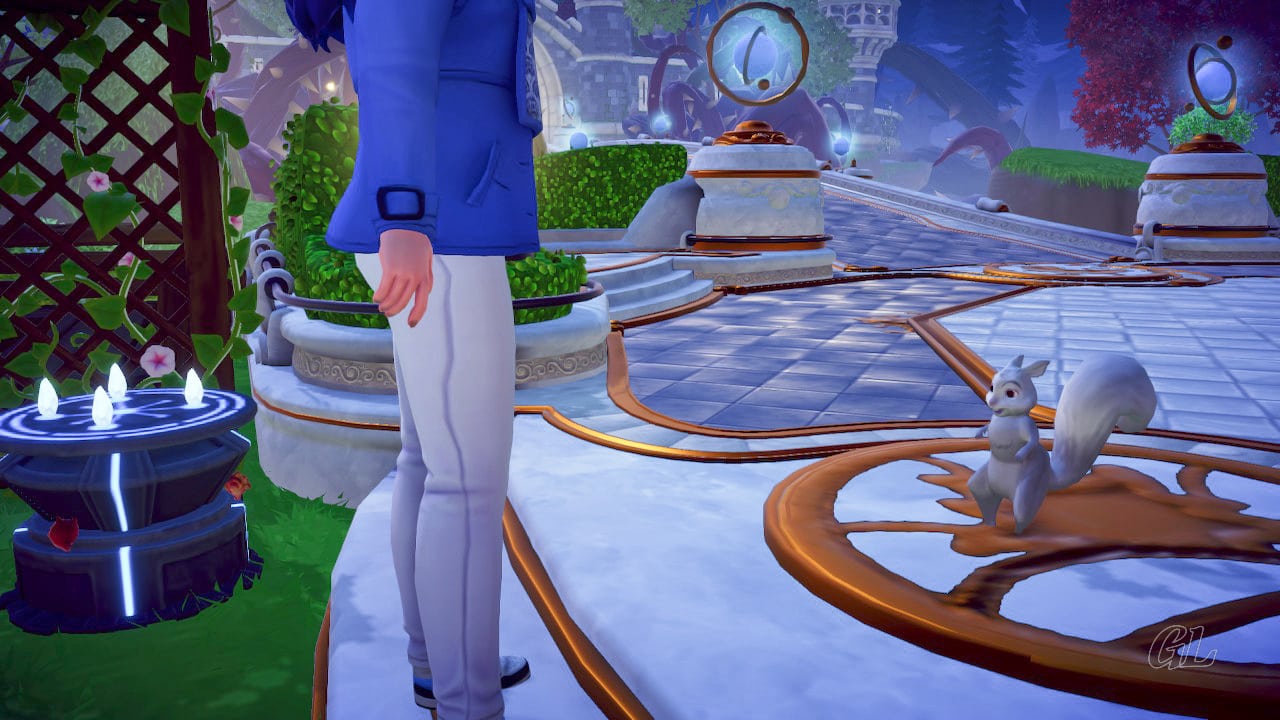
Bridge Fishing
Hades is standing near the railing. To his right and a slight distance away is another platform containing a Horizontal Wheel Lever. If you want to reach that platform, you need to find a way to raise the walkway that is sunken under the…clouds?
This looks like a job for your Royal Fishing Rod. Cast it into the swirling vortex in the “Cloud”. It doesn’t take much to hook the bridge and raise it out of the… whatever the mist is in this Guts & Glory Mythic Trial.
Don’t you wish Maui could see you now. He might be able to raise islands with his hook, but your Royal Fishing Rod can raise bridges!
Quest Task: Figure out how to release the bridge.
Quest Task: Follow Hades.

Image Credit: IzziBGran / GamifiedLife, LLC

Image Credit: IzziBGran / GamifiedLife, LLC
A Bridge and a Stair
Cross over the newly raised bridge to the Horizontal Wheel Lever. This platform has a pathway attached to it, with a stairway next to the pathway leading nowhere. Swing your Royal Net at the Lever and the platform turns.
When the stairs meet the nearby balcony, head over and take a look. You’ll need to remove the large rock piles with your pickaxe, but no matter. There is a treasure chest on the balcony for you to take for your trouble.
Turn around and continue along the path.
Quest Task: Find a way to rotate the bridge.
Quest Task: Explore deeper in the Mythic Trial.
Cross to the Center

Image Credit: IzziBGran / GamifiedLife, LLC
Turn the Platform

Image Credit: IzziBGran / GamifiedLife, LLC
Two Raised Bridges
Follow the path until you come to a stairway leading down to the vase cart. It has stopped on a disc between two balconies. Each balcony has a raised bridge.
Hmm.
Proceed down the stairs. There is a lever that will lower the bridge next to it. This bridge, once lowered, spans the distance between the two balconies and allows you to cross. Plus, the bridge passes close enough to the cart, so that you should be able to move it along.

Image Credit: IzziBGran / GamifiedLife, LLC
More Closed Gates
Ah, but it can’t be that simple. When you reach the middle of the bridge and the vases, you can see that a closed gate once again blocks the light beam’s path to the next disc.
Continue across the bridge to the other balcony. There is a lever there as well and the second raised bridge. It appears to be the key to this puzzle.
Pro Tip: Don’t miss the chest hidden behind the large rock piles on this next balcony. Your Royal Pickaxe makes quick work of the rocks allowing you access to the treasure chest.
Image Credit: IzziBGran / GamifiedLife, LLC
A Lever, A Wheel and A Bridge
The Lever on the new balcony lowers the second bridge, effectively blocking the path so that your cart of vases cannot move forward. The bridge does, however, connect with a small platform containing a Vertical Wheel Lever.
Swing your Royal Net at the Vertical Wheel Lever. This Lever controls the gates, which immediately swing open.
Now you just need to retrace your steps and raise the bridge you just lowered, since it is now the only thing blocking your cart.
With the cart’s path now clear, head back to the center of the first bridge. This places you behind your cart of vases. Interact with the cart to send it sailing along the light beam, through the now open gates and to the next disc.
Quest Task: Find a way to open the gates and move the cart along.
Lower the Bridge

Image Credit: IzziBGran / GamifiedLife, LLC
Closed Gate Blocks Vases

Image Credit: IzziBGran / GamifiedLife, LLC
Lower the 2nd Bridge to reach the lever

Image Credit: IzziBGran / GamifiedLife, LLC
Raise the Bridge and push them thru

Image Credit: IzziBGran / GamifiedLife, LLC
Follow Hades
With that accomplished, go back up the stairs to the pathway and continue along it until you find Hades.
The Mythic Trial of Guts & Glory is drawing to a close. Hades has led you to the source of the corruption inside this Mythic Trial. This is likely what has trapped Hades inside.
Let’s see if your magic works as well on the corruption in Mythopia’s Mythic Trials as it does in the Fairy Tale Trials in Everafter.
Quest Task: Follow Hades.

Image Credit: IzziBGran / GamifiedLife, LLC
The Corruption
Interact with the Corruption.
In another part of the Mythopia, at the base of the stairs leading to the gates of Mount Olympus, the first set of pillars light up. At the same time, the Guts & Glory Mythic Trial ends and you, along with Hades, are transported back to the Elysian Fields.
Still, your work here is not yet done.
Quest Task: Talk to Hades.
Quest Task: Interact with the source of the corruption inside the first Mythic Trial.

Image Credit: IzziBGran / GamifiedLife, LLC
It’s good to be “almost” Home
You have just completed the first step in helping Hades reach his home on Storybook Vale’s Mount Olympus. But unfortunately for Hades, there is still a lot to do before he can get back there.
So, in the meantime, he needs a place to live.
Easy enough. You have a lot of experience helping Villagers build homes.
Quest Task: Talk to Hades.

Image Credit: IzziBGran / GamifiedLife, LLC
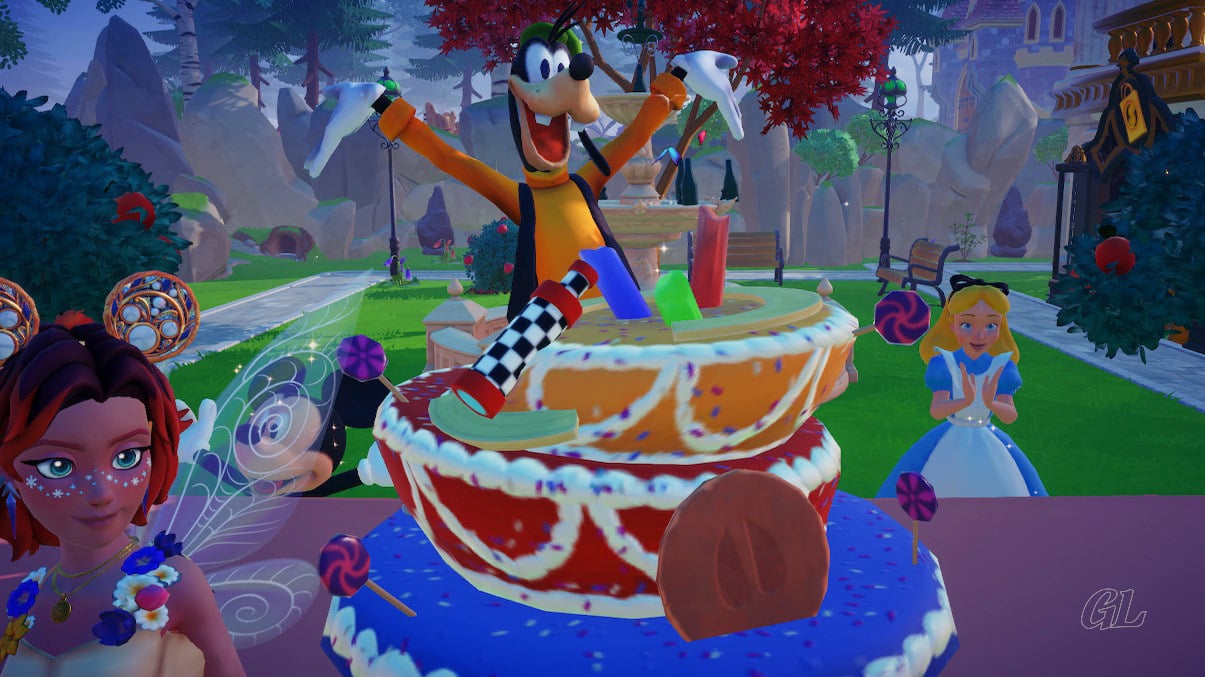
Welcome Home Hades
Time to talk with Scrooge McDuck. Scrooge McDuck Construction is ready and willing to help setup a home for Hades.
Are home prices going up? Hmm, it’s likely.
Hades Lair will “only” cost 10,000 Star Coins. Find a good spot and dish out the coins. Scrooge McDuck will have the Lair built in no time!
Quest Task: Place Hades’ Lair anywhere in the Storybook Vale.
Quest Task: Unlock Hades’ Lair by interacting with the Scrooge McDuck Sign next to it.

Image Credit: IzziBGran / GamifiedLife, LLC
Junior Minion
It’s always good to be able to please the gods and Hades is very pleased with his new Liar. So much so, that he signs you on as his Junior Minion.
Ok, well… hmm.
In any case, welcome back to the Vale, Hades!
Quest Task: Welcome Hades to the Vale!
Quest Task: Check in with Hades.

Image Credit: IzziBGran / GamifiedLife, LLC
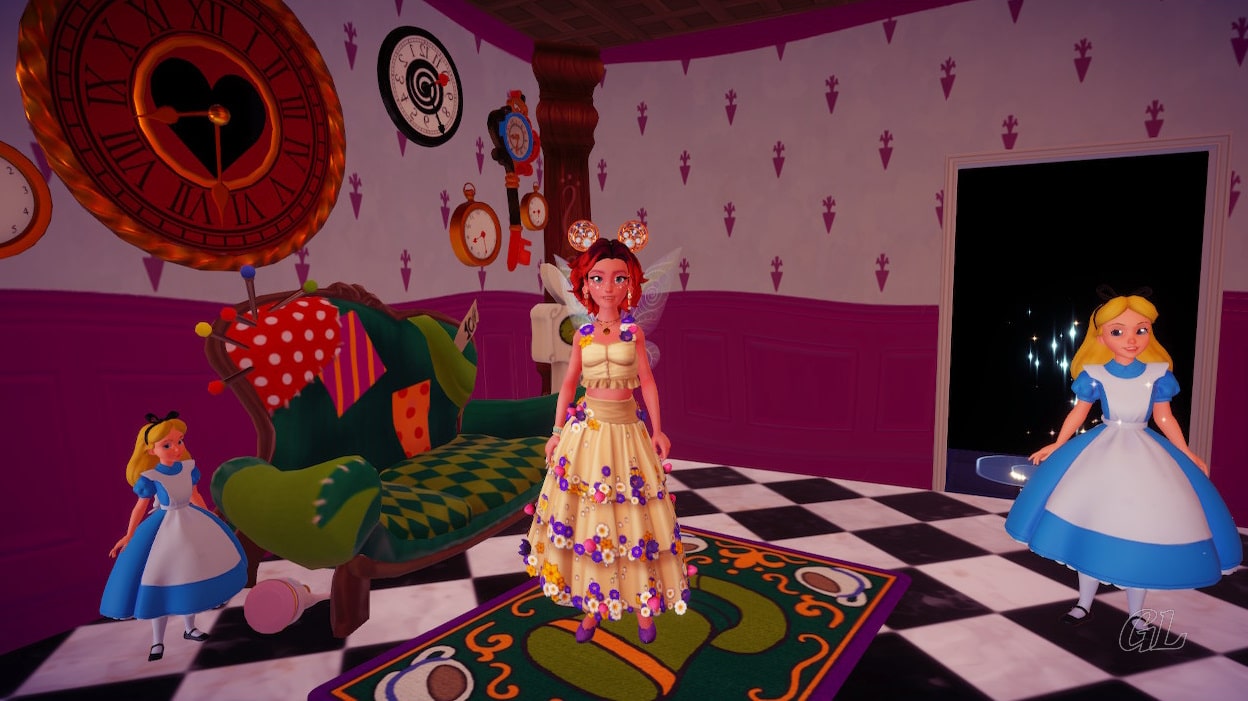
The Adventures Continue


The adventure continues in A Moth to a Flame.
In This Article
Disney Dreamlight Valley Guides
- Storybook Vale Critters Guide
- Navigating Storybook Vale
- Goofy's Storybook Vale Stalls
- All Storybook Vale Recipes
- All Blocked Chests in SV Trials
- Wild Woods Fairy Tale Trial
- Teapot Falls Fairy Tale Trial
- Fallen Fortress Fairy Tale Trial
- Elysian Fields Mythic Trial
- Fiery Plains Mythic Trial
- Statue's Shadow Mythic Trial
- Maleficent's Castle
- Mount Olympus
-
- Ariel
- Beast
- Belle
- Daisy
- Donald
- EVE
- Fairy Godmother
- Gaston
- Goofy
- Jack Skellington
- Jafar
- Kristoff
- Maui
- Merlin
- Mickey Mouse
- Mike Wazowski
- Minnie Mouse
- Mirabel
- Moana
- Mother Gothel
- Mulan
- Mushu
- Olaf
- Oswald
- Prince Eric
- Pumbaa
- Rapunzel
- Remy
- Scar
- Scrooge McDuck
- Simba
- Stitch
- Sulley
- The Forgotten
- Tiana
- Timon
- Ursula & Vanessa
- Vanellope
- WALL-E
About the Author: IzziBGran
Get the latest news & updates