Image Credit: IzziBGran / GamifiedLife, LLC
Losing Your Marbles
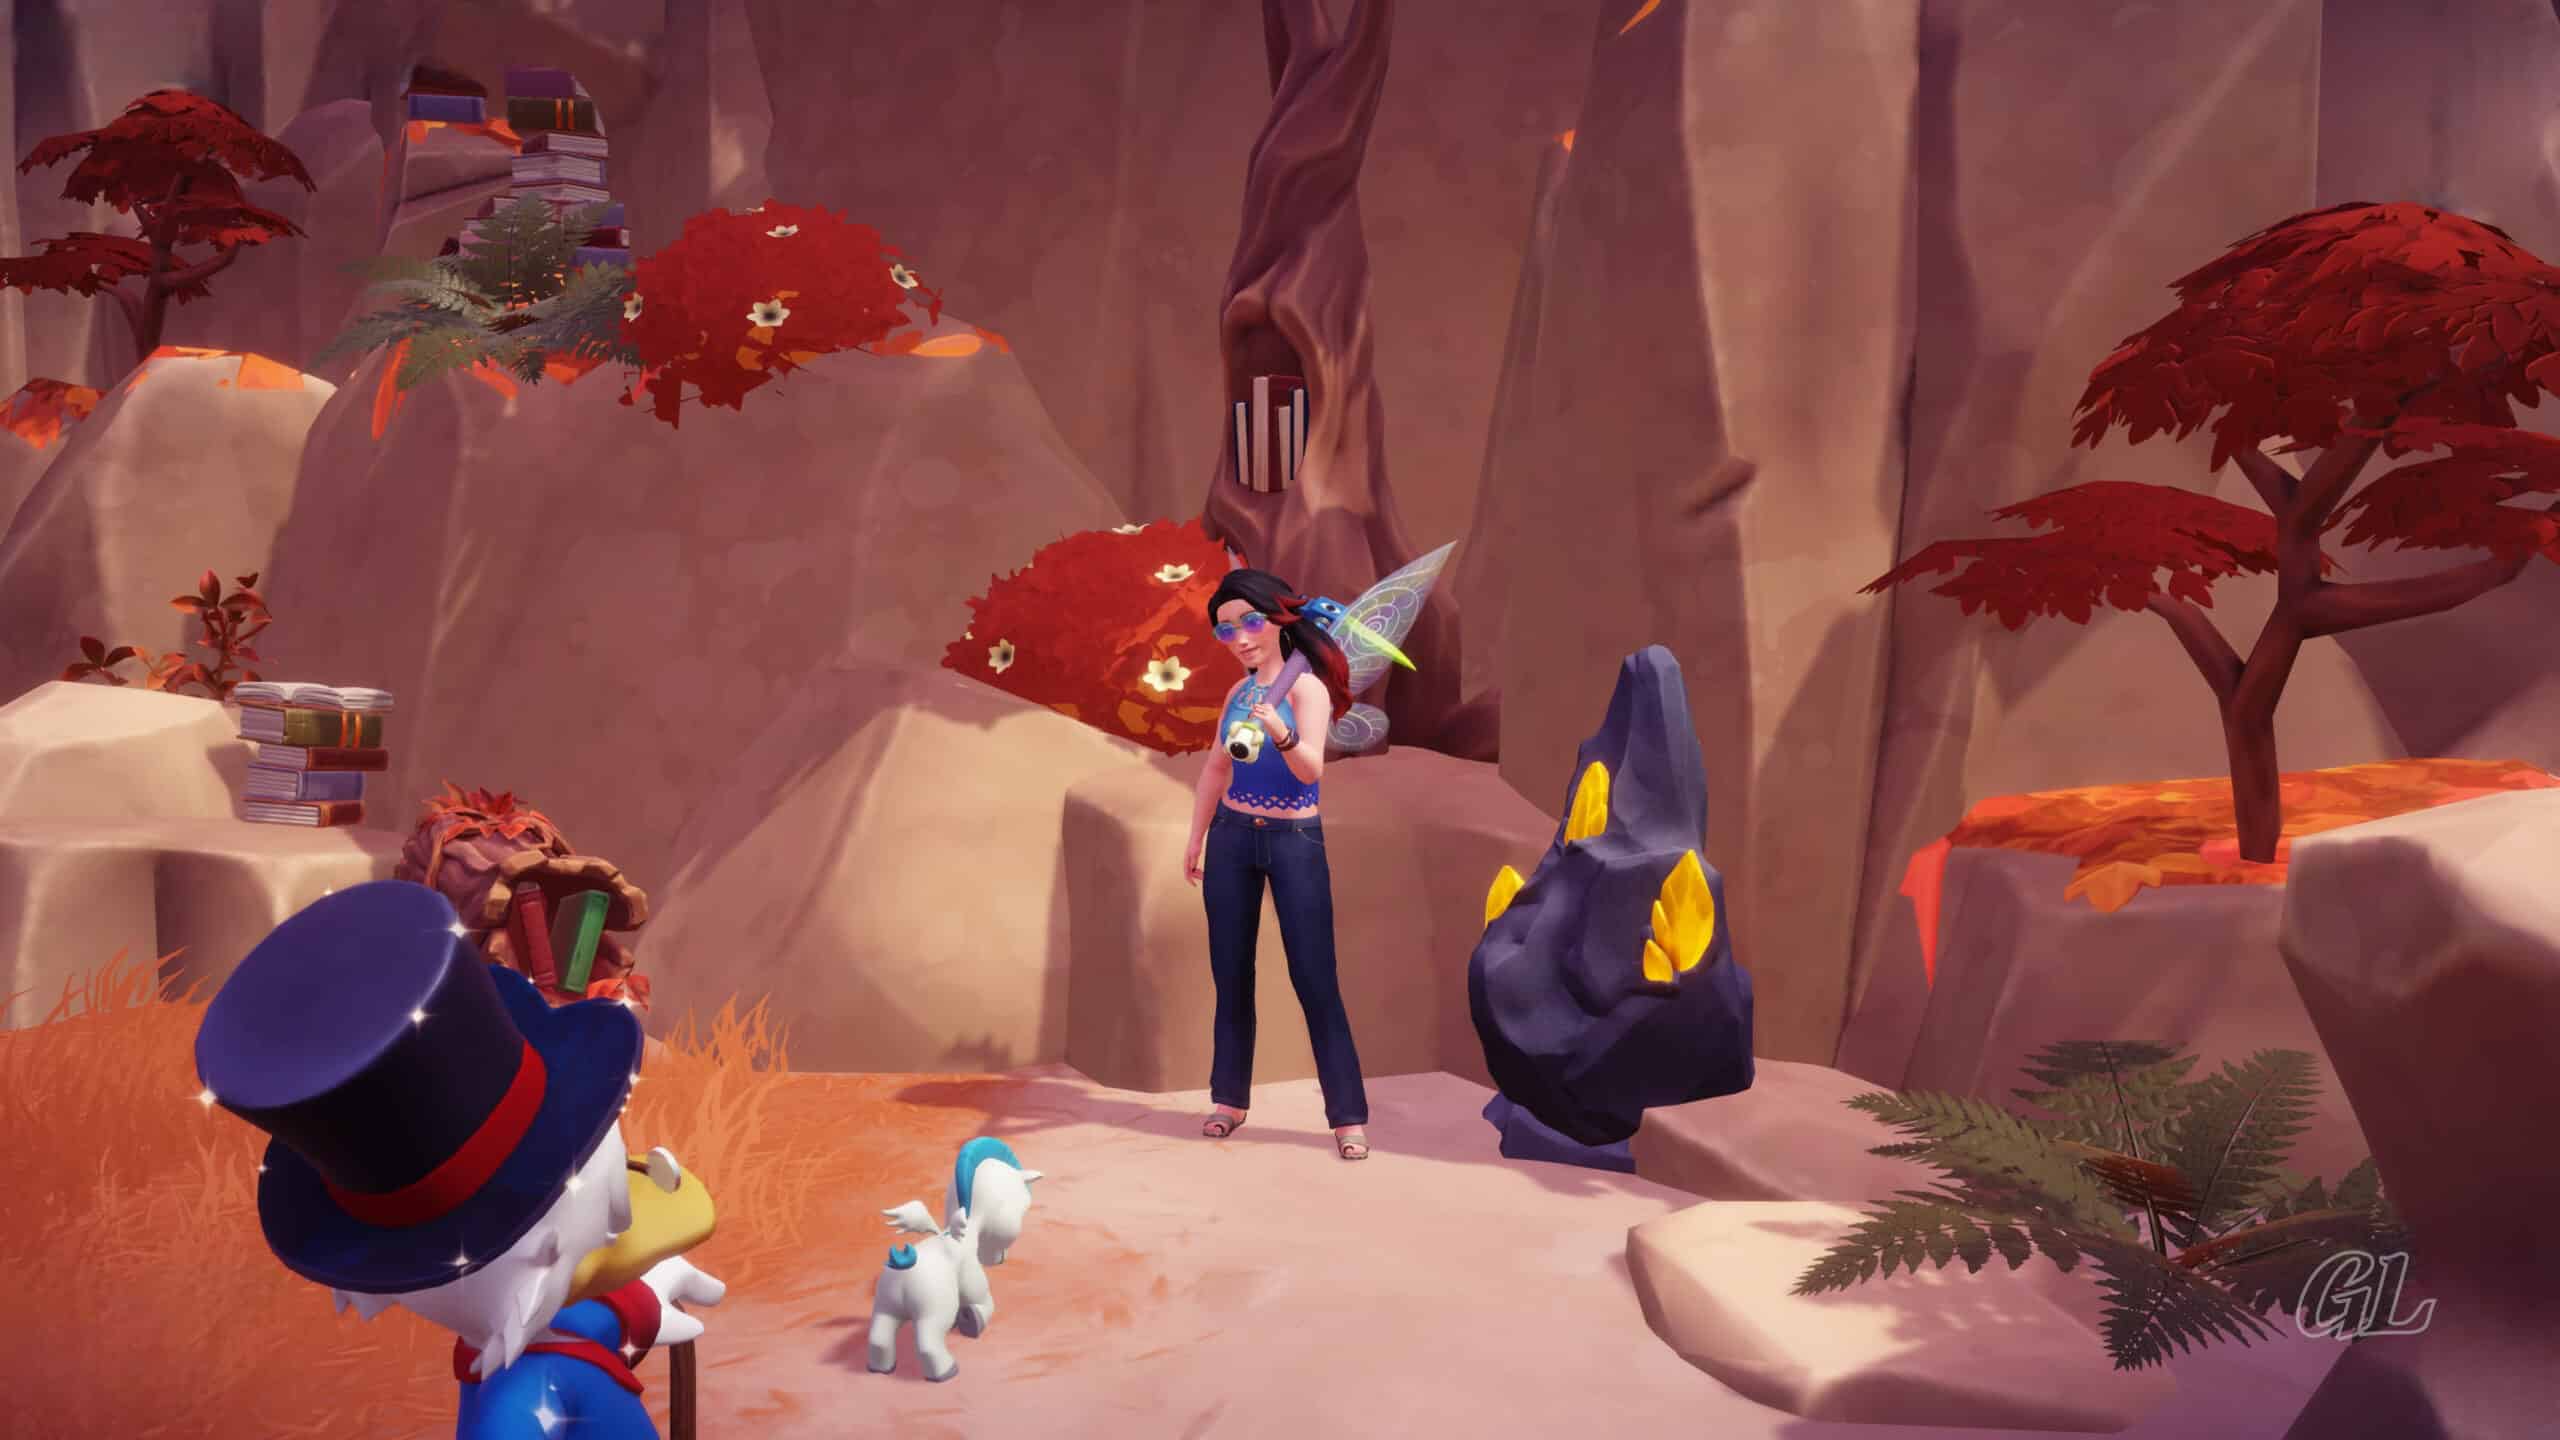
There is a huge statue of Hades in Mythopia’s Biome known as, coincidentally, the Statue’s Shadow. Tucked at the base of the statue is a Gazebo containing a portal to a new Mythic Trial. This trial has been dubbed, Losing Your Marbles. Now that could mean just about anything, we are dealing with Hades after all! Ready to find out?
Complete:
Hades Quest: The Marble Colossus
Quest Trigger:
Open the Portal to the Mythic Trial in The Statue’s Shadow
Location:
The Storybook Vale
Resources you will use during this quest.
- none
Ingredients you will use during this quest.
- none
The Portal
The bridge to Hades Statue and the Losing Your Marbles Mythic Trial has been repaired. The portal to the Mythic Trial is open.
What puzzles await? Head inside and find out!
Quest Task: Enter the Mythic Trial beneath the statue of Hades.

Image Credit: IzziBGran / GamifiedLife, LLC
Find Hades
When you enter the Losing Your Marbles Mythic Trial, you find yourself on a round balcony. Hades is standing on the level below.
Head down the stairs that circles the balcony to reach him.
Quest Task: Find Hades and speak with him.

Image Credit: IzziBGran / GamifiedLife, LLC
A Simple Trial?
Hades seems to think this Mythic Trial is going to be very easy.
Hmm, it is called Losing Your Marbles… There is a good chance he is going to be wrong.
Still, the best way to find out is to dive in and get started!
First things first. Before you can go anywhere, you need to lower the bridge next to Hades. The lever poses no problem for you, so pull it down.

Image Credit: IzziBGran / GamifiedLife, LLC
A Broken Drawbridge
Ah, you at least aren’t losing your marbles. This Mythic Trial isn’t going to be so easy after all, if this is any indication. The drawbridge mechanism is broken!!
Well, to be clear, the lever works. The drawbridge does lower. But it doesn’t stop when it becomes level with the balcony you are on. Instead, it continues to lower until the far end hits the landing below.
That is not helpful at all.
Quest Task: Whoops… That didn’t work so well…
Quest Task: Talk to Hades.

Image Credit: IzziBGran / GamifiedLife, LLC
Hold Up the Drawbridge
Raise the drawbridge again using the lever. Lucky for you, that still works.
There must be something that can hold up the drawbridge, so that you can cross to the next balcony. Take a look around.
As you do, Hades moves to the balcony below, opening the gates in front of the stairs to the right of the bridge as he goes.
There is a large stack of Marble Blocks on a cart on the lower balcony. It looks like it can be moved along the light beams shooting between the discs.
Follow Hades through the gates and down the steps.
Quest Task: Find a way to hold up the drawbridge.

Image Credit: IzziBGran / GamifiedLife, LLC
Missing Light Beams
At the base of the stairs, where the balcony juts out to the right, is a treasure chest. Head over and grab what’s inside.
Now, focus on moving the cart of Marble.
There are discs spread across this balcony. Arrows on the top of the discs show you the direction the light beams need to point to align with a nearby disc. However, not all the discs seem to be pointing in the correct direction. Several have no light beams emanating from them at all.
Hades, you were losing your marbles when you said this Mythic Trial was going to be the simplest. At this point, it looks to be the most complicated.

Image Credit: IzziBGran / GamifiedLife, LLC
Fixing the Light Beam Path
A good place to start with this puzzle, I found, is the Vertical Wheel Lever close to the treasure chest you just opened. It is connected to a track in the floor which leads to a nearby disc.
Swing your Royal Net at the Wheel Lever. This activates the floor track and sends power to the disc at the end of the track. The disc turns, causing the arrows on top to correctly point to nearby discs.

Image Credit: IzziBGran / GamifiedLife, LLC
Move the Stacked Marble
Next, head to the Stacked Marble sitting on a nearby disc.
The light beam path from the Marble to the next disc is in place. Interact with the cart of Marble to move it along the light beam to the next disc.
The light beam path continues over a pool of clouds and on to …. nothing.
There is a broken pillar in the light beam’s path, which would stop the moving cart, but there is no disc beneath or behind it. Now what?

Image Credit: IzziBGran / GamifiedLife, LLC
Raise the Disc
Look into the pool of clouds. There is a vortex containing just a glimpse of something within it. Use your Royal Fishing Rod to snag the object and pull it up.
This new disc intersects with the light beam heading to the broken pillar and redirects the beam to the side. A different disc is now in line with the light beam. That disc shoots the beam to the disc you turned with the Vertical Wheel Lever and on to a disc positioned below the broken bridge.
Ah-Hah! Now this is progress!
Pro Tip: There is a fishing circle in the vortex. However, you do not need to cast your line directly inside the circle to catch the disc. Getting close to the outside edge of the fishing circle works just as well.
Fishing

Image Credit: IzziBGran / GamifiedLife, LLC
Catch a Disc

Image Credit: IzziBGran / GamifiedLife, LLC
Follow the Light Beams
Head back to the Stacked Marble and interact with the cart to move it along the now intact light beam path. When it reaches the final disc, the Stacked Marble is in the perfect position to support the broken bridge.

Image Credit: IzziBGran / GamifiedLife, LLC
Lower the Broken Bridge
Head back up the stairs to the Broken Bridge and pull the lever. The stack of Marble does its’ job and you can now cross the bridge.
Quest Task: Follow Hades.
Quest Task: Try pulling the lever again.

Image Credit: IzziBGran / GamifiedLife, LLC
The Other Side of the Bridge
Follow Hades across the bridge to the next balcony. All that you find there is a closed gate and another bridge. This one is connected to a rotating platform controlled by a Horizontal Wheel Lever in its’ center.
Continue across the next bridge to the Wheel Lever.
Hades once again tells you that the next step should be “easy”. Not a good sign!
So, as you might expect, it will turn out to be the exact opposite.
Quest Task: Follow Hades.
Quest Task: Talk to Hades.

Image Credit: IzziBGran / GamifiedLife, LLC
A Rotating Platform
Swing your Royal Net. The Wheel Lever turns the platform, and the bridge attached to it 1/4 turn. The bridge is now aligned with a balcony containing a treasure chest.
Head across the bridge and around the planter in the center of the balcony. Remove the rock piles blocking the path to the treasure chest using your Royal Pickaxe.
Grab the treasure from the chest. That’s all for you on this balcony, so return to the Wheel Lever. It’s time to rotate the bridge once again.
Quest Task: Turn the rotating platform.
Quest Task: Talk to Hades.
Blocked Treasure

Image Credit: IzziBGran / GamifiedLife, LLC
Pickaxe Power

Image Credit: IzziBGran / GamifiedLife, LLC
Stop the Spinning
Use your Royal Net to move the Horizontal Wheel Lever once again. This time, though, instead of only rotating the platform 1/4 turn, the platform continues to spin until the bridge has moved a full 1/2 turn. It is now facing in the opposite direction from where it started, creating a path to no place at all.
The next puzzle you need to figure out is clear. You need to find a way to stop the bridge from rotating too far.
Quest Task: Uh-oh. The platform spins all the way around with nothing to stop it…
Quest Task: Find a way to block the rotation of the bridge.

Image Credit: IzziBGran / GamifiedLife, LLC
Back to the Starting Position
Swing the Royal Net one more time. The bridge rotates 1/4 turn, back to the starting position.
Cross back to the center balcony and talk with Hades. He’s not much help, but after a short conversation, he opens the gates which gives you access to a set of stairs heading down to a lower level.
Follow Hades down the stairs.
Quest Task: Follow Hades.

Image Credit: IzziBGran / GamifiedLife, LLC
Another Stack of Marble
Take a look around this new area. The tall Stack of Marble sitting on the cart will work nicely to block the bridge’s rotation. You just need to move it into position.
The light beam path on this level is not in good shape. Discs are turned in odd directions and one is sitting too high. You have your work cut out for you.
Start by circling the base of the column supporting the balcony above. A treasure chest is sitting out of sight in the back.
On the far side of the support column is a Vertical Wheel Lever. It is blocked in the front by a broken pillar and in the back by large rock piles. Remove the rocks with your Royal Pickaxe.
The Vertical Wheel Lever is attached to a floor track that controls one of the discs that is currently not connected to the light beam circuit.
Swing your Royal Net. Power passes along the floor track and the disc turns. When it does, a light beam shoots from it to the disc to its’ left.
Progress!
Hidden Treasure

Image Credit: IzziBGran / GamifiedLife, LLC
Wheel Lever

Image Credit: IzziBGran / GamifiedLife, LLC
Turn the Disc

Image Credit: IzziBGran / GamifiedLife, LLC
Lower the Disc
Circle back around the support beam to the main area on this level.
You currently have two parallel light beams. All that’s left to do is connect them and your Marble Cart will be able to move along the path.
The key to connecting the light beams is to lower the one disc that is higher than the others. A water wheel is attached to one side of it. Use your Royal Watering Can to cause the water wheel to turn. This triggers the mechanism under the disc and the disc lowers into position.
When the raised disc reaches the lower position, it shoots a light beam out to its’ side and directly into another disc. This creates a connection between the two parallel light beams, completing the path for the cart of Marble to follow.
Parallel Beams

Image Credit: IzziBGran / GamifiedLife, LLC
Complete the Light Beam Track

Image Credit: IzziBGran / GamifiedLife, LLC
Move the Tall Marble Stack
Interact with the tall Marble Stack to move it along the path created by the light beams until it reaches the end.
The tall Marble Stack is now in a position to stop the bridge on the platform above from moving too far.

Image Credit: IzziBGran / GamifiedLife, LLC
Head Back to the Rotating Platform
Follow Hades back up the stairs to the rotating platform. Swing the Royal Net twice. This time, the bridge attached to the platform stops in the proper position. You can now cross to the last section of the Losing Your Marbles Mythic Trial.
Quest Task: Talk to Hades.
Quest Task: Turn the rotating platform.

Image Credit: IzziBGran / GamifiedLife, LLC

Image Credit: IzziBGran / GamifiedLife, LLC
The Blocked Balcony
The entry to the balcony on the other side of the bridge is blocked by a broken pillar and a cart with a Marble Stack on it.
You can see that the first leg of a light beam path is in place on the other side of the Marble. Push the Marble Stack along the track. This allows you to move further into the Mythic Trial.
A treasure chest is now blocked by the cart of Marble. Hmm. Unfortunately, you can’t move the cart any further until the next disc is lowered.
At least you know what to do now. Clear the rocks in front of the raised disc’s water wheel with your Royal Pickaxe. Then use your Royal Watering Can on the water wheel and the raised disc will lower into place. This allows the Marble Stack to continue along the light beam path.
Quest Task: Explore deeper in the Mythic Trial.
Quest Task: Push the cart.
Pro Tip: The treasure chest is no longer blocked by the Marble cart, but it is blocked by small broken marble pillars. Once you complete Mythic Restoration, you can remove them. If you don’t have the ability to do that now, remember this location can come back later.
Blocked Path

Image Credit: IzziBGran / GamifiedLife, LLC
Blocked Treasure

Image Credit: IzziBGran / GamifiedLife, LLC
Lowered Disc

Image Credit: IzziBGran / GamifiedLife, LLC
Success
With the Marble Cart out of the way, Hades leads you to the source of the corruption in the Losing Your Marbles Mythic Trial.
Quest Task: Follow Hades.

Image Credit: IzziBGran / GamifiedLife, LLC
The Corruption
Interact with the Corruption. This sends Hades and you out of the Mythic Trial and back to the base of Hades humongous statue.
In another section of Mythopia, the final set of torches flanking the pathway to the gates of Storybook Vales’ Mount Olympas light up.
The gates at the entrance to Mount Olympas swing open!

Image Credit: IzziBGran / GamifiedLife, LLC
The Adventures Continue


The adventure continues in Mount Olympus.
In This Article
Disney Dreamlight Valley Guides
- Storybook Vale Critters Guide
- Navigating Storybook Vale
- Goofy's Storybook Vale Stalls
- All Storybook Vale Recipes
- All Blocked Chests in SV Trials
- Wild Woods Fairy Tale Trial
- Teapot Falls Fairy Tale Trial
- Fallen Fortress Fairy Tale Trial
- Elysian Fields Mythic Trial
- Fiery Plains Mythic Trial
- Statue's Shadow Mythic Trial
- Maleficent's Castle
- Mount Olympus
-
- Ariel
- Beast
- Belle
- Daisy
- Donald
- EVE
- Fairy Godmother
- Gaston
- Goofy
- Jack Skellington
- Jafar
- Kristoff
- Maui
- Merlin
- Mickey Mouse
- Mike Wazowski
- Minnie Mouse
- Mirabel
- Moana
- Mother Gothel
- Mulan
- Mushu
- Olaf
- Oswald
- Prince Eric
- Pumbaa
- Rapunzel
- Remy
- Scar
- Scrooge McDuck
- Simba
- Stitch
- Sulley
- The Forgotten
- Tiana
- Timon
- Ursula & Vanessa
- Vanellope
- WALL-E
About the Author: IzziBGran
Get the latest news & updates