Image Credit: IzziBGran / GamifiedLife, LLC
The Promethean Flame
A new Mythic Trial awaits in the Fiery Plains. The theme of this trial is the Promethean Flame. Prometheus stole fire from Mount Olympus. In The Promethean Flame Mythic Trial, you need to return fire to the unlit torches. Are you up to the challenge that lies ahead?
Complete:
Hades Quest: A Moth to a Flame
Quest Trigger:
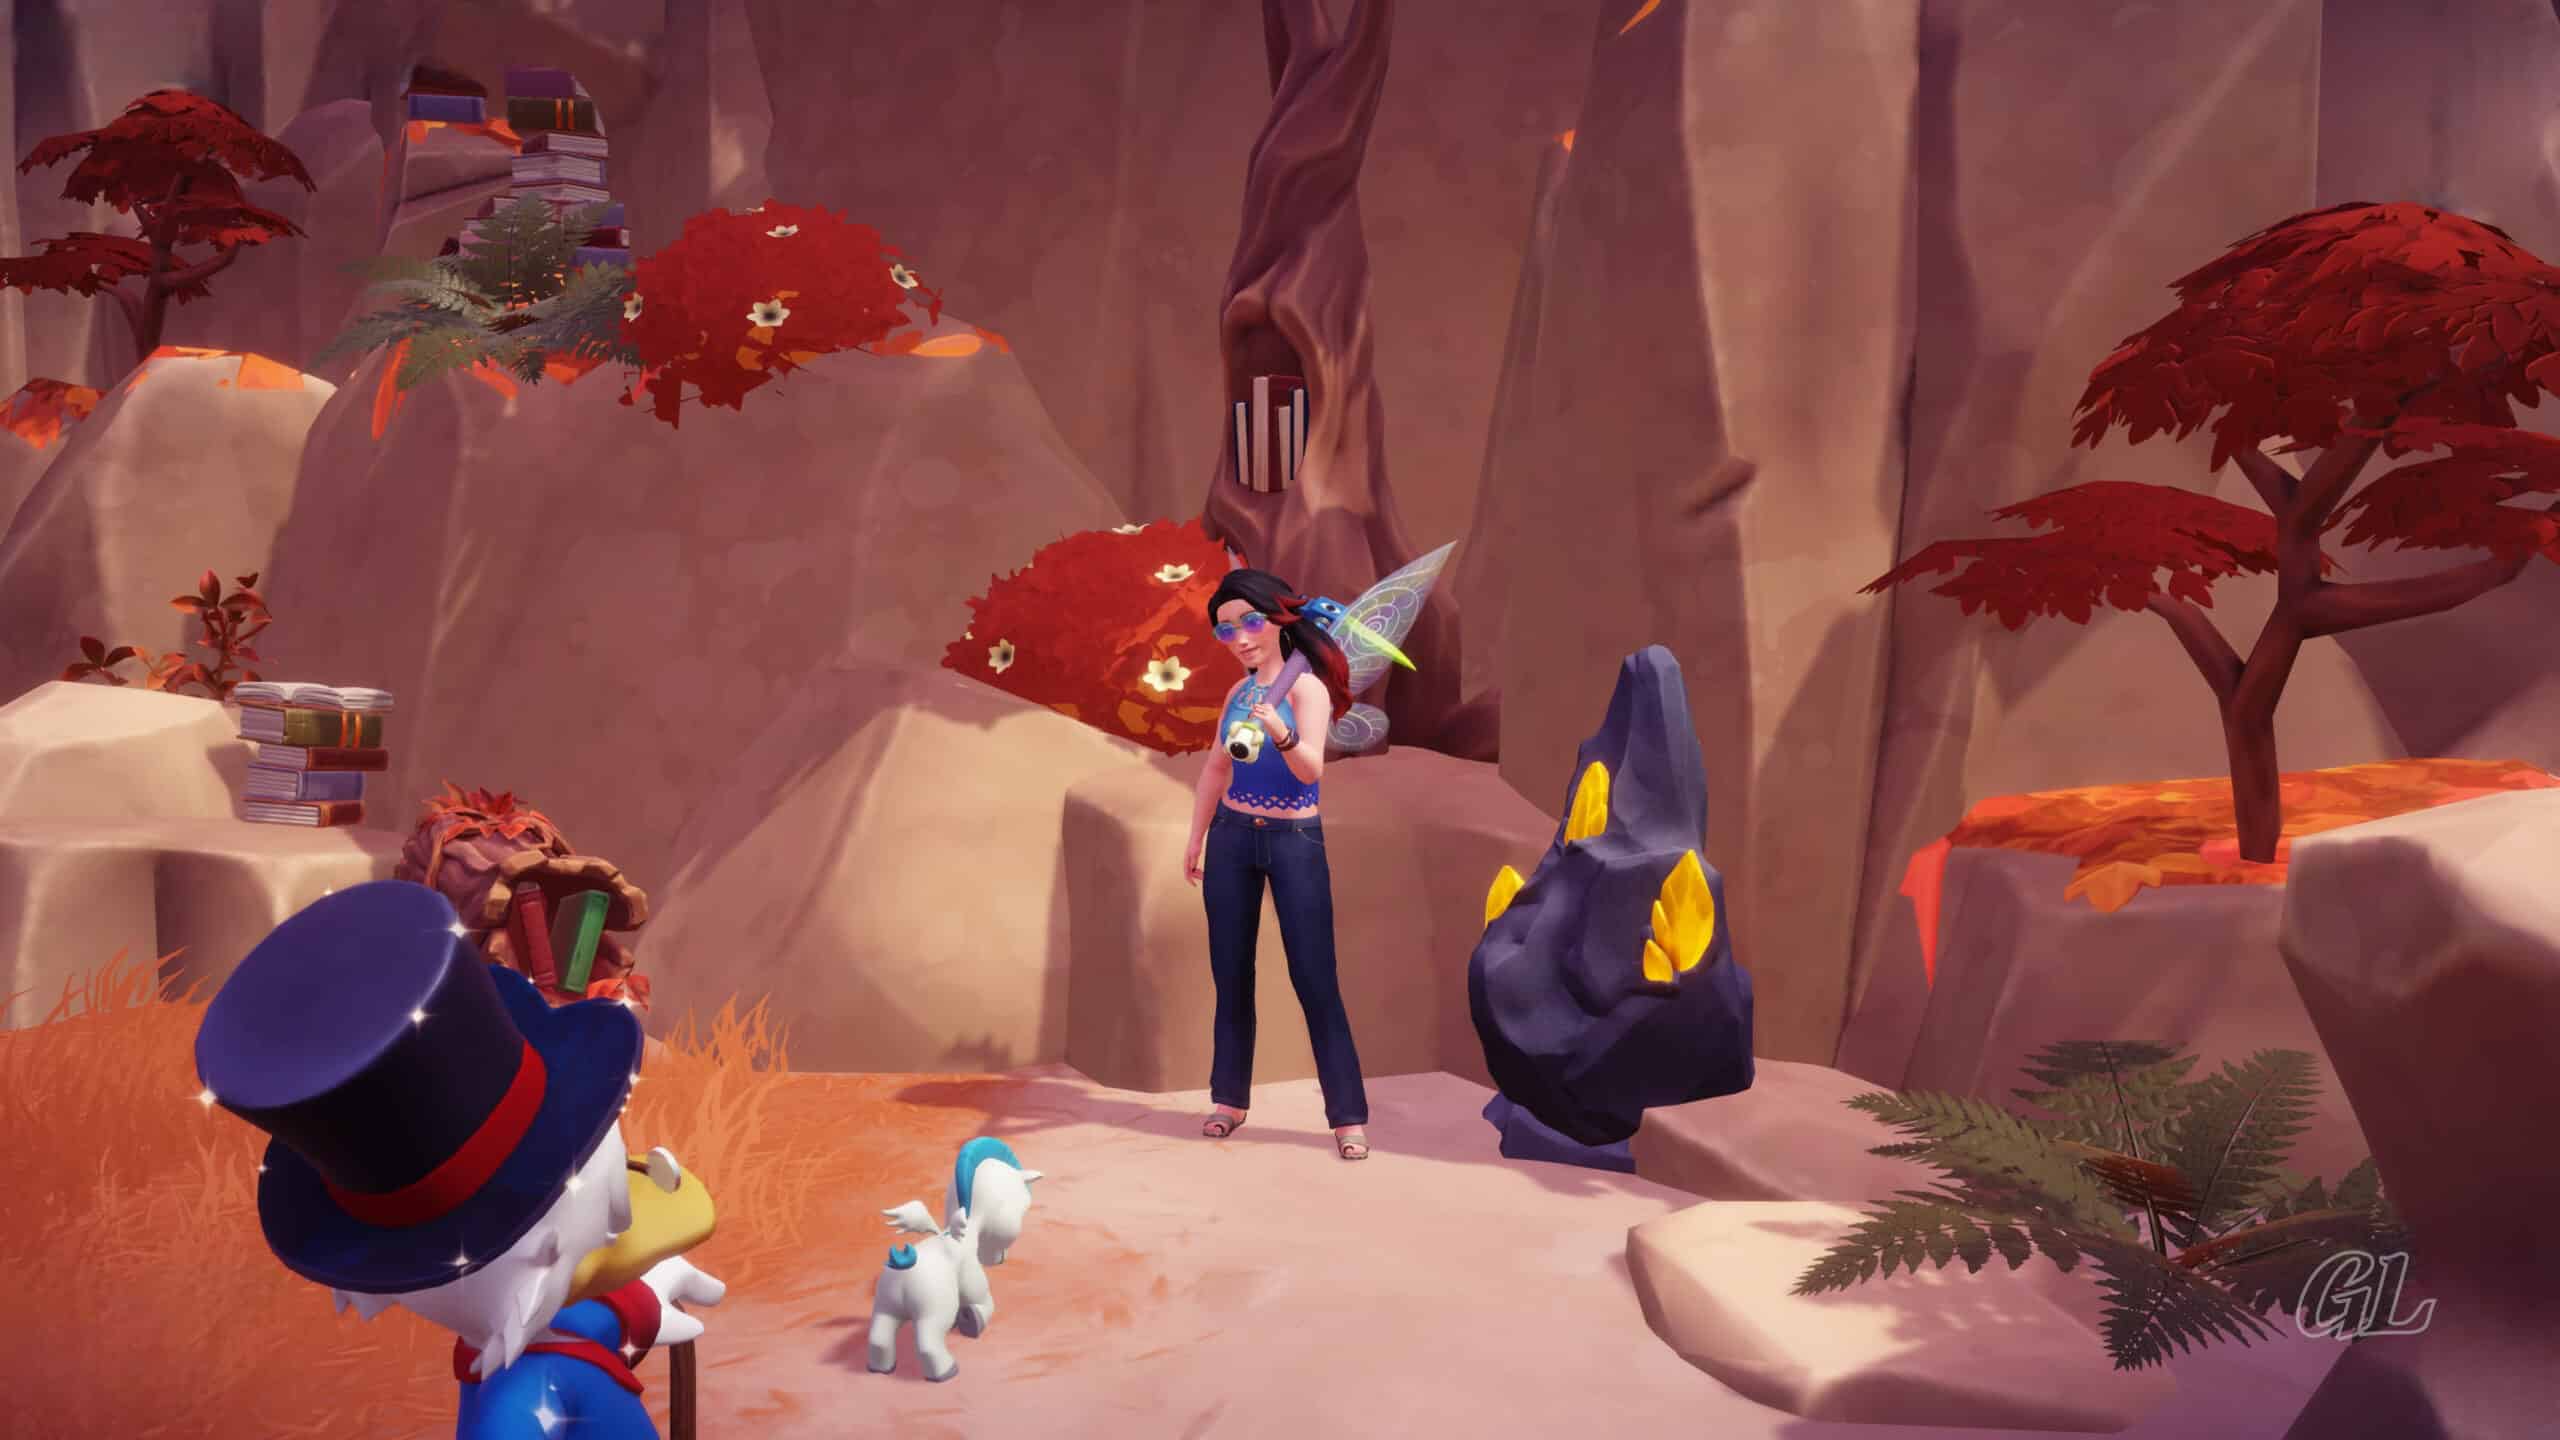
Open the Portal to the Mythic Trial in The Fiery Plains
Location:
The Storybook Vale
Resources you will use during this quest.
- none
Ingredients you will use during this quest.
- none
The Portal
Step through the portal of the Promethean Flame Mythic Trial. Hades is waiting on a platform a slight distance away from the entrance. You will need to lower the raised bridge in order to reach him. The lever is directly in front of you.
Time to get to work.
Quest Task: Enter the Mythic Trial in the Fiery Plains.

Image Credit: IzziBGran / GamifiedLife, LLC
The Objective
Cross the lowered bridge and talk to Hades. He explains the object of the Promethean Flame Mythic Trial.
You need to move the torches, large gold half circles, to their proper positions. When they are in the correct place, the flames in the torches will light.
Quest Task: Talk to Hades.

Image Credit: IzziBGran / GamifiedLife, LLC
Moving the Flames
Glance about the Mythic Trial. There are familiar discs scattered about. The discs have arrows on them, indicating the direction its’ light beam or beams go.
When all the discs are lowered into their proper place, the light beams shooting from one disc to another align, creating the track for objects to follow.
Quest Task: Move every Flame to the correct place – 3.

Image Credit: IzziBGran / GamifiedLife, LLC
A Path for the First Flame
Head around the right side of the large central platform. There is a raised bridge ahead of you and a short set of stairs leading down in the back right corner.
Descend the stairs to find the lever that controls the bridge. Lower the lever and head back up the stairs to the main platform.
Lever at base of Stairs

Image Credit: IzziBGran / GamifiedLife, LLC
Lowered Bridge

Image Credit: IzziBGran / GamifiedLife, LLC
Grab the Treasure
Before heading across the bridge you just lowered, look at the back of the platform. There is a treasure chest tucked up against the central pillar.
Grab the contents and continue across the bridge.

Image Credit: IzziBGran / GamifiedLife, LLC
Lower the Disc
The next disc you come to is sitting higher than all the others.
While light beams are coming toward the raised disc from two different directions, due to the disc’s raised position, the light beams are not making a proper connection. The raised elevation of the disc also prevents anything moving along the light beam to reach it, effectively blocking any forward movement.
You need to find a way to lower the disc.
A small water wheel is connected to the raised disc’s base. A pedestal holding a note stands nearby. Check it out.
Use your Royal Watering Can to pour water on the water wheel. This triggers its’ mechanism, and the disc lowers into position.
Follow the light beam shooting out of the side of the disc.
Raised Disc

Image Credit: IzziBGran / GamifiedLife, LLC
Note

Image Credit: IzziBGran / GamifiedLife, LLC
Water Wheel

Image Credit: IzziBGran / GamifiedLife, LLC
Lowered Disc

Image Credit: IzziBGran / GamifiedLife, LLC
A Treasure for Later
Continue to follow the light beam until it shoots through a set of closed gates. Behind one of the gates is an unlit torch.
You will need to find a way to open the gates. But, before you do, look at the Horizontal Wheel Lever on a platform a short distance off, to the left of the gates.
The Wheel Lever rotates the platform it’s on. This allows you to turn the bridge connected to it and reach a treasure chest on the other side.
The treasure chest is blocked by broken pillars. To remove them, you Royal Pickaxe requires an upgrade, which it gets during Hades Mythic Restoration Quest. If you have not yet completed that quest, remember this location and come back.

Image Credit: IzziBGran / GamifiedLife, LLC
Closed Gates
Back to the two closed gates. There are stairs on their left leading up to a pathway above. Take them.
On the pathway is a Vertical Wheel Lever. Swing your Royal Net and both gates below will open.
Head back down the steps and through the now open gates on the left. To get behind the unlit torch, you will need to remove the rock piles blocking your way.
Your Royal Pickaxe makes quick work of them. You can now reach the torch.
Stand behind the torch and interact with it. The torch slides along the light beam to the next disc. Follow the torch, interacting with it at each disc until it comes to the end of the line. As it slides into place, the flame in the torch ignites.
One Torch has been lit! On to the next.
Closed Gates

Image Credit: IzziBGran / GamifiedLife, LLC
Wheel Lever

Image Credit: IzziBGran / GamifiedLife, LLC
Move Torch

Image Credit: IzziBGran / GamifiedLife, LLC
Light the Torch

Image Credit: IzziBGran / GamifiedLife, LLC
A Path for the Second Flame
As the first torch lights up, you find yourself once again standing on the main platform. Time to go in search of the second torch.
Head back across the bridge you took to get to the first raised disc. When you reach the other side, turn left.
Continue down this path to a Lever surrounded by large rock piles. Use your Royal Pickaxe to remove the rocks and pull the lever down. This lowers a bridge that runs parallel to the one you originally crossed, creating a path back to the left side of the large main platform.

Image Credit: IzziBGran / GamifiedLife, LLC

Image Credit: IzziBGran / GamifiedLife, LLC
Another Treasure
Continue down the path, past the bridge you just lowered. There is another treasure chest just ahead, blocked and hidden by a large broken pillar. The pillar is also preventing you from reaching a water wheel which will allow you to lower one of the nearby discs.
Luckily, you can continue around the balcony to find another raised bridge controlled by a Lever. The unlit torch is also there.
Lower the lever and cross over the now lowered bridge. This gets you to the other side of the broken pillar. You can now reach the treasure chest and access to a water wheel.
Lower the Bridge

Image Credit: IzziBGran / GamifiedLife, LLC
Treasure and Water Wheel

Image Credit: IzziBGran / GamifiedLife, LLC
Trigger the Water Wheel
Use your Royal Watering Can to pour water onto the water wheel.
You are in luck. The broken pillar that has fallen in the path did not damage the disc mechanism. As soon as the wheel has water, the disc on the other side of the broken pillar lowers into place.
The light beam path for the next torch is taking shape.

Image Credit: IzziBGran / GamifiedLife, LLC
Move the Torch
Cross back over the bridge. The unlit torch can now move along the light beam path. It’s first stop is the disc you just lowered.
Continue to move the torch along the path until you reach the small alcove which is the end of the line. As the torch slides into the alcove, the torch flame ignites.
The Torch next to the Bridge

Image Credit: IzziBGran / GamifiedLife, LLC
Move it Along

Image Credit: IzziBGran / GamifiedLife, LLC
Light the Torch

Image Credit: IzziBGran / GamifiedLife, LLC
The Final Flame
The final torch has a short run. It sits on the left side of the main platform, very close to the torch you just lit. All you need to do this time is interact with it once. It slides into a slot directly in front of it and the flame flares up.

Image Credit: IzziBGran / GamifiedLife, LLC

Image Credit: IzziBGran / GamifiedLife, LLC
The Path Opens
With all the torches lit, the path that leads to the center of the main platform rises into place, allowing you to reach the corruption bubbling there.
The Promethean Flame Mythic Trial is just about over. Head to the corruption and use your magic once again.
Quest Task: Return to Hades.

Image Credit: IzziBGran / GamifiedLife, LLC
The Corruption
Interacting with the Corruption sends Hades and you out of the Mythic Trial and back to the Fiery Plains.
At the same time, on the path leading to the gates to Mount Olympas, another pair of torches light up.
It won’t be long before the entrance to Mount Olympas is open.
Quest Task: Interact with the magical corruption at the heart of the Trial.
Quest Task: Talk to Hades.

Image Credit: IzziBGran / GamifiedLife, LLC
The Adventures Continue


The adventure continues in The Marble Colossus.
In This Article
Disney Dreamlight Valley Guides
- Storybook Vale Critters Guide
- Navigating Storybook Vale
- Goofy's Storybook Vale Stalls
- All Storybook Vale Recipes
- All Blocked Chests in SV Trials
- Wild Woods Fairy Tale Trial
- Teapot Falls Fairy Tale Trial
- Fallen Fortress Fairy Tale Trial
- Elysian Fields Mythic Trial
- Fiery Plains Mythic Trial
- Statue's Shadow Mythic Trial
- Maleficent's Castle
- Mount Olympus
-
- Ariel
- Beast
- Belle
- Daisy
- Donald
- EVE
- Fairy Godmother
- Gaston
- Goofy
- Jack Skellington
- Jafar
- Kristoff
- Maui
- Merlin
- Mickey Mouse
- Mike Wazowski
- Minnie Mouse
- Mirabel
- Moana
- Mother Gothel
- Mulan
- Mushu
- Olaf
- Oswald
- Prince Eric
- Pumbaa
- Rapunzel
- Remy
- Scar
- Scrooge McDuck
- Simba
- Stitch
- Sulley
- The Forgotten
- Tiana
- Timon
- Ursula & Vanessa
- Vanellope
- WALL-E
About the Author: IzziBGran
Get the latest news & updates