Image Credit: IzziBGran / GamifiedLife, LLC
The Queen’s Maze
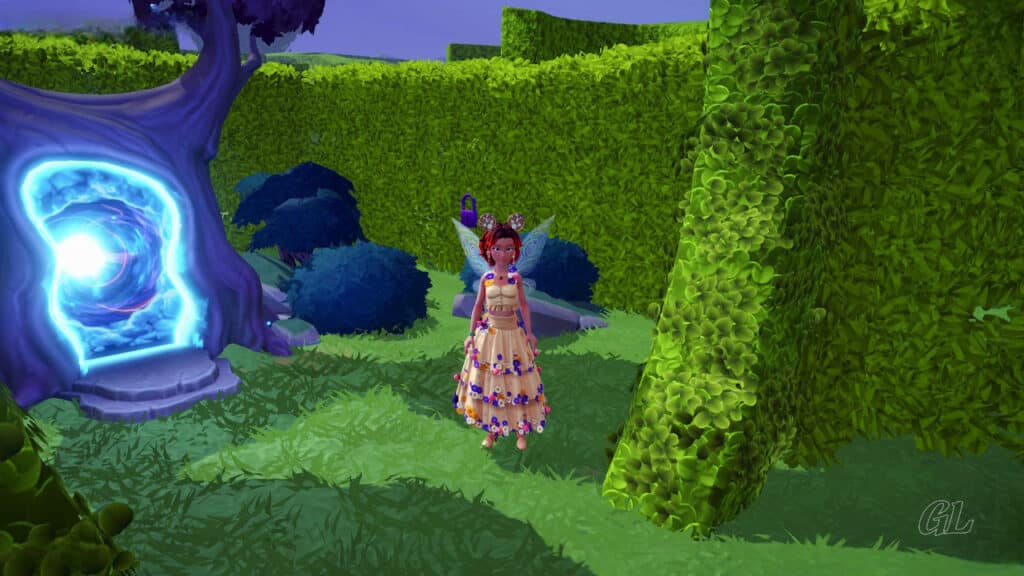
You just stepped through a Tree Portal in the Wonderland Forest in search of Alice. Now you find yourself at the entrance to the Queen’s Maze and Alice is nowhere in sight. She said she was heading for the Queen’s Garden, and you must be on the right track, as the Cheshire Cat is in the tree cheerfully giving you no advice. So, get ready for an a-Mazing adventure and head into the Queen’s Maze.
Complete:
Cheshire Cat: Wonders of Wonderland
Location:
Dreamlight Valley – Alice in Wonderland Realm
Resources you will use during this quest.
- none
Ingredients you will use during this quest.
- none
Navigating the Queen’s Maze
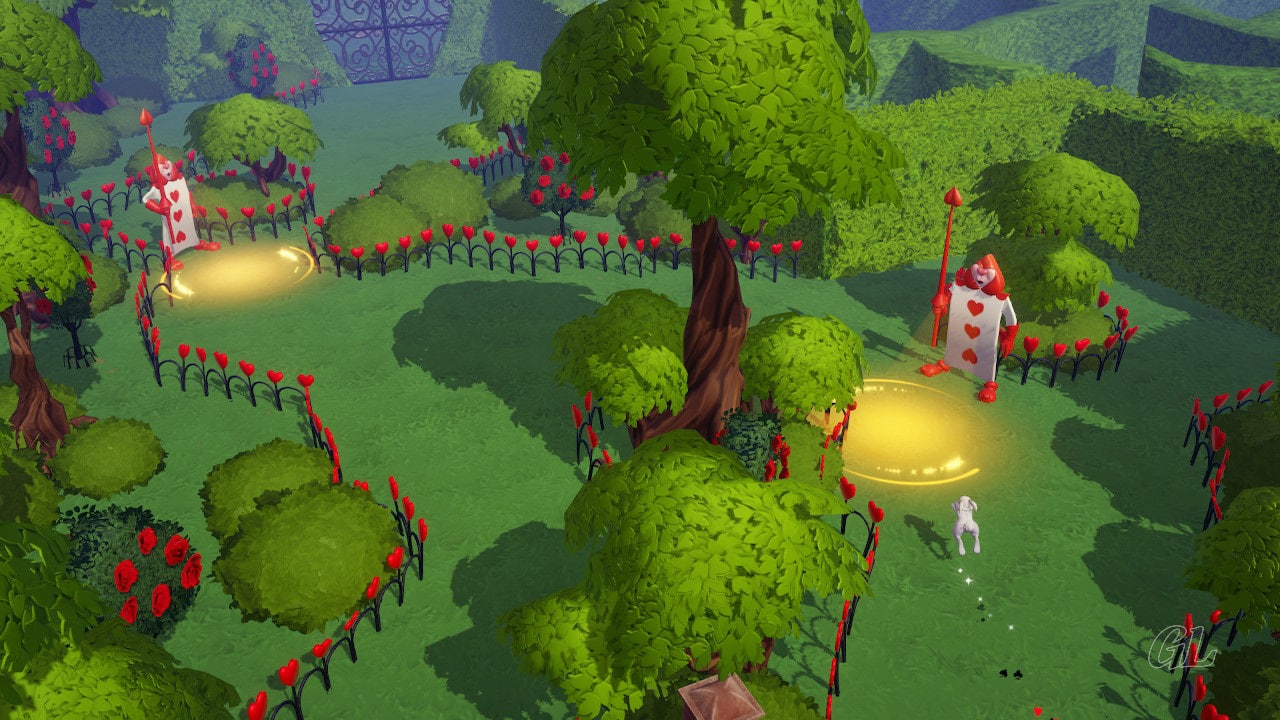
The Queen’s Maze is divided into four sections, which are separated by large heart shaped gates that are currently closed. Your challenge is to find the levers that open the large gates. Oh, did I mention that you also need to avoid getting caught in the Queen’s Guards’ lights?
Not good at mazes or stealth. Not to worry, we’re here to help. And we’re much better at it than the Cheshire Cat!!
Quest Task: Talk to Cheshire Cat in the Queen’s Maze near the tree portal.
Quest Task: Find the lever to open the first gate in the Queen’s Maze.
- Be sure to avoid being seen by the guards!
Pro Tip: The guards can “see” you without causing any problems. However, if you are caught in the light they are shining on the ground, you will be returned to the entrance of your current section of the maze or to the start of the path just before the light that caught you.
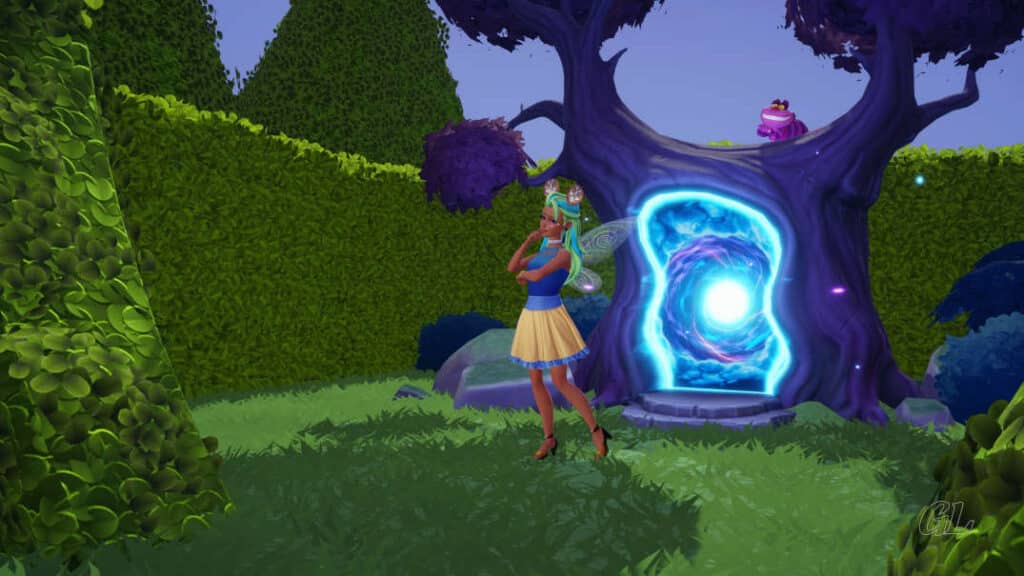
Image Credit: IzziBGran / GamifiedLife, LLC
A Lever Sighting
Standing with the Tree Portal at your back and looking into the Maze, you can see a lever for one of the Heart Gates. It’s just on the other side of a fence. There is also a Guard to its’ right, but we’ll deal with him later. For now, all you need to do is work your way around this section of the maze to get to other side of the fence and the lever.
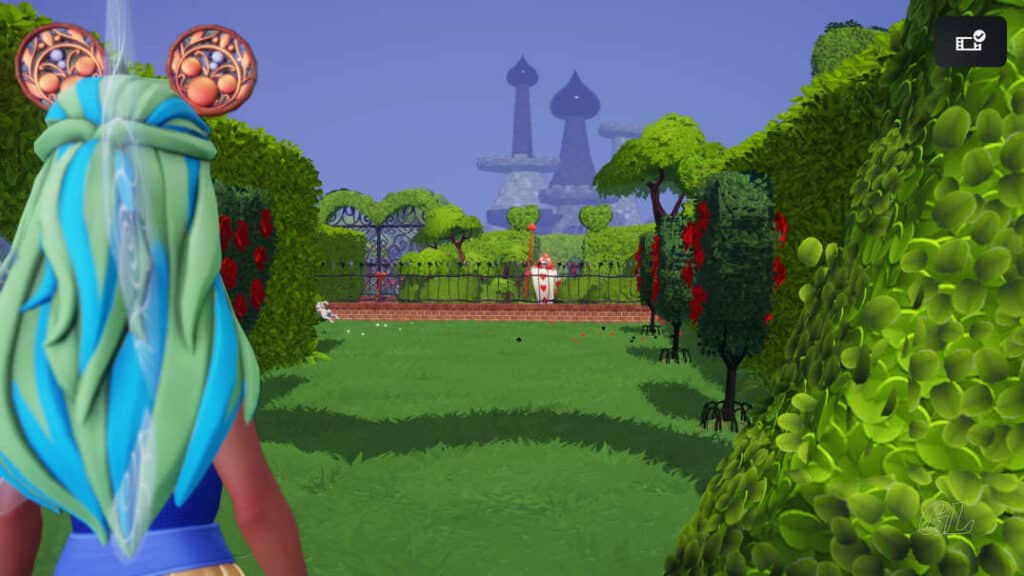
Image Credit: IzziBGran / GamifiedLife, LLC
Head into the Queen’s Maze
Head North into the Queen’s Maze and follow the path as it turns west. There is a guard straight ahead, farther down the path, but he is easily avoided.
You’ll soon see a path on your left that leads south. It’s just past rose bushes that are lining the south side hedge. Take it.
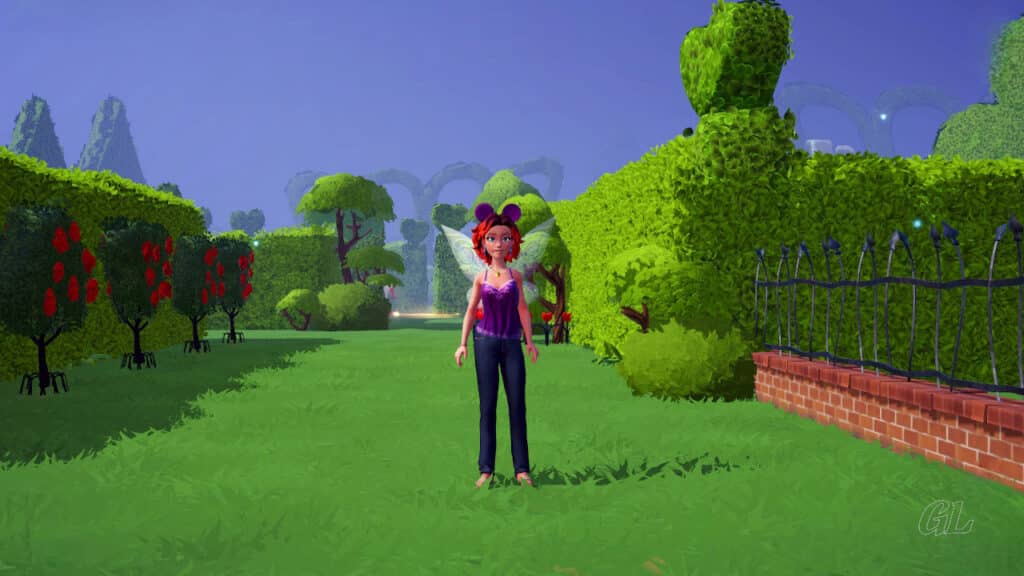
Image Credit: IzziBGran / GamifiedLife, LLC
Avoid the Guard
This new branch of the maze turns west again after just a few more steps. Continuing down the path and you eventually come to a narrow opening at the end. Pass through the opening and stay on the main path as it heads north again.
Keep going as far north as possible, ignoring the intersecting path that leads east.
The Path West Narrows
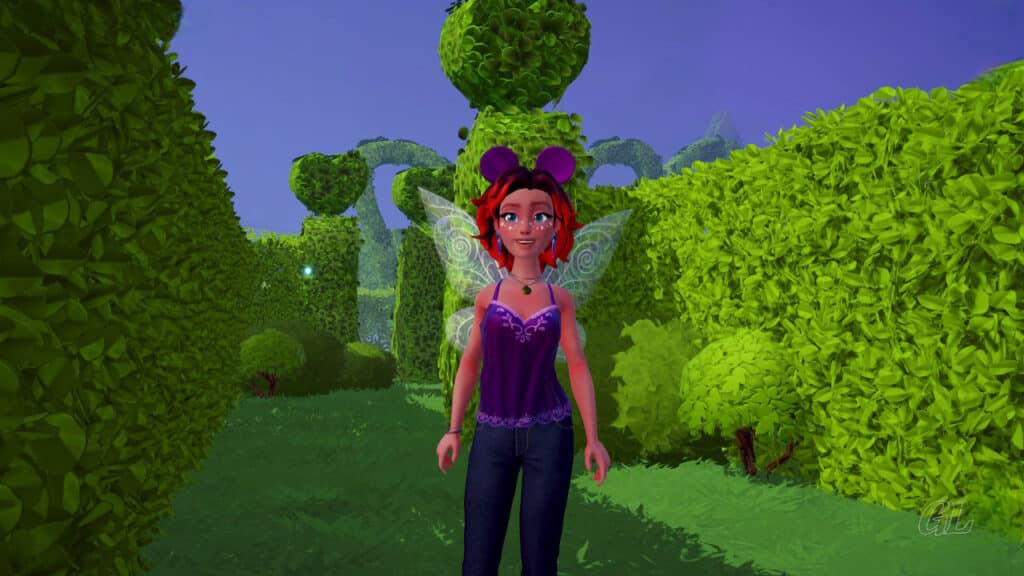
Image Credit: IzziBGran / GamifiedLife, LLC
Turn North
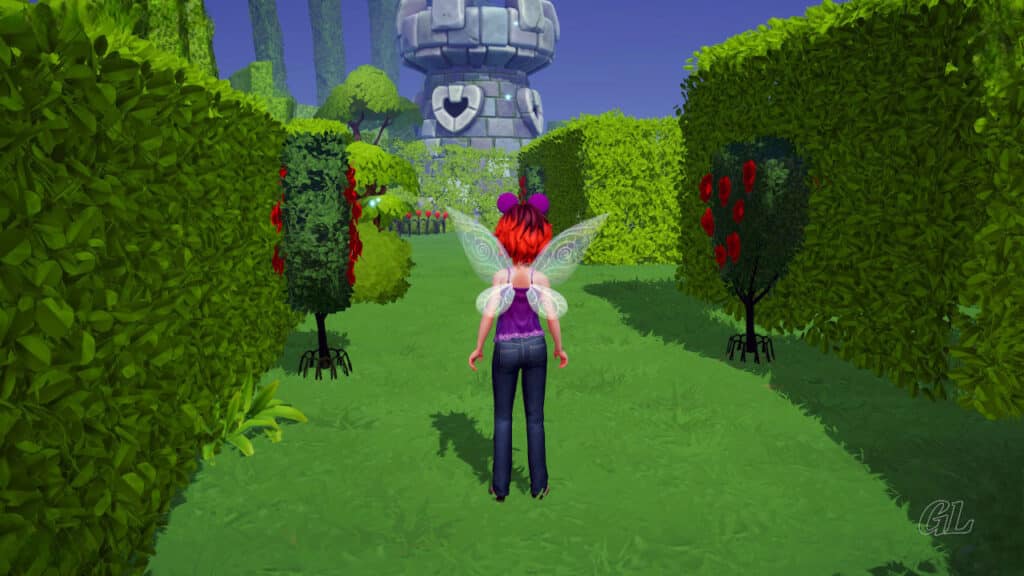
Image Credit: IzziBGran / GamifiedLife, LLC
Circle the Fence
When you can’t go any further north, the path will force you to turn east. There is a long stretch ahead of you with Red Rose Bushes lining the sided. The Large Heart Gate is in the north hedge.
The Lever you need to open it is visible through a fence in the south hedge, across from the Gate. The Guard you saw when you entered the Queen’s Maze is just ahead.
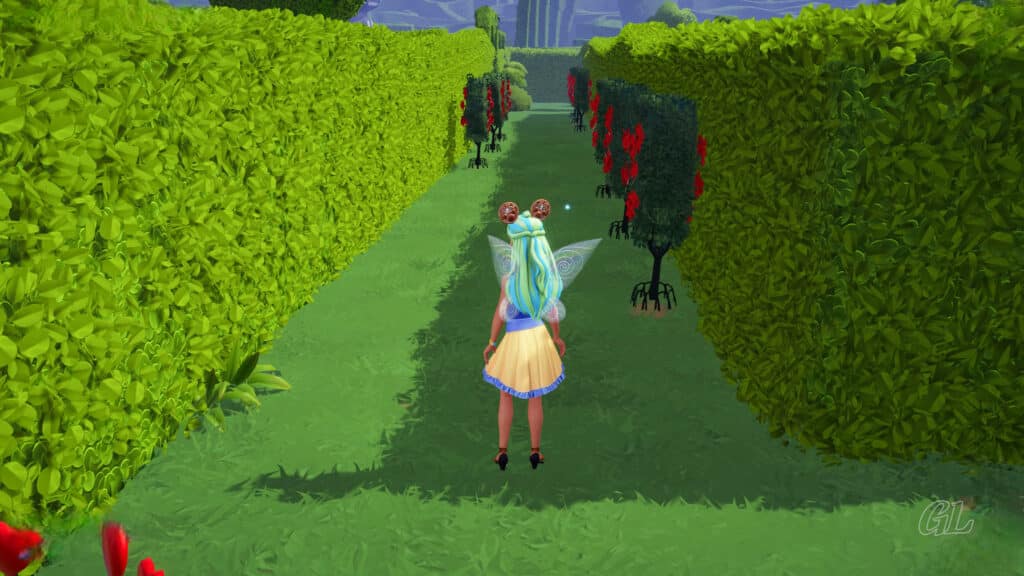
Image Credit: IzziBGran / GamifiedLife, LLC
The First Lever in the Queen’s Maze
As you approach the guard, you can see that he is standing near the end of the path, just where it turns to the south. He’s facing your direction and swinging his light to the North and South, lighting up the path in front of him.
To reach the first Lever, you need to walk past the guard and around the bush at the Guard’s back.
Wait until the guard swings his light to the south and continue moving east past him, to the corner. Pause, standing behind the bush at the Guard’s back. From there, you can watch for the guard’s light to move north. This opens the path for you to circle around the Guard on the south and reach the Lever.
Interact with the Lever and the Heart Gate, leading to the Second section of the Queen’s Maze opens.
Circle around the back of the Guard once again to return to the now open, Heart Gate.
A Guard at the End
Image Credit: IzziBGran / GamifiedLife, LLC
The First Lever
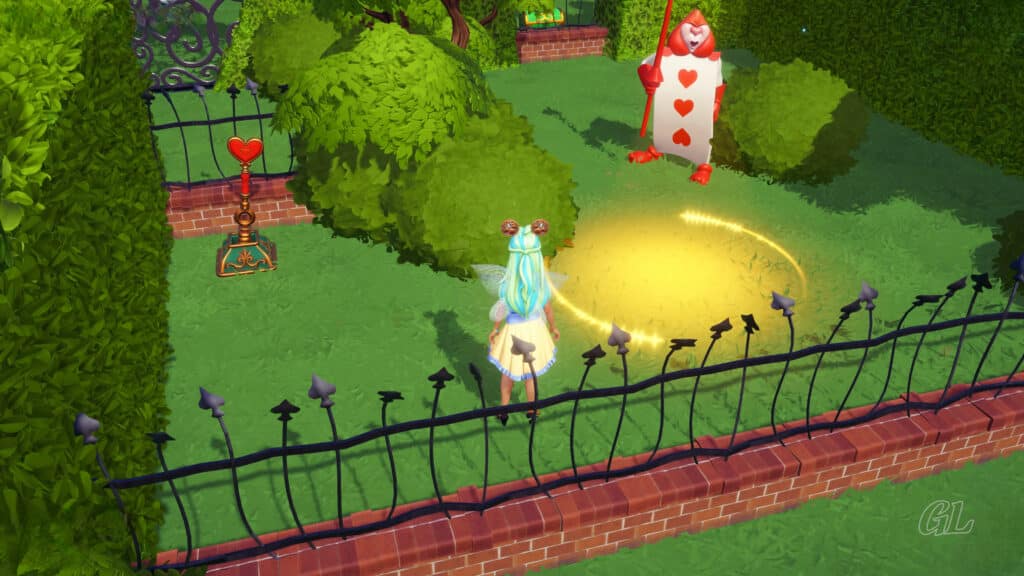
Image Credit: IzziBGran / GamifiedLife, LLC
Queen’s Maze: Second Lever
Step through the Heart Gate.
Directly to the left (west) of the gate is a fenced in area with another lever. Approach the hedge blocking the opening in the fence and it will shrink to allow you to enter.
Flip the lever and the Heart Gate to your north will open.
Quest Task: Find the lever to open the second gate in the Queen’s Maze.
Step Through Gate 1
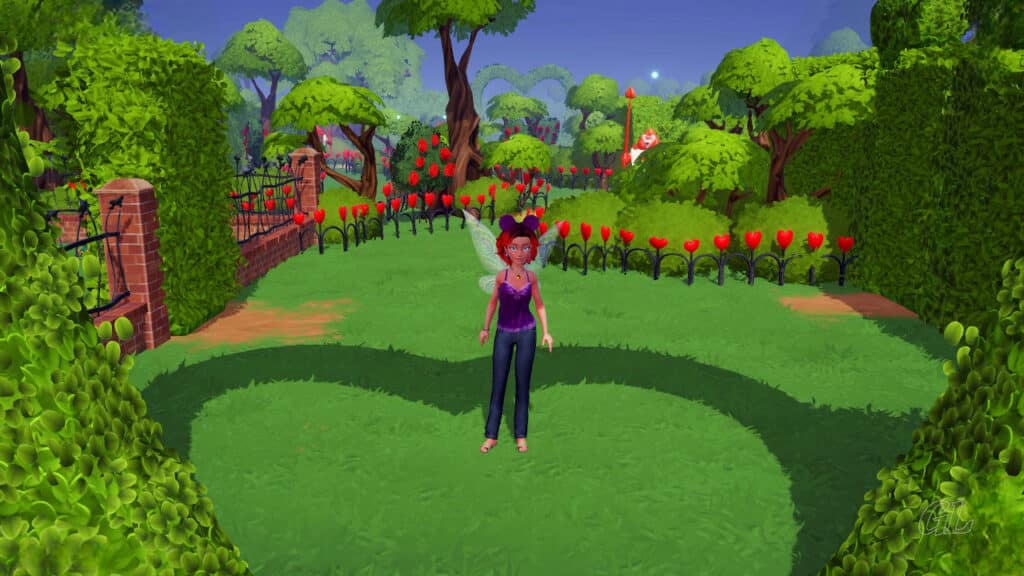
Image Credit: IzziBGran / GamifiedLife, LLC
The Second Lever
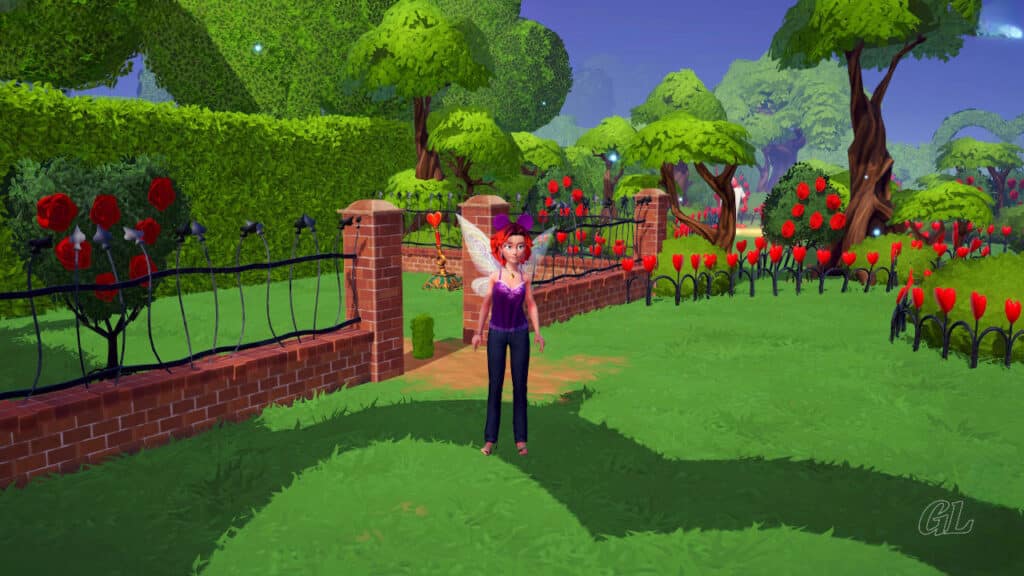
Image Credit: IzziBGran / GamifiedLife, LLC
Treasure Chest in the Queen’s Maze
Before moving north to the next Gate, cross over to the hedge, which is directly across from the opening to the Lever’s fenced-in area. Another shrinking hedge door will open, allowing you access to a hidden area containing your first Treasure Chest!
Grab the loot and return to the entrance to this section of the Maze.
Another Shrinking Hedge
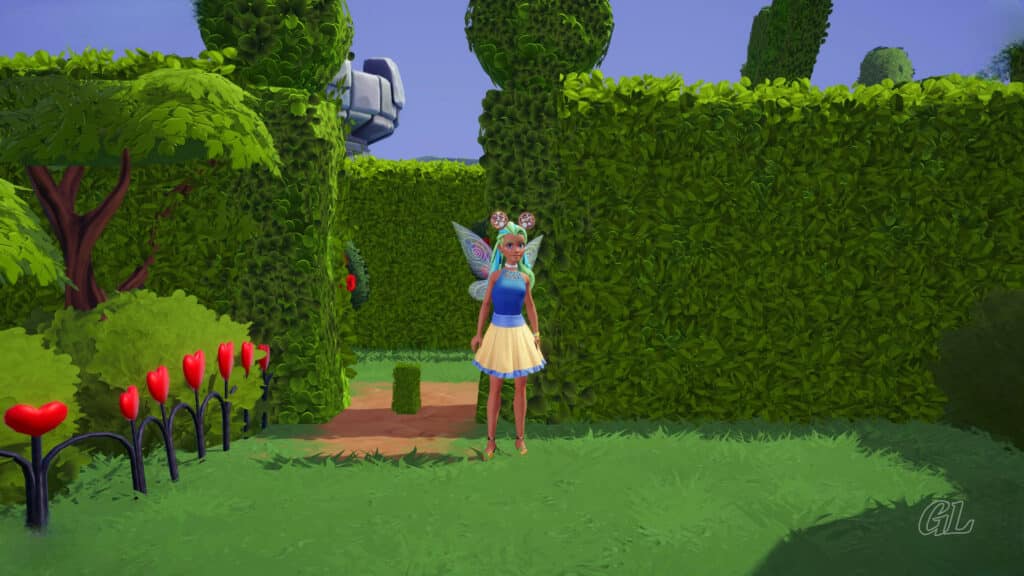
Image Credit: IzziBGran / GamifiedLife, LLC
Treasure Chest

Image Credit: IzziBGran / GamifiedLife, LLC
Around the Guards
Time to head to the next Heart Gate.
There are two guards between you and the gate. To get around the first guard, use the same technique as before. There is a small path leading around some bushes at the Guard’s back. Wait until he swings his light out of the way and work your way along the path at his back. Stand behind the bush and wait for the light to swing south, allowing you to pass.
The next guard is facing the bush you need to pass, but no matter. Once again, simply wait for the light to move north and walk around to the east of the bush that is in front of the guard.
You’ve made it to the next Heart Gate!
Quest Task: Find the lever to open the second gate in the Queen’s Maze.
First Guard
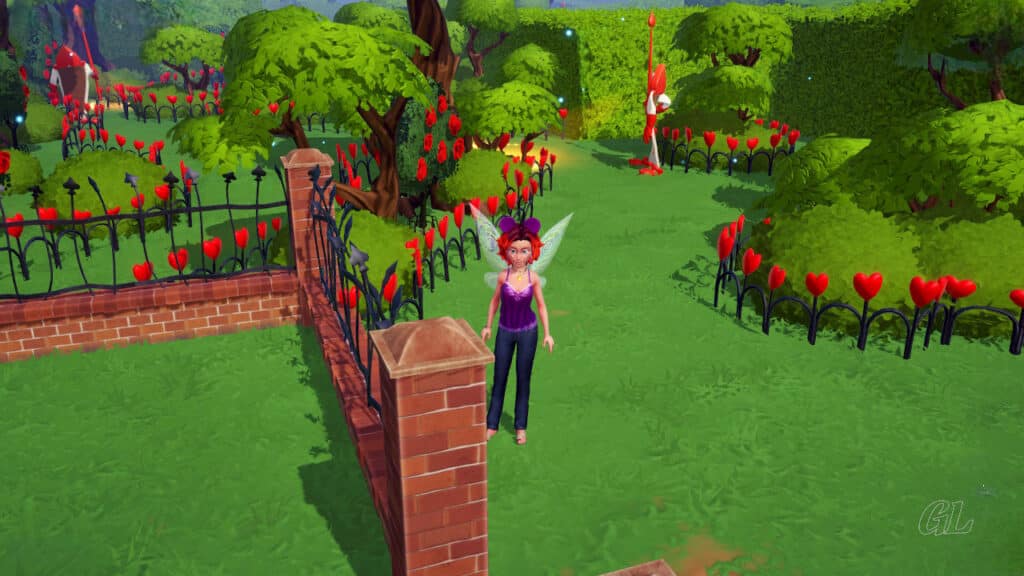
Image Credit: IzziBGran / GamifiedLife, LLC
Second Guard
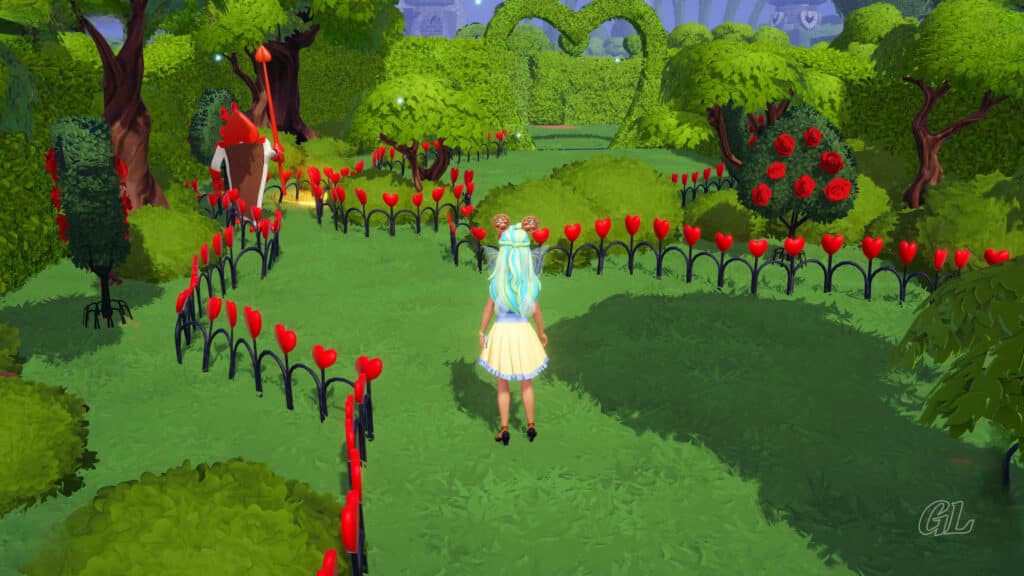
Image Credit: IzziBGran / GamifiedLife, LLC
Third Maze Section of the Queen’s Maze
Pass through the Heart Gate into the third section of the Queen’s Maze.
Directly ahead of you is a shrinking hedge that leads into a long rectangular “room” created by hedges. The hedge “room” takes up a good portion of the center of this section of the maze.
Quest Task: Find the levers to open the final gate in the Queen’s Maze.
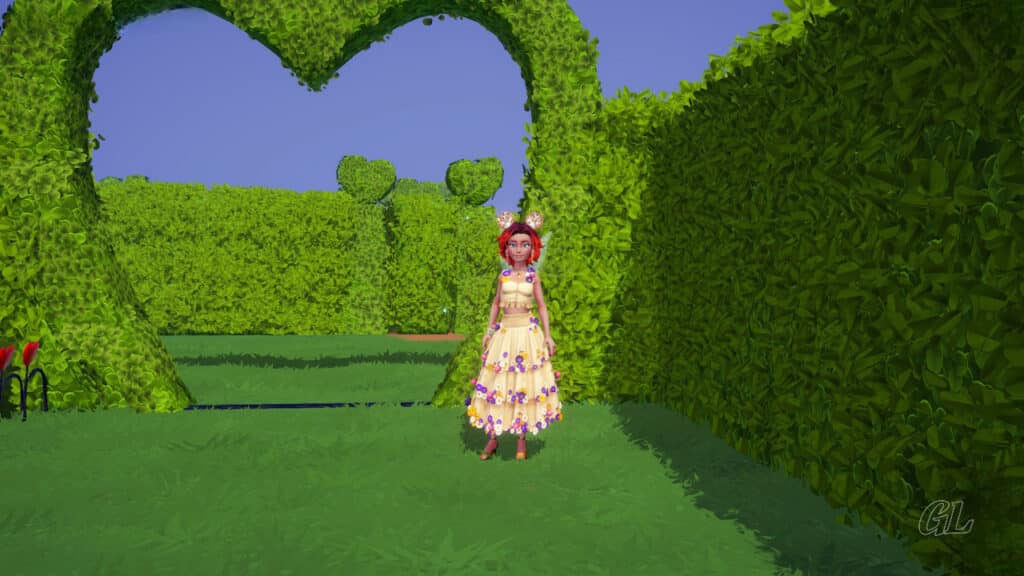
Image Credit: IzziBGran / GamifiedLife, LLC
Hedge Room in Third Section of Queen’s Maze
Step inside the hedge “room” and look to your left. Take note of the second shrinking hedge on the far west side of the north wall. This is a nice shortcut to the north side of the third section of the Queen’s Maze.
Leave it for now and look to your right. A Lever is near the fence that breaks up the room’s north hedge wall. Looking out, over the fence to the north, you can see the next Heart Gate.
Flip the Lever.
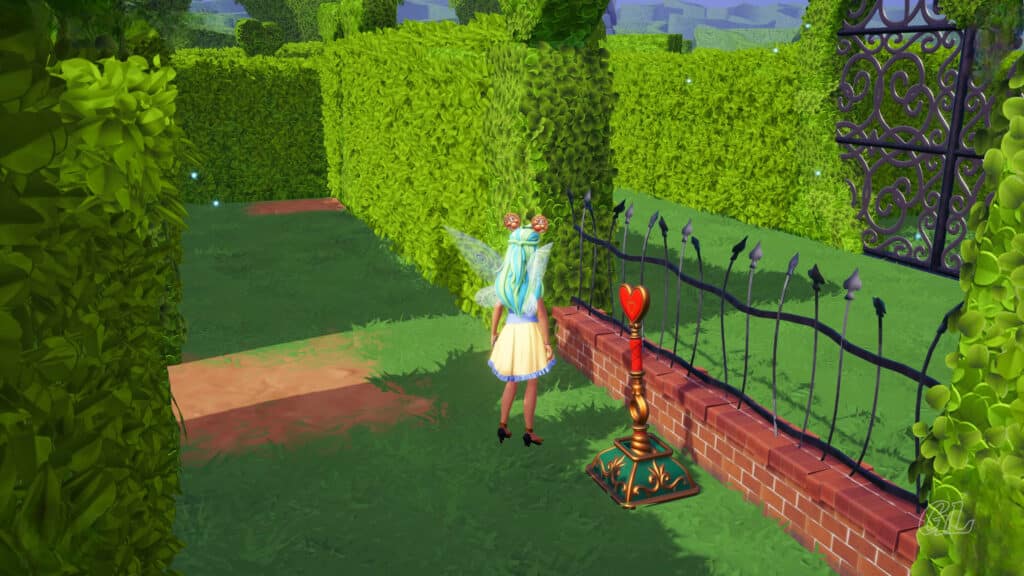
Image Credit: IzziBGran / GamifiedLife, LLC
A Double Heart Gate
Hmm, only part of the gate went down!
The third Heart Gate is more secure than the previous two. This gate is made up of two identical Heart Shaped sections, each controlled by a different Lever. The Lever you just flipped lowered only one section. There is still one more section and Lever to go!
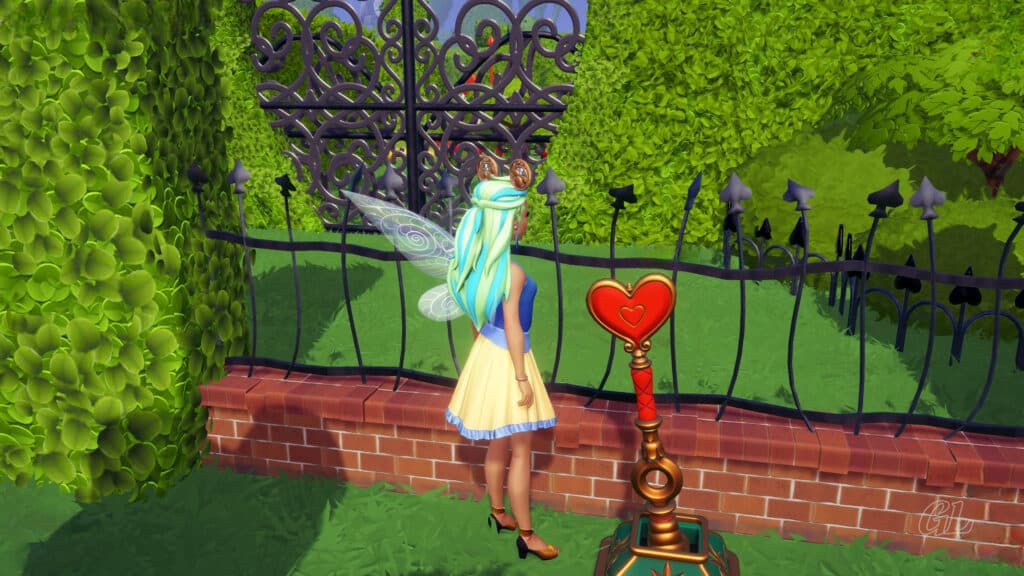
Image Credit: IzziBGran / GamifiedLife, LLC
The Fourth Lever in the Queen’s Maze
Go out the shrinking hedge door on the west side of the north wall of the hedge “room”. You will come out on the northwest side, on a path that circles the outside of the hedge “room” you were just in.
The Fourth Lever is visible behind a fence on the west side of this section of the Maze. A guard is swinging a light nearby, periodically blocking the path. Wait until he swings his light to the south. Then make your way around him by heading straight west, following the path behind the fence and to the Lever.
Flip the Lever and the second section of the Heart Gate will lower.
Wait until the guard’s light moves south once again and make your way out from behind the fence using the path on the north. You can now reach the gate without any further interference from the guards.
Look to the west
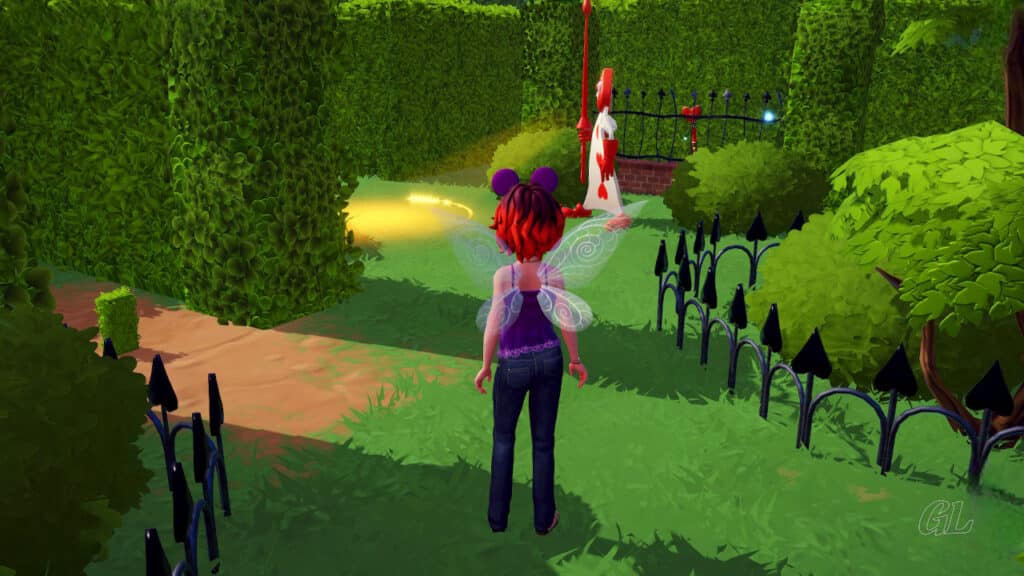
Image Credit: IzziBGran / GamifiedLife, LLC
Fourth Lever
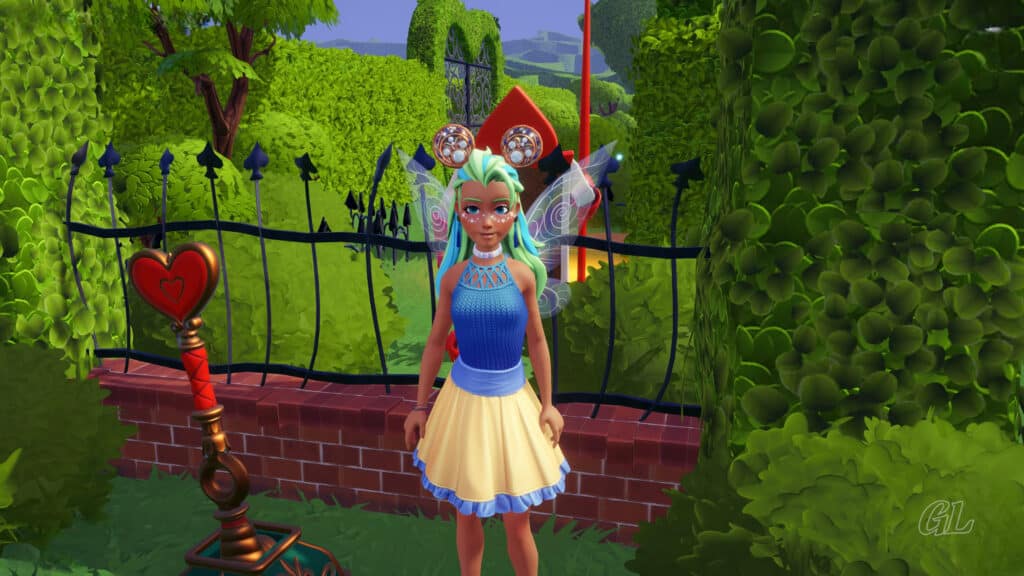
Image Credit: IzziBGran / GamifiedLife, LLC
Queen’s Maze: Fourth Section
Enter the fourth and final section of the Queen’s Maze. The entrance to the Queen’s Garden, and hopefully where you’ll find Alice, is to the North.
Standing just inside the gate you can see two guards and three swinging lights. A large berm directly in front of you, divides the path leading north and blocks your sight of the third guard.
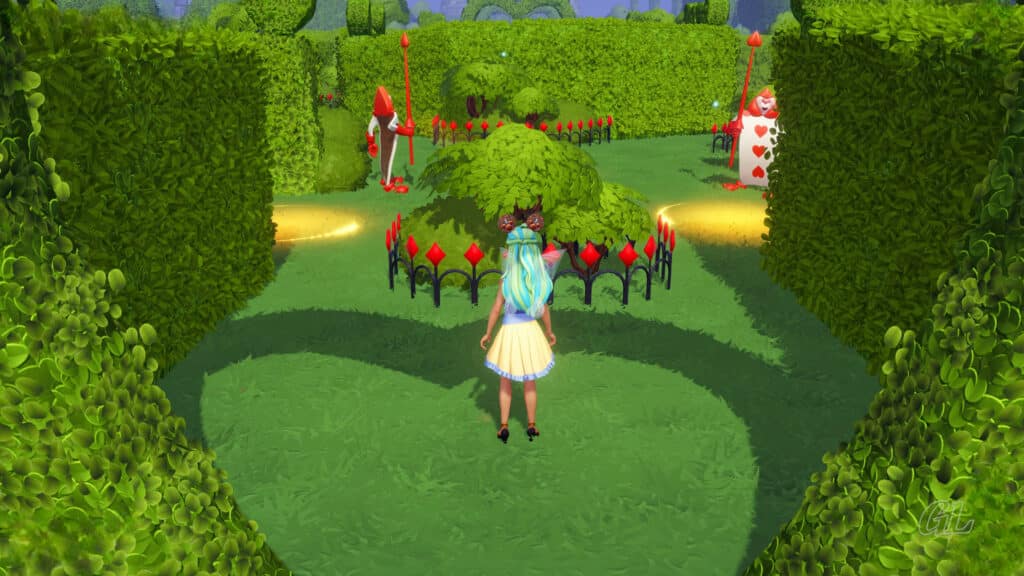
Image Credit: IzziBGran / GamifiedLife, LLC
Swinging Light Trick
This section of the Maze has a lot more guards. In addition, the distance between the guards and the timing of their swinging lights creates a pattern that often makes it rather difficult to pass.
However, there is a trick.
Pro Tip: If you get caught by one of the guard’s lights, they will send you back to the entrance of the section or the beginning of the pathway. But you can use this to your advantage. I’ve found that when it happens, the timing of the guard’s swinging lights usually changes. This can create the opening you need to pass between, behind, or next to the multiple guards standing close enough to block the path.
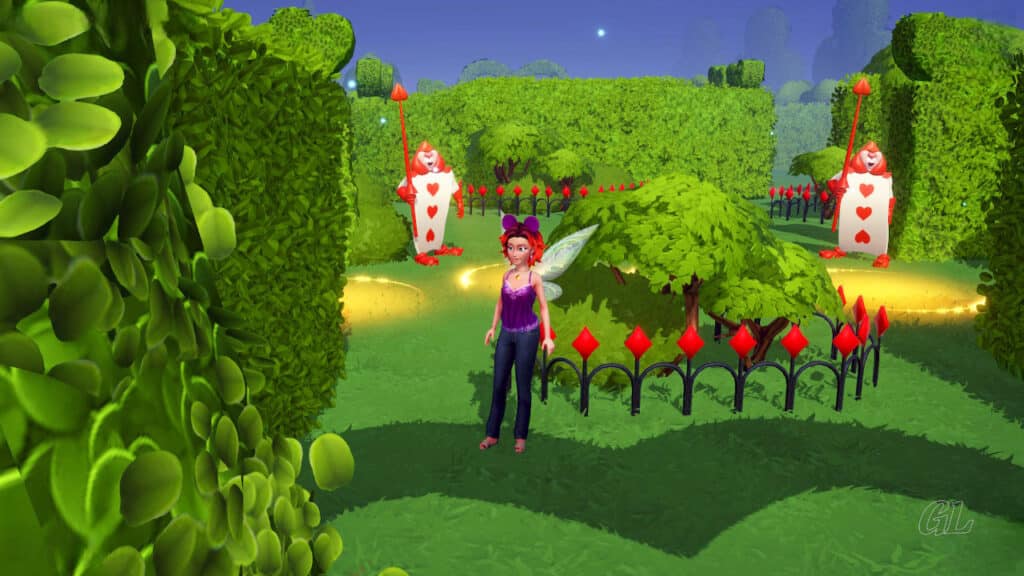
Image Credit: IzziBGran / GamifiedLife, LLC
Find the Treasure
There are two treasure chests in this section to the Queen’s Maze. If grabbing the treasure is not your thing, you can continue heading North until you reach the entrance to the Queen’s Gardens.
However, we always like to gather treasure, so that is what we’ll guide to you first.
So, let’s start by going around the right side of the berm just inside the entrance to this area. There is a guard swinging a lantern. When he swings it north, take the path at his side that to goes to the right.
The right path that you just entered has a lot of bushes and trees surrounded by low decorative fences. The greenery and fencing create a bit of a winding path that takes you a little east but mostly north.

Image Credit: IzziBGran / GamifiedLife, LLC
Another Treasure Chest
Continue along the winding path. Just before you reach the next two guards that are guarding the path as it continues north, there is a break in the hedge on your left.
Take the exit on your left and continue directly across the lawn to the hedge opposite the exit. A shrinking hedge door leads into another “room” made out of hedges.
This hedge “room” is oval shaped with shrinking hedge doors on both the east side, where you just entered, and the west side. You’ll find a treasure chest along the north hedge wall inside the “room”.
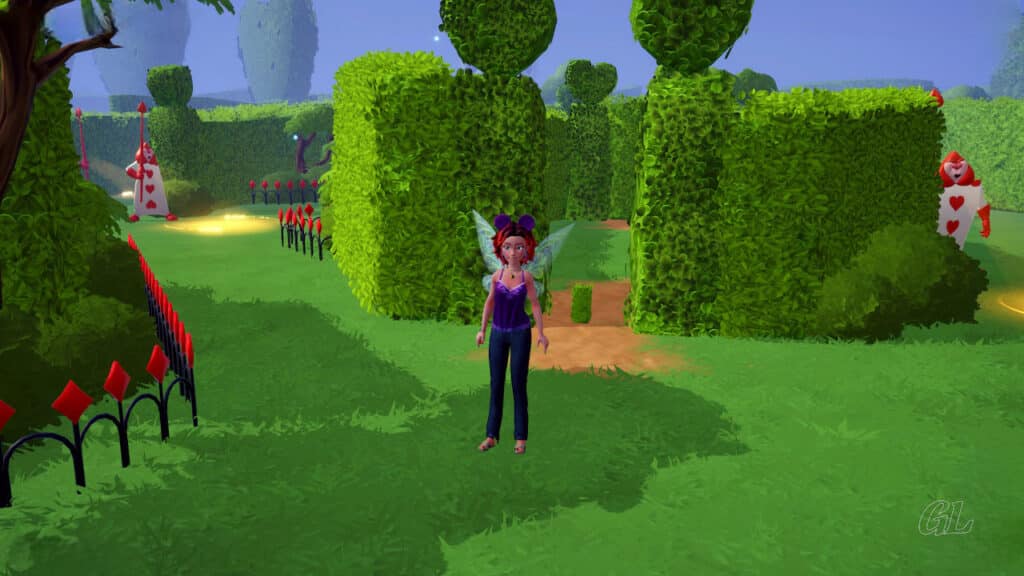
Image Credit: IzziBGran / GamifiedLife, LLC
Exit Oval Hedge Room
Continue through the oval hedge “room” and exit through the shrinking Hedge door on the west side. Here, the maze has paths lead in quite a few directions.
To reach the last chest, you need to head straight ahead, across the lawn, through the opening in hedge and into the area with the two guards.
The hedge opening is large enough for you to pass to the north of the guard’s light, even when it swings your way. But it’s easier to just wait until the guard swings his light to the away from the entrance and run through.

Image Credit: IzziBGran / GamifiedLife, LLC
Final Treasure Chest
After passing through the opening in the hedge, turn and face the two guards. There is path that runs between them, leading to a small area behind the guards. That’s your goal.
Wait until the guards both swing their lights to the side, away from the path and run between them. Try not to get too close to the guard’s feet, as that can also cause them to catch you (spoken from experience here!).
The final treasure chest is now yours! Grab your prize and head back between the two guards.
Guards
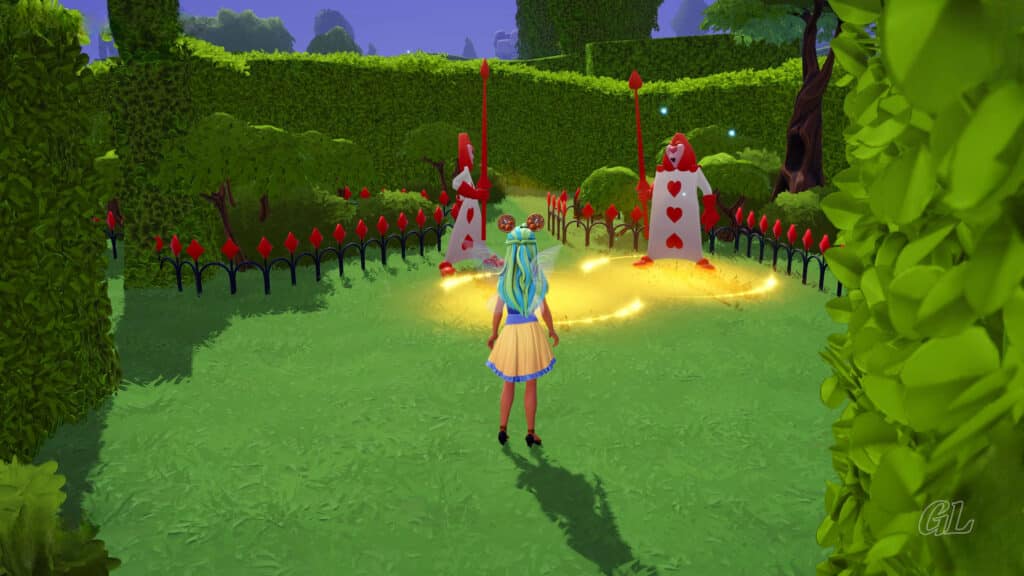
Image Credit: IzziBGran / GamifiedLife, LLC
Final Treasure Chest
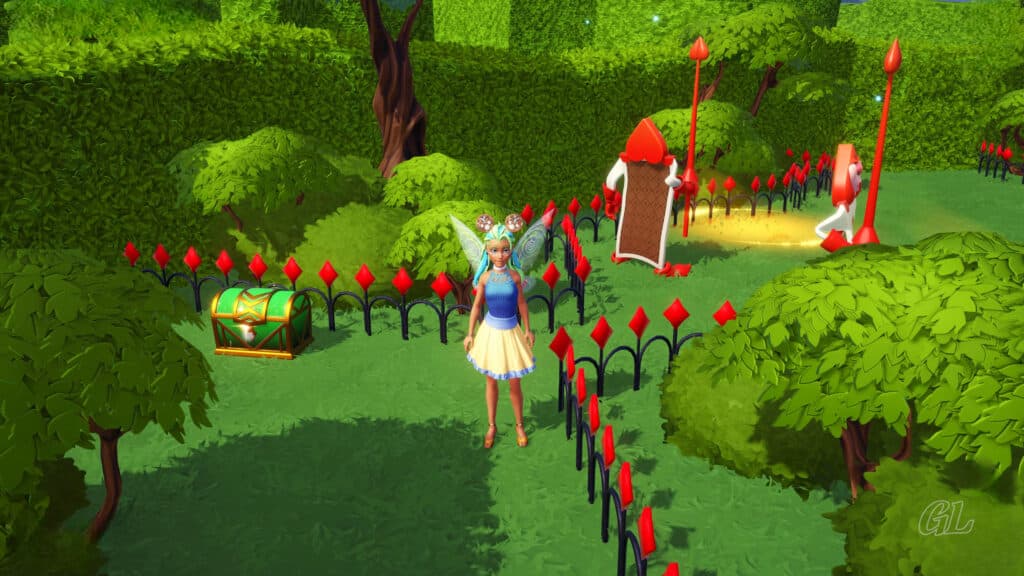
Image Credit: IzziBGran / GamifiedLife, LLC
Head to the Queen’s Garden
It’s time to head to the Queen’s Garden and get out of the Maze.
Stand with the two guards at your back. The path in front of you splits, running on both sides of a center hedge. You can go on either side, as you end up in the same place.
When the split path comes back together, pause. The exit to the Maze is just ahead, through the large heart shaped hedge. You can see the Queen’s guards standing at attention at the exit.
But there is still one more guard you need to avoid. He is swinging a light across the path directly in front of you. So, once again, wait until the light swings to the south, away from your path, and proceed forward and immediately to your left.
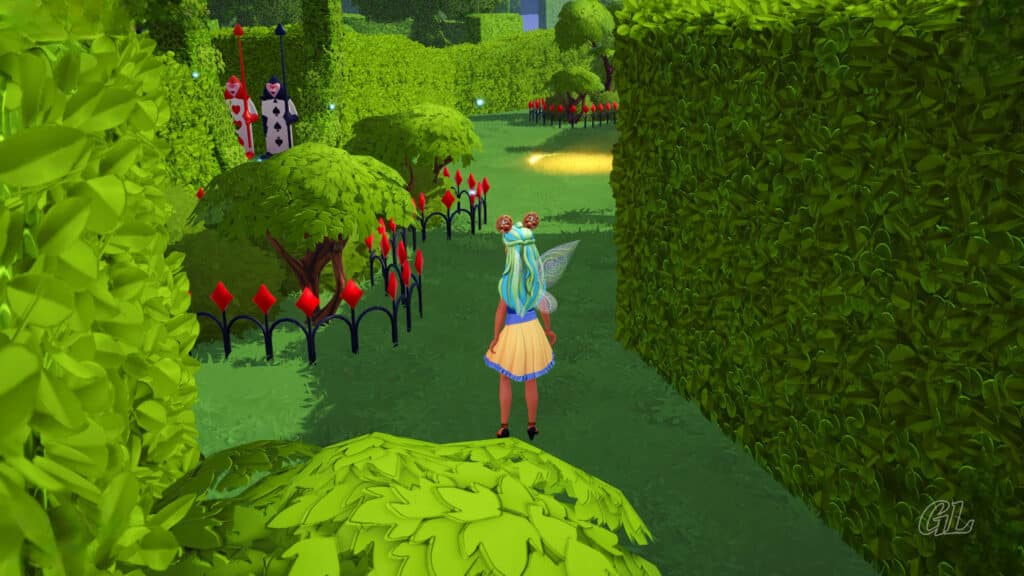
Image Credit: IzziBGran / GamifiedLife, LLC
Path Between the Card Guards
Congratulations! You have reached the entrance to the Queen’s Garden and the exit to the Queen’s Maze.
While guards stand at attention on both side of the path leading into the Garden, there is nothing to worry about.
Are you ready to put the Queen’s Maze behind you? If so, head between the Guards and see what they do!
Quest Task: Reach the exit of the Queen’s Maze.
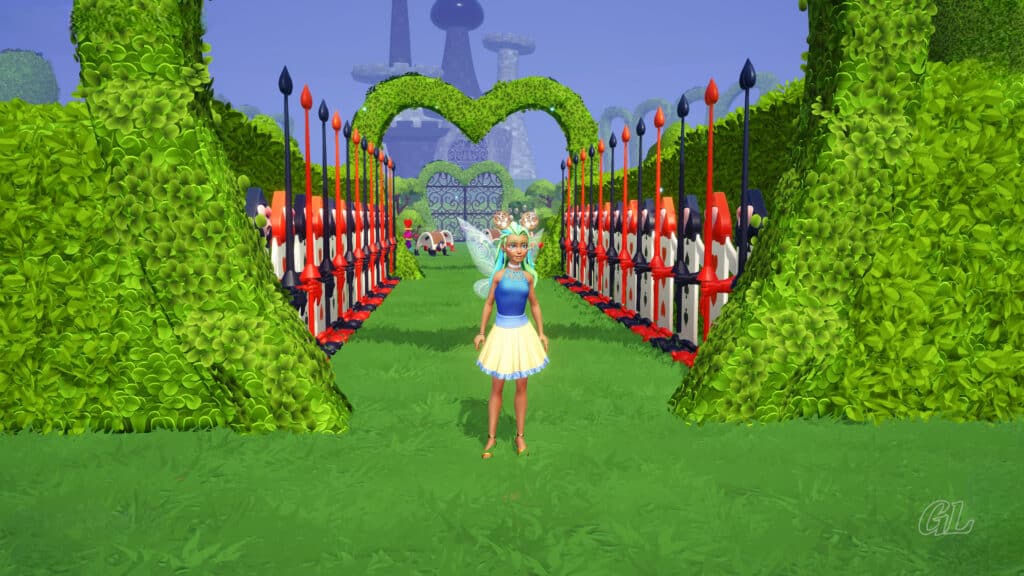
Image Credit: IzziBGran / GamifiedLife, LLC
The Adventures Continue
The adventure continues in Teeny, Tiny Problems.
In This Article
- The Queen’s Maze
- Navigating the Queen’s Maze
- A Lever Sighting
- Head into the Queen’s Maze
- Avoid the Guard
- Circle the Fence
- The First Lever in the Queen’s Maze
- Queen’s Maze: Second Lever
- Treasure Chest in the Queen’s Maze
- Around the Guards
- Third Maze Section of the Queen’s Maze
- Hedge Room in Third Section of Queen’s Maze
- A Double Heart Gate
- The Fourth Lever in the Queen’s Maze
- Queen’s Maze: Fourth Section
- Swinging Light Trick
- Find the Treasure
- Another Treasure Chest
- Exit Oval Hedge Room
- Final Treasure Chest
- Head to the Queen’s Garden
- Path Between the Card Guards
- The Adventures Continue
Disney Dreamlight Valley Guides
- Storybook Vale Critters Guide
- Navigating Storybook Vale
- Goofy's Storybook Vale Stalls
- All Storybook Vale Recipes
- All Blocked Chests in SV Trials
- Wild Woods Fairy Tale Trial
- Teapot Falls Fairy Tale Trial
- Fallen Fortress Fairy Tale Trial
- Elysian Fields Mythic Trial
- Fiery Plains Mythic Trial
- Statue's Shadow Mythic Trial
- Maleficent's Castle
- Mount Olympus
-
- Ariel
- Beast
- Belle
- Daisy
- Donald
- EVE
- Fairy Godmother
- Gaston
- Goofy
- Jack Skellington
- Jafar
- Kristoff
- Maui
- Merlin
- Mickey Mouse
- Mike Wazowski
- Minnie Mouse
- Mirabel
- Moana
- Mother Gothel
- Mulan
- Mushu
- Olaf
- Oswald
- Prince Eric
- Pumbaa
- Rapunzel
- Remy
- Scar
- Scrooge McDuck
- Simba
- Stitch
- Sulley
- The Forgotten
- Tiana
- Timon
- Ursula & Vanessa
- Vanellope
- WALL-E
About the Author: IzziBGran
Get the latest news & updates
