Image Credit: IzziBGran / GamifiedLife, LLC
Treasure Awaits
You have in your possession, two pieces of a Scarab Key. When whole, the Scarab Key is said to open a Vault of Treasure, which is located somewhere on Disney Dreamlight Valley’s Eternity Isle! Gaston is very enthusiastic about getting his hands on some of the treasure. And not much, beside adoration of himself, gets Gaston enthused. Yet only a Diamond in the Rough may enter…
Follow the Key and find out what happens next!
Complete:
Gaston Quest: The Wild Tangle’s Swarm
Location:
Eternity Isle
Resources you will use during this quest.
- none
Ingredients you will use during this quest.
- none
Key Assembly
You have both pieces of the infamous Scarab Key! It’s time to put them together and see what happens.
But first, you need to relay to Gaston the unfortunate news, for Gaston anyway, that Jafar shared. However, before you can do that, Gaston matches up the key pieces and… The Key takes flight!
Quest Task: It’s time! The wizard’s vault awaits.
- Make sure both scarab Pieces are in your Inventory.
- Talk to Gaston when you are ready to assemble the Scarab Key.

Image Credit: IzziBGran / GamifiedLife, LLC
Follow That Scarab!
Follow That Scarab! The reassembled Scarab Key takes flight and heads out of Gaston’s encampment. All other conversations and tasks will need to wait.
Take off after the key and see where it leads you!
Quest Task: Follow the Scarab’s trail from Gaston’s encampment.

Image Credit: IzziBGran / GamifiedLife, LLC
Stopping in The Wastes
The sun is bright in the Glittering Dunes, adding a challenge to seeing where the shiny Scarab Key is going. But for determined Treasure Hunters, such as you and Gaston, the task is not impossible!
The Scarab Key flies through The Plains and enters The Wastes, where it hovers waiting for you to catch up.

Image Credit: IzziBGran / GamifiedLife, LLC
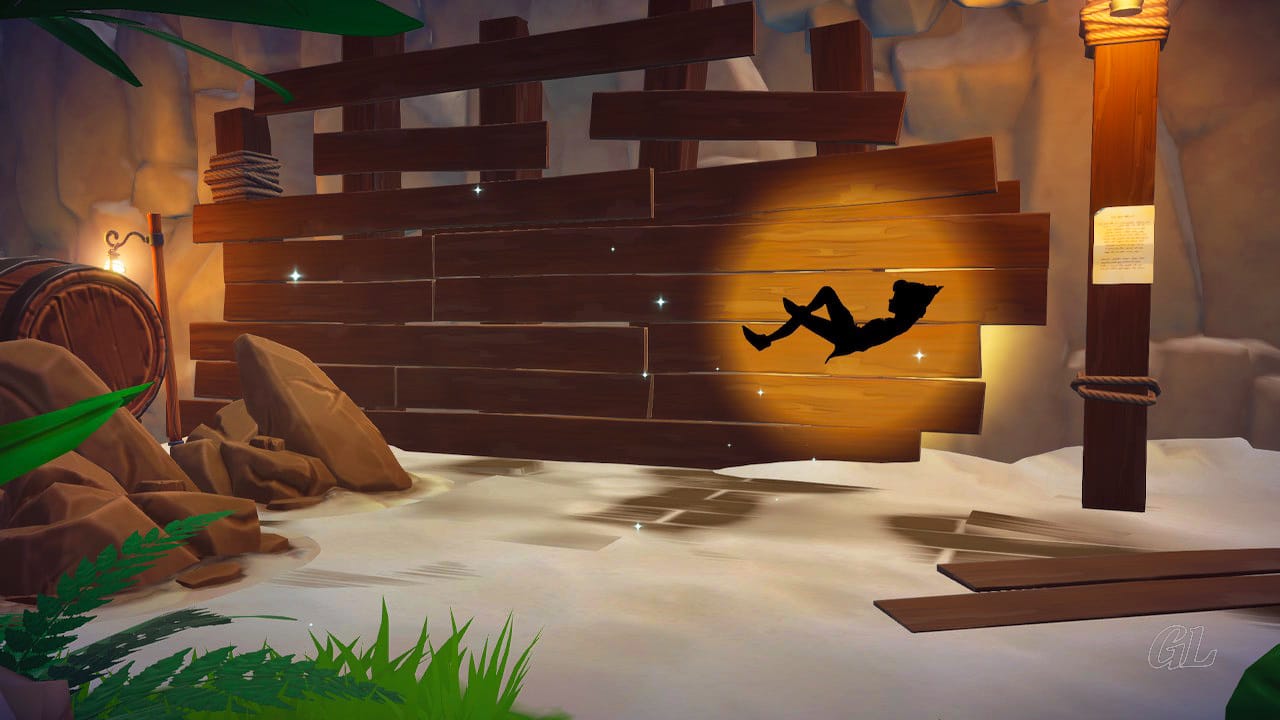
Stand Back and Be Wowed
Interact with the Scarab Key and brace yourself!
The ground shakes, the large sand pile starts to move and transform into… it can’t be!?!
But it is. The Cave of Wonders has opened on Eternity Isle in Disney Dreamlight Valley!
Quest task: Is Jafar’s vault…a Cave of Wonders?
- Talk to Gaston

Image Credit: IzziBGran / GamifiedLife, LLC
A Cave of Wonders
The Cave of Wonders, standing before you, is an impressive sight. Gaston is ready to grab some treasure.
Luckily, Gaston is not highly motivated to do much work himself. This gives you the opportunity you need to, finally, tell him what Jafar said. Only a Diamond in the Rough may enter the Cave of Wonders. (Sound familiar?). And while Gaston may be a bit rough, he is definitely Not a Diamond in the Rough!
Which means… only you may enter the Cave of Wonders!
It probably shouldn’t surprise you that Gaston takes this news quite well. He’s more than happy to let you haul the treasure out of the Cave! He’ll be waiting, here at the mouth of the Cave, to take it off your hands.

Image Credit: IzziBGran / GamifiedLife, LLC
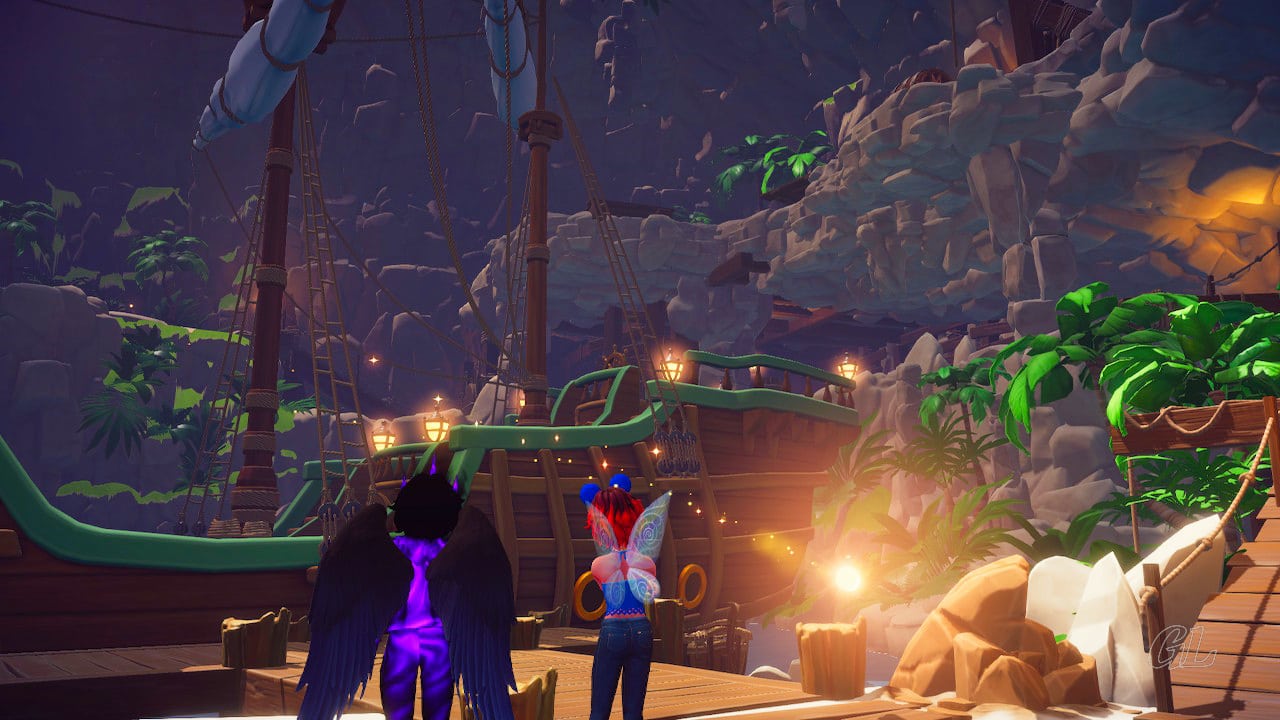
Enter The Cave of Wonders
There is no time like the present. Muster up all of your courage and step into…drum roll please… the Cave of Wonders!
Quest task: Enter the Cave of Wonders.
Quest Task: Explore the Cave of Wonders.

Image Credit: IzziBGran / GamifiedLife, LLC
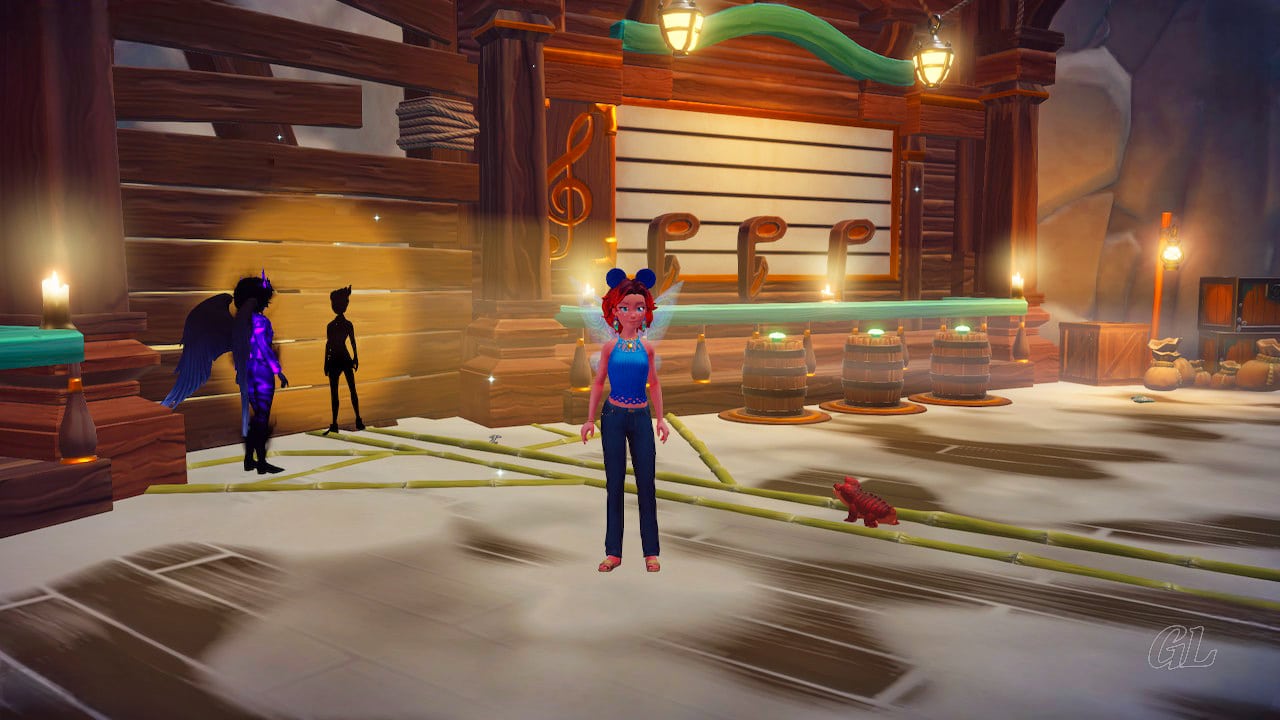
The First Magical Gate
It appears you are indeed a Diamond in the Rough! You are able to enter the Cave of Wonders without any issue!
Arriving inside the first chamber, you find yourself looking at piles and piles of treasure. Before touching anything, you did learn something from Aladdin after all, you head to the Hologram Station and touch base with Jafar.
It turns out, Jafar has adjusted the restrictions in the cave a bit. You don’t need to be concerned about touching things in this Cave of Wonders. That means you can take some treasure back for Gaston if you like. Although I’m with Jafar on this, I’m not sure why you’d want to. Regardless, we’ll move on.
According to Jafar, the sole purpose of this Cave of Wonders is to protect the Jewel of Time. Interesting. Didn’t Jafar say earlier that he didn’t know where the Jewels of Time were…hmm.
For added security, there are magical doors between the various chambers in the cave. Jafar is using light beams to control the magical doors. Figure out how to guide the light beams to the buttons (or interrupters) on the sides of the magical door and the barrier covering the doorway will be released, allowing passage into the next area.
The Jewel of Time is in the deepest cavern of the cave, naturally!
Time for a little Puzzle Solving!
Quest Task: Talk to Jafar at the Hologram Station.
Quest Task: The way forward is blocked by a magical gate.
- Find a way to open the gate.
- Optional: Ask Jafar for hints

Image Credit: IzziBGran / GamifiedLife, LLC
First Gate Solution
As you look around the first chamber, you see a beam of light bouncing off a mirror and hitting the button, a.k.a. a light interrupter, on the left side of the magical door. Aha! A clue.
It appears “all” you need to do is guide a beam of light to the other button, which is located on the right side of the magical door!
Step 1
There is a passage to your left. Remove the Splinters of Fate blocking the way and restore the cylinder lying on the ground to its’ rightful place, in the wall receptacle straight ahead of you.
This action causes another beam of light to shoot across the room to a pillar on the right. But, before you follow the new light beam, use your Pickaxe to clear the way to the treasure chest and a small pile of gold!
Step 2
Follow the new beam of light to the pillar mechanism. There is a lever nearby. Pull it down to move the mirror on the pillar to the lowest position, where it will redirect the light beam to the doorway button.
You’ve solved the puzzle!
Step 1

Image Credit: IzziBGran / GamifiedLife, LLC
A New Beam of Light

Image Credit: IzziBGran / GamifiedLife, LLC
Step 2

Image Credit: IzziBGran / GamifiedLife, LLC
The Passageway Opens!

Image Credit: IzziBGran / GamifiedLife, LLC
Moving Deeper into the Cave of Wonders.
With light hitting the buttons (light interrupters) on both sides of the magical doorway, the barrier dissolves and allows you entry into the next section of the cave.
Quest Task: The gate is opened! Explore deeper into the Cave of Wonders.

Image Credit: IzziBGran / GamifiedLife, LLC
The Second Chamber
As soon as you enter the next room, you can tell that this puzzle will be a bit more complicated. There are still only two button or light interrupters, one on each side of the magical doorway to the next area. However, neither of them has been activated.
There are several paths to investigate in this new area and another treasure chest hidden behind some gold piles on the left side of the room.
A second treasure chest is found tucked behind some Large Glass Stalagmites. To reach this chest, you’ll need a powerful Royal Pickaxe, which is not a problem if you’ve completed Merlin’s quest Village Project: Timeless Tools.
Quest Task: Cross the next gate.
- Activate the first Light interrupter
- Activate the second Light interrupter
- Optional: Ask Jafar for hints
Pro Tip: You will be able to reenter the Cave of Wonders after the quest is complete, in case you are not able to reach all the treasure the first time through.

Image Credit: IzziBGran / GamifiedLife, LLC
Second Gate Solution – Room on Left Steps 1-3
How to Activate the first light interrupter.
Head up the stairs on your left. This leads you into another room with paths going left and right.
Step 1
Turn down the path immediately to your left and pick up the mirror on the ground. You’ll need this later.
Backtrack a few steps to where you entered this room and continue right, down the slope.
Step 2
At the bottom of the small slope and immediately to your right is a lever. Pull that lever down to move the mirror on the slider next to it, to the right.
The mirror redirects the light beam to the left side of the room.
Step 3
Head down the short passage directly opposite your location to reach another lever.
Pull the lever down which causes the mirror, on the wall above and slightly to your right, to move left. It now catches the light beam and shoots it out of the room, through the corridor.
Second Gate Solution – Room on Left Step 4-5
Step 4
Head out of the room, following the latest beam of light.
Reaching the point where the light beam hits the wall, you find a spot custom made for a mirror. Conveniently, you have the mirror you picked off the floor in your Inventory. Place it on the wall and shoot the light out of the corridor, where it hits a pillar across the room.
Step 5
Follow the light beam across the room and down a short flight of steps to another lever. This time, push the lever up. This raises the mirror on the pillar to meet the light beam and shoot it directly at the right interrupter on the magic doorway!
Simple, Right?!
Grab the Mirror

Image Credit: IzziBGran / GamifiedLife, LLC
Frist Lever

Image Credit: IzziBGran / GamifiedLife, LLC
Sends Beam Out the Room

Image Credit: IzziBGran / GamifiedLife, LLC
Mirror, Mirror On the Wall

Image Credit: IzziBGran / GamifiedLife, LLC
Hit Your Mark

Image Credit: IzziBGran / GamifiedLife, LLC
Second Gate Solution – Room on Right
One down, one to go!
How to Activate the Second light interrupter.
Facing the Magical Doorway leading further into the Cave of Wonders, head up the short flight of stairs to your right. Following the corridor, you’ll find yourself in a room with a puzzle, of sorts, on the floor and a depleted light cylinder in the middle.
The floor puzzle contains a series of connecting lines, with five circular disks that spin.
Step 1 Turning Dials
Approach each disk and interact with it so that it turns and complete the circuit, allowing the light from the wall to flow through the puzzle.
When all the pathways are connected, the cylinder in the middle of the puzzle will recharge.
Step 2 Collect the Cylinder
Collect the recharged light cylinder and return to the main room.
Step 3 Redirect the Beam
Facing the Magical Doorway once again, find the spot on the right wall which is missing a light cylinder.
Insert the cylinder and watch the light bounce around the room. It will bounce off a mirror stuck in a pile of gold and activate the remaining light interrupter – on the left side of the Magic Doorway.
Success!
Floor Puzzle

Image Credit: IzziBGran / GamifiedLife, LLC
Turning Dials

Image Credit: IzziBGran / GamifiedLife, LLC
Collect the Cylinder

Image Credit: IzziBGran / GamifiedLife, LLC
Redirect the Light Beam

Image Credit: IzziBGran / GamifiedLife, LLC
Move Deeper into the Cave of Wonders
The Barrier in the Magic Doorway has been removed. You can now move deeper into the cave!
Pretty well done for a Diamond in the Rough!
Quest Task: The gate is open!
Quest Task: Explore deeper into the Cave of Wonders

Image Credit: IzziBGran / GamifiedLife, LLC
The Path to the Jewel of Time
Pass through the newly opened magical doorway and follow the passage. The Jewel of Time rests in the hands of an ancient statue.
Interact with the statue and the Jewel of Time will reattach itself to your Royal Hourglass!
Quest Task: You found it! Pick up the Jewel of Time from the pedestal.

Image Credit: IzziBGran / GamifiedLife, LLC
Head out
Before leaving the chamber, check behind the Large Evil Plants for another treasure chest.
- You’ll need your Royal Watering Can, upgraded in Merlin’s Quest Village Project: Timeless Tools, to dissolve the plants.
After collecting the treasure, head out of the Cave of Wonders.
Mission Accomplished!
Quest Task: You obtained the Jewel of Time from the Glittering Dunes!
- Leave the Cave of Wonders
Quest Task: Talk to Gaston.

Image Credit: IzziBGran / GamifiedLife, LLC
The Adventures Continue


To continue the storyline, be sure to complete Rapunzel’s Quests, starting with The Ancient Door.
Finally, continue your story with Jafar’s Quest: Your Eternal Reward.
But that’s not all! There are more Gaston adventures, starting with Center of Attention. Sounds fitting, right?!
In This Article
- Treasure Awaits
- Key Assembly
- Follow That Scarab!
- Stopping in The Wastes
- Stand Back and Be Wowed
- A Cave of Wonders
- Enter The Cave of Wonders
- The First Magical Gate
- Moving Deeper into the Cave of Wonders.
- The Second Chamber
- Move Deeper into the Cave of Wonders
- The Path to the Jewel of Time
- Head out
- The Adventures Continue
Disney Dreamlight Valley Guides
- Storybook Vale Critters Guide
- Navigating Storybook Vale
- Goofy's Storybook Vale Stalls
- All Storybook Vale Recipes
- All Blocked Chests in SV Trials
- Wild Woods Fairy Tale Trial
- Teapot Falls Fairy Tale Trial
- Fallen Fortress Fairy Tale Trial
- Elysian Fields Mythic Trial
- Fiery Plains Mythic Trial
- Statue's Shadow Mythic Trial
- Maleficent's Castle
- Mount Olympus
-
- Ariel
- Beast
- Belle
- Daisy
- Donald
- EVE
- Fairy Godmother
- Gaston
- Goofy
- Jack Skellington
- Jafar
- Kristoff
- Maui
- Merlin
- Mickey Mouse
- Mike Wazowski
- Minnie Mouse
- Mirabel
- Moana
- Mother Gothel
- Mulan
- Mushu
- Olaf
- Oswald
- Prince Eric
- Pumbaa
- Rapunzel
- Remy
- Scar
- Scrooge McDuck
- Simba
- Stitch
- Sulley
- The Forgotten
- Tiana
- Timon
- Ursula & Vanessa
- Vanellope
- WALL-E
About the Author: IzziBGran
Get the latest news & updates